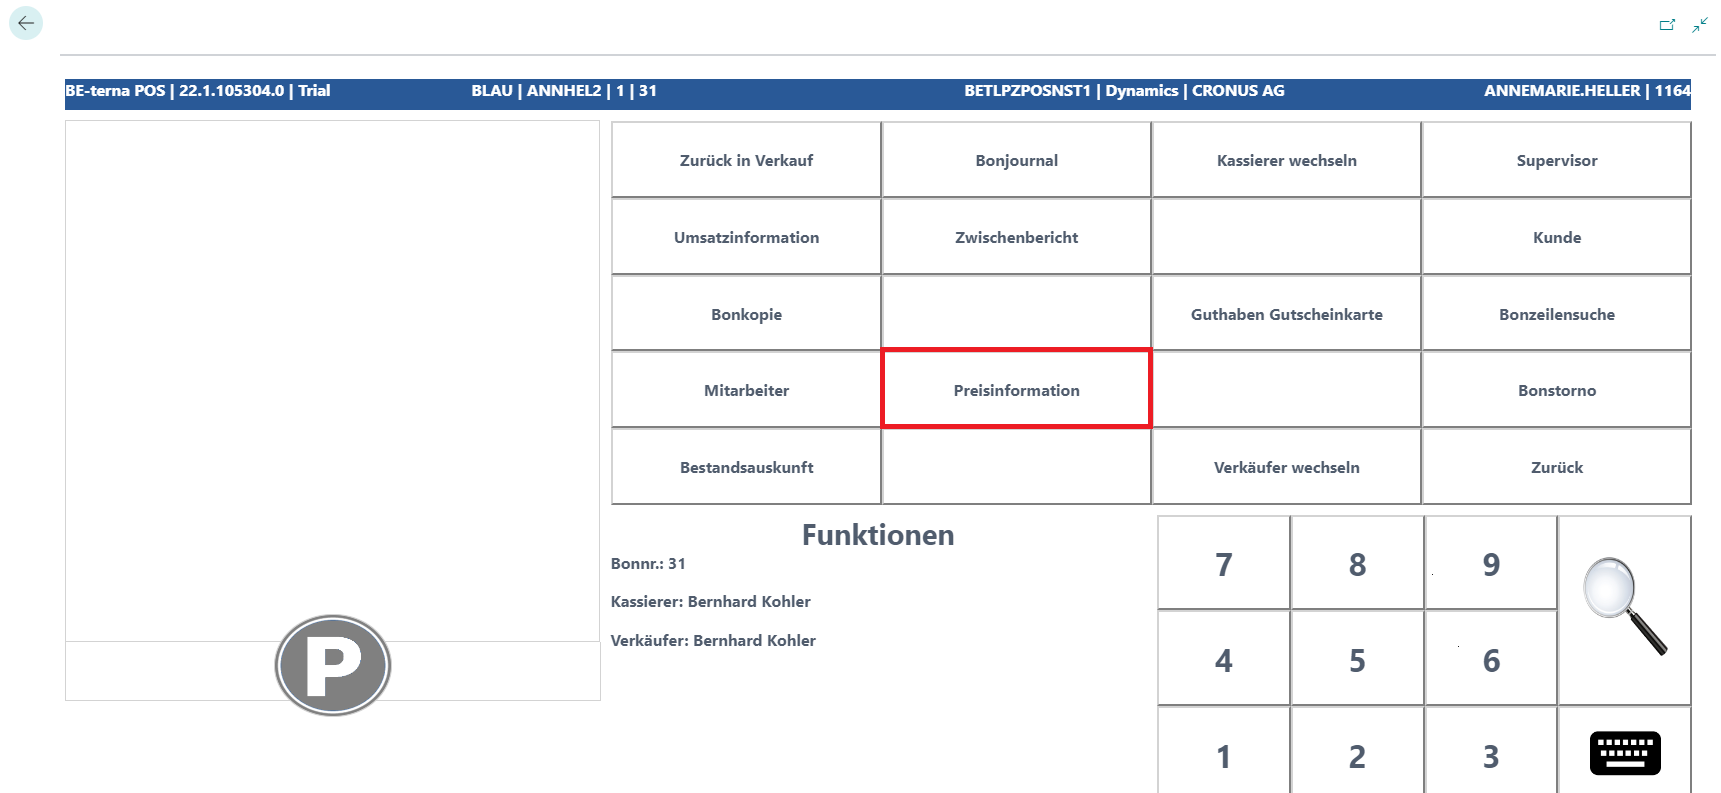
Functions
The Functions menu is available during checkout in every state and provides several generally applicable options.
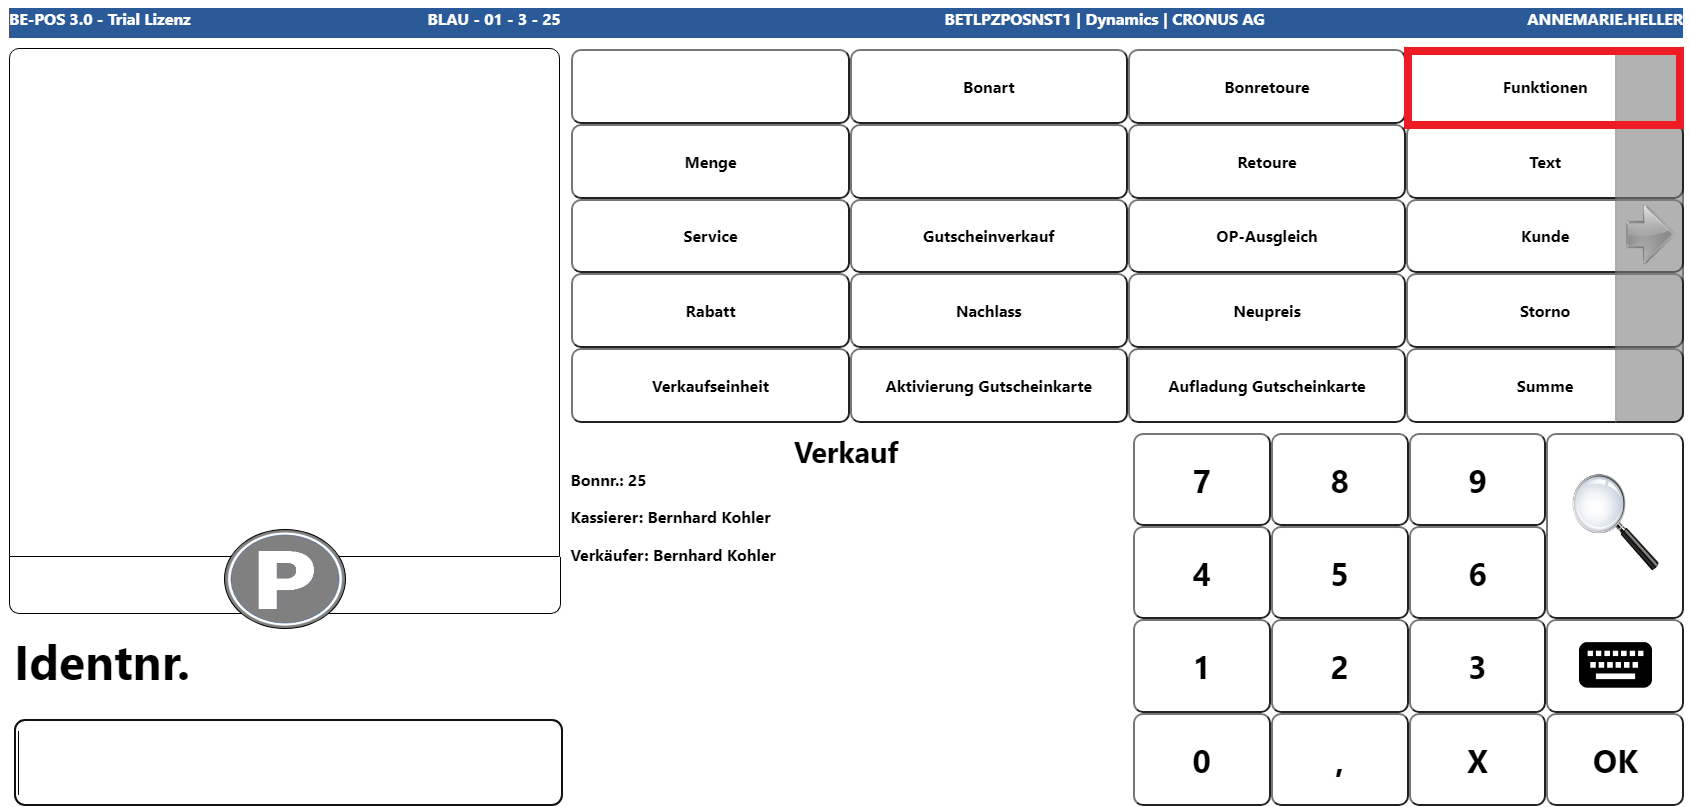
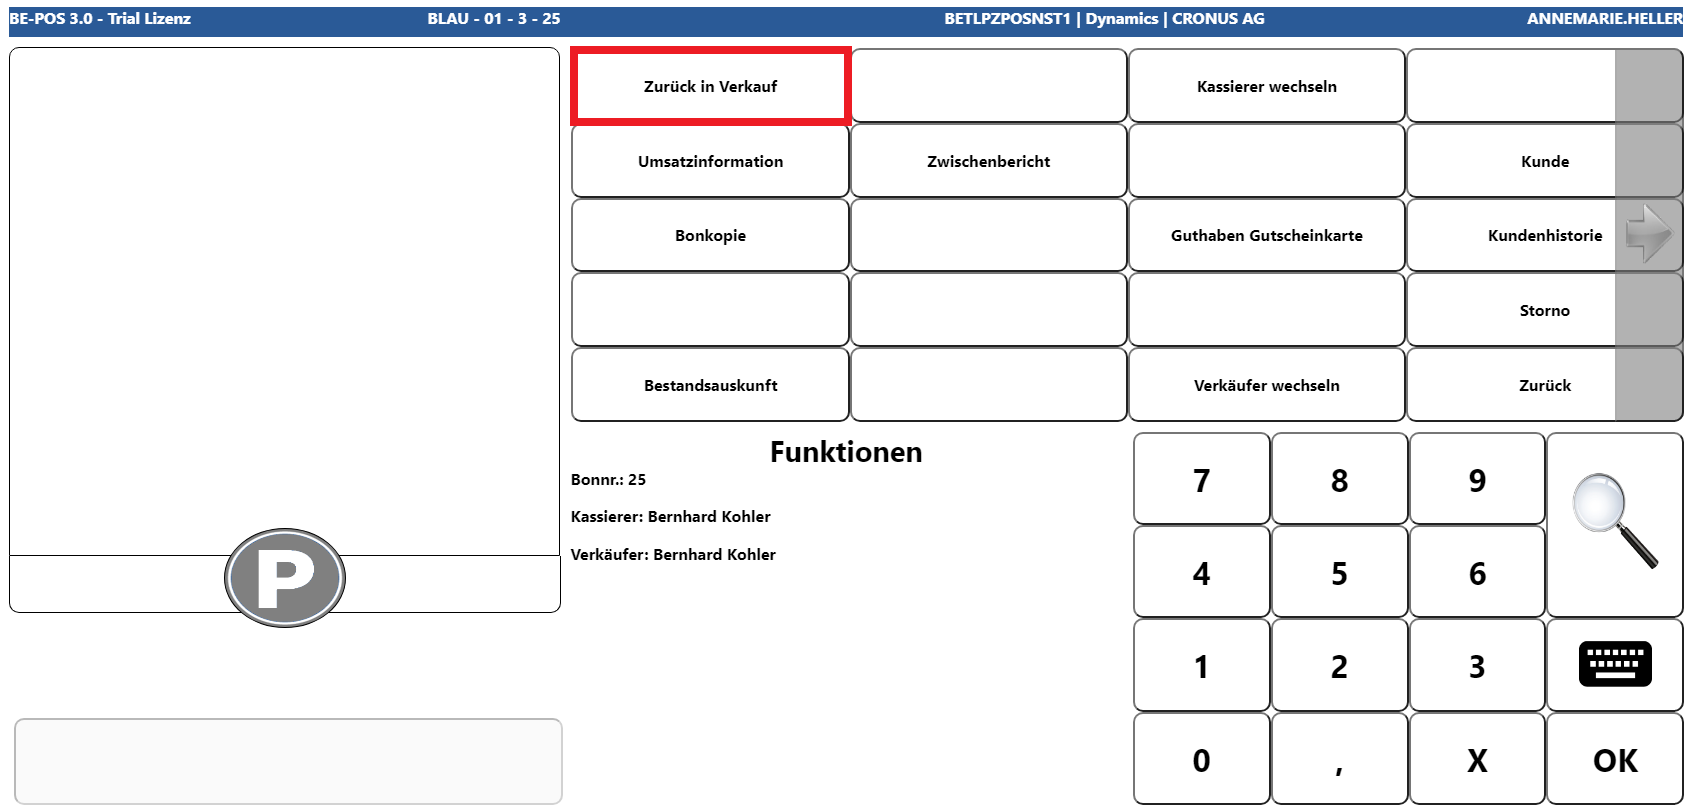
Back to Sales
This function takes you back to sales mode at any time, provided that no actions have already been performed that make this impossible, such as payments that have already been posted or cashbook actions.
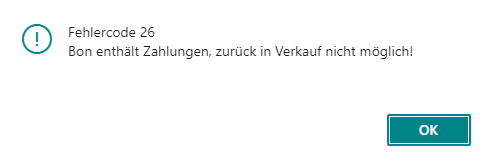
If the function is not possible for the reasons already mentioned, a corresponding information message appears.
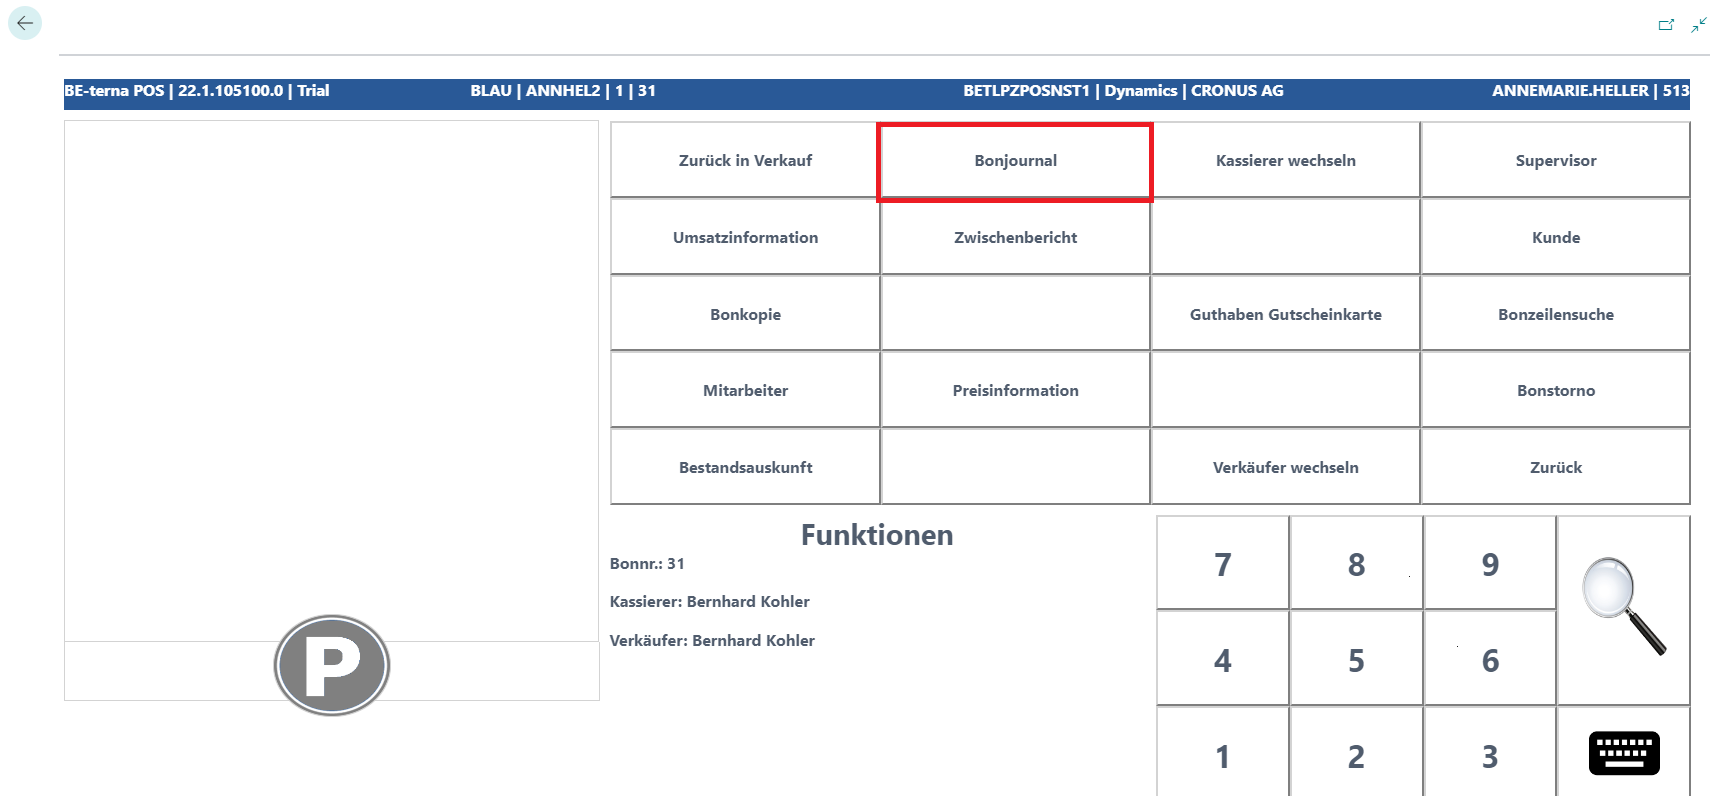
Receipt Journal
This function can be used to search for receipts, reprint them, or return them.
First, enter the relevant filter to be applied in the receipt journal.
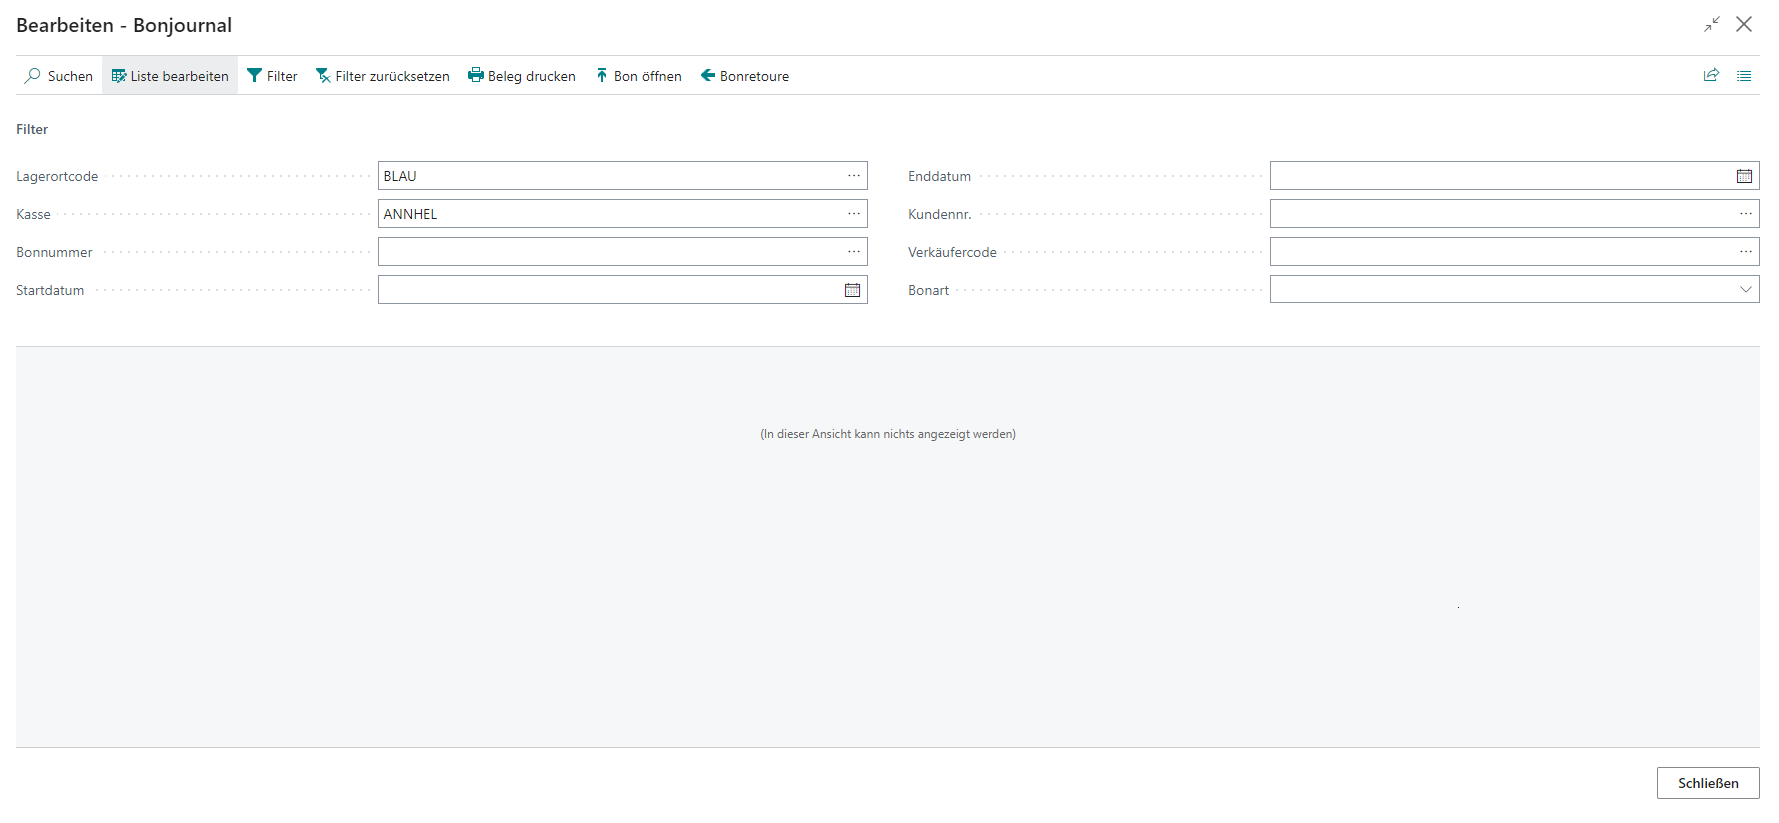
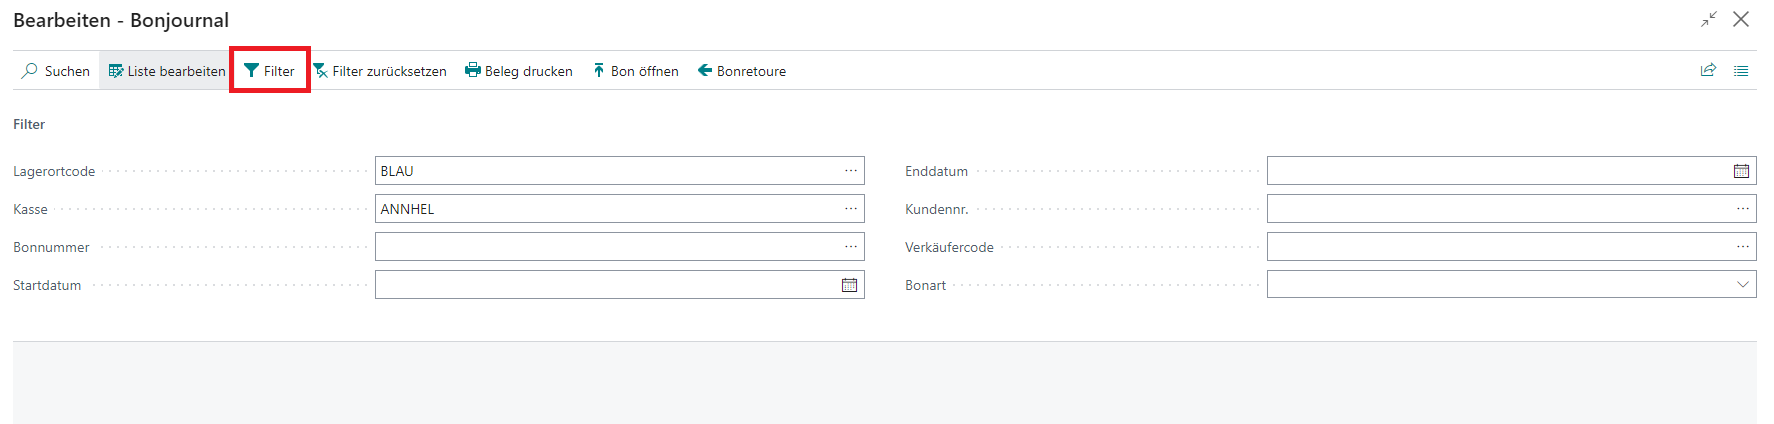
Once the filter has been set, it can be confirmed with Filter.
The view displays the receipt journal for all receipts to which the filter applies.
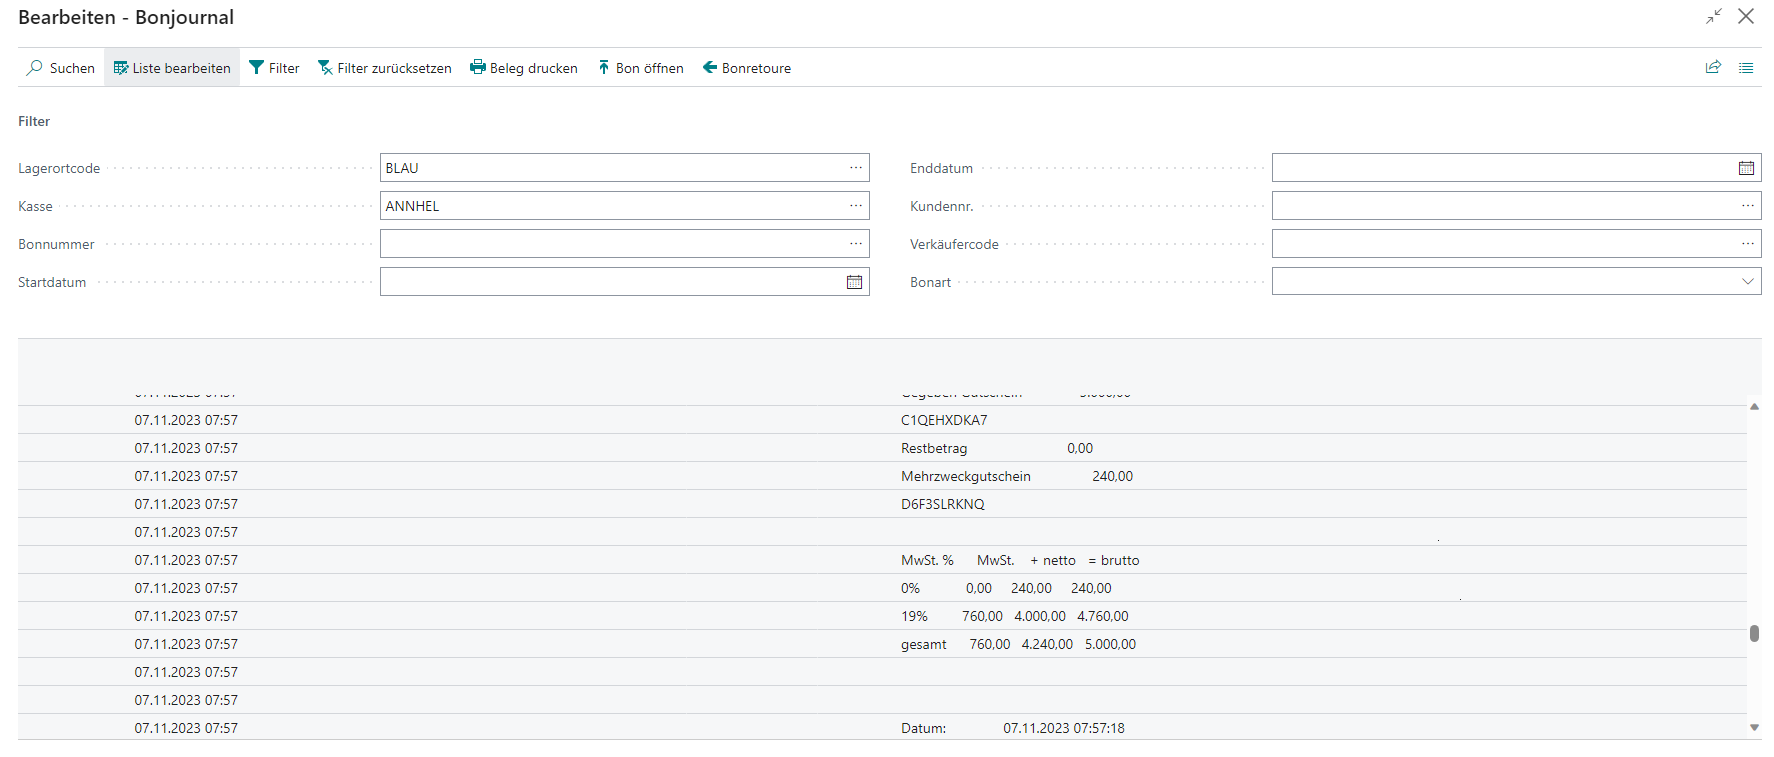
After selecting the required line, the following functions are available.

| Field | Description |
|---|---|
| Filter | Applies the filter to the entered values |
| Reset Filter | Resets the filter |
| Print Receipt | Prints the selected receipt |
| Open Receipt | Opens the selected receipt in the receipt card |
| Receipt Return | Transfers the selected receipt into the return process |
Cashier Change
This function can be used to change the cashier assigned to the current POS process at cash register start. From this point onward in the cash register process, the newly assigned cashier takes responsibility and provides their individually assigned permissions, see Salesperson Setup.
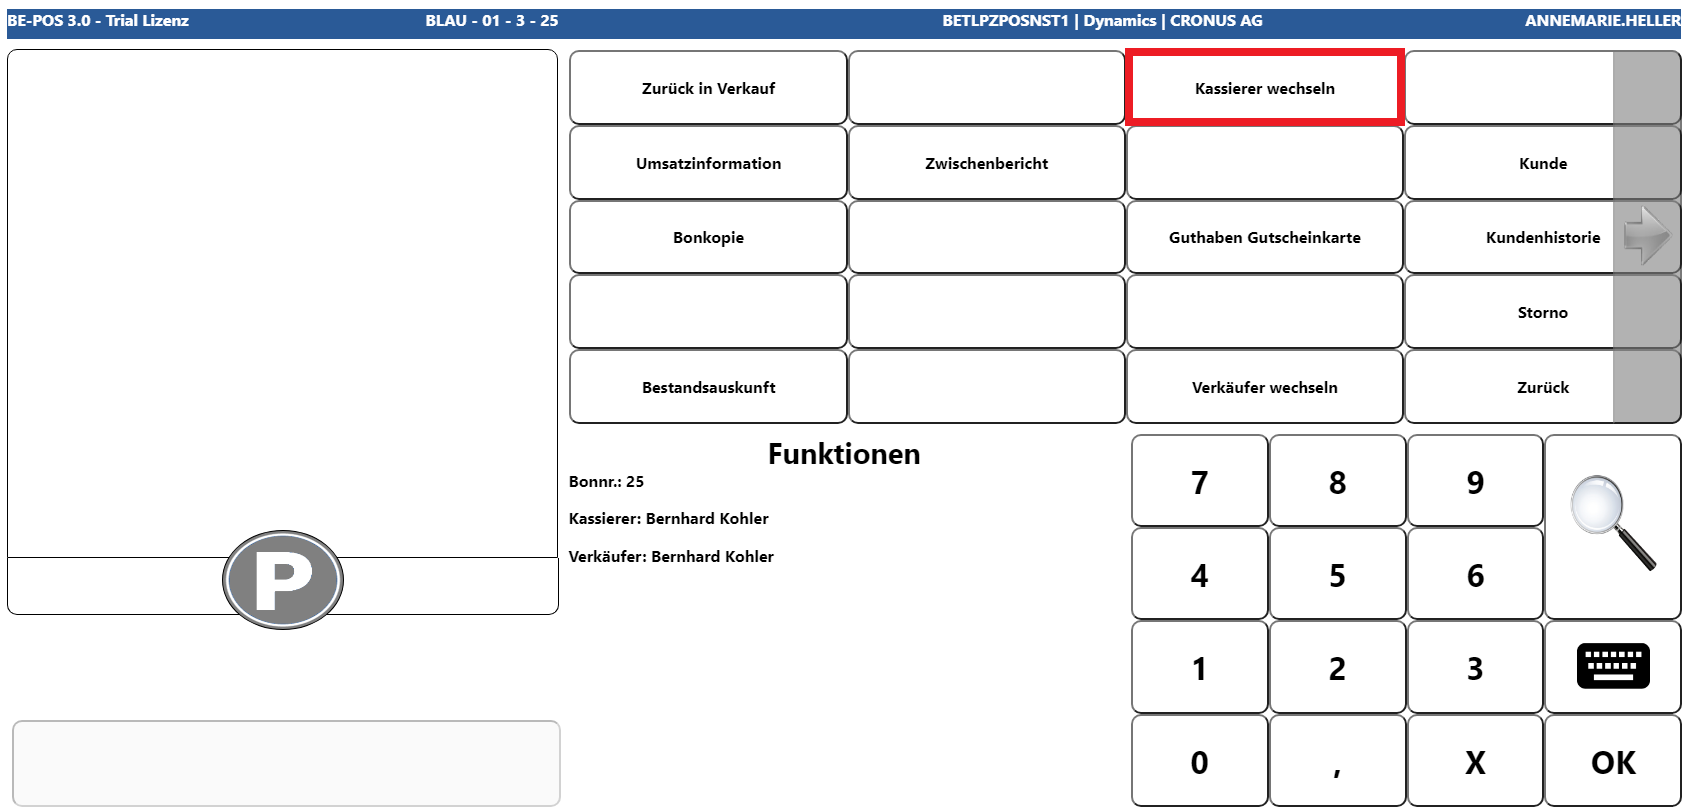
The new cashier can be selected either by entering the value directly or via the magnifying glass button.
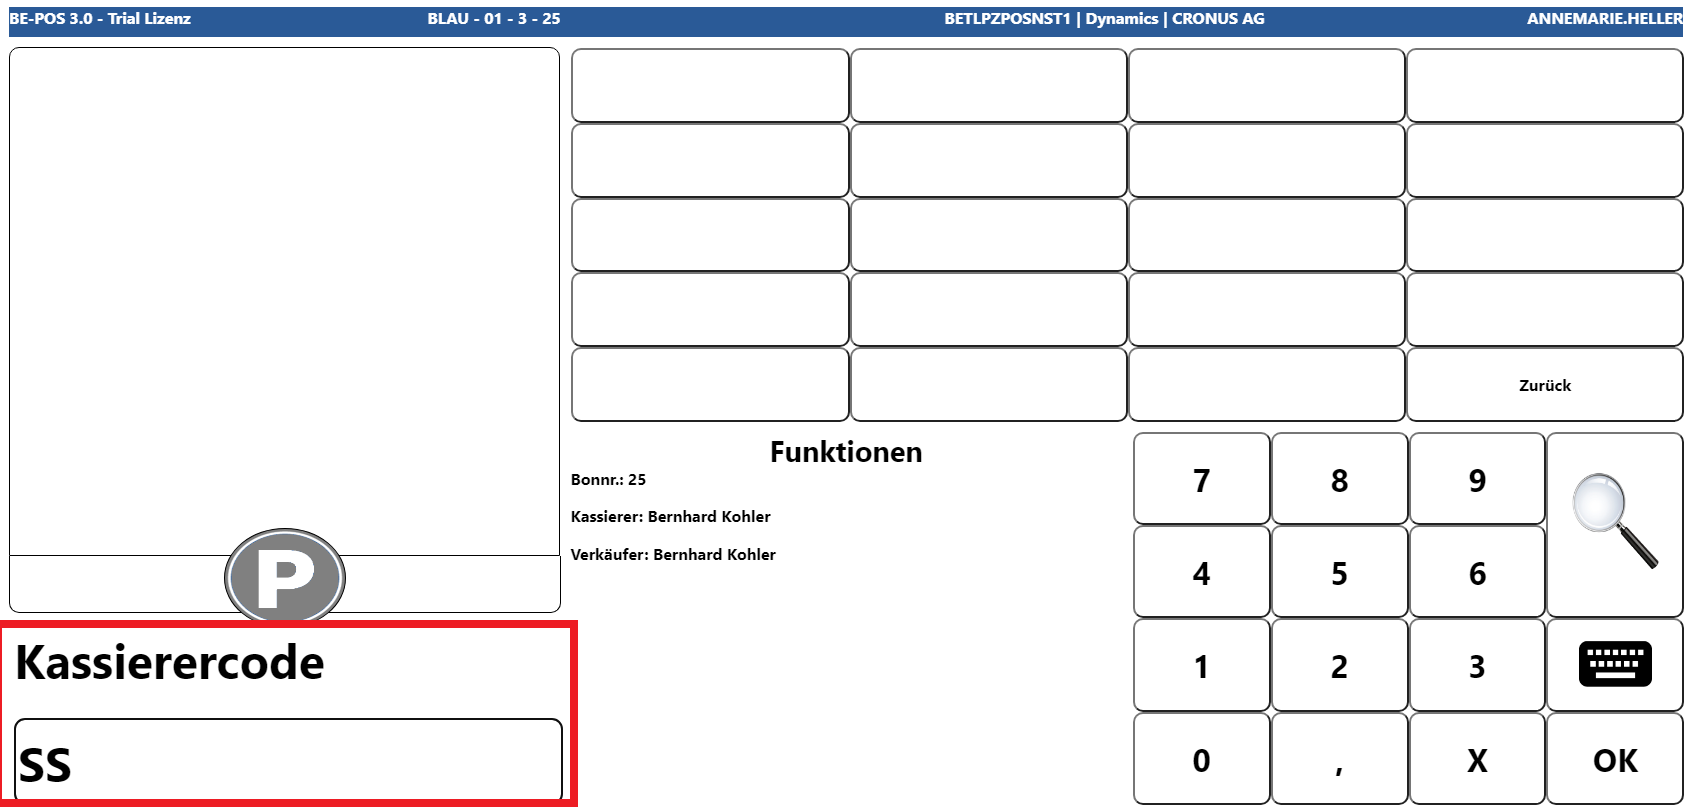
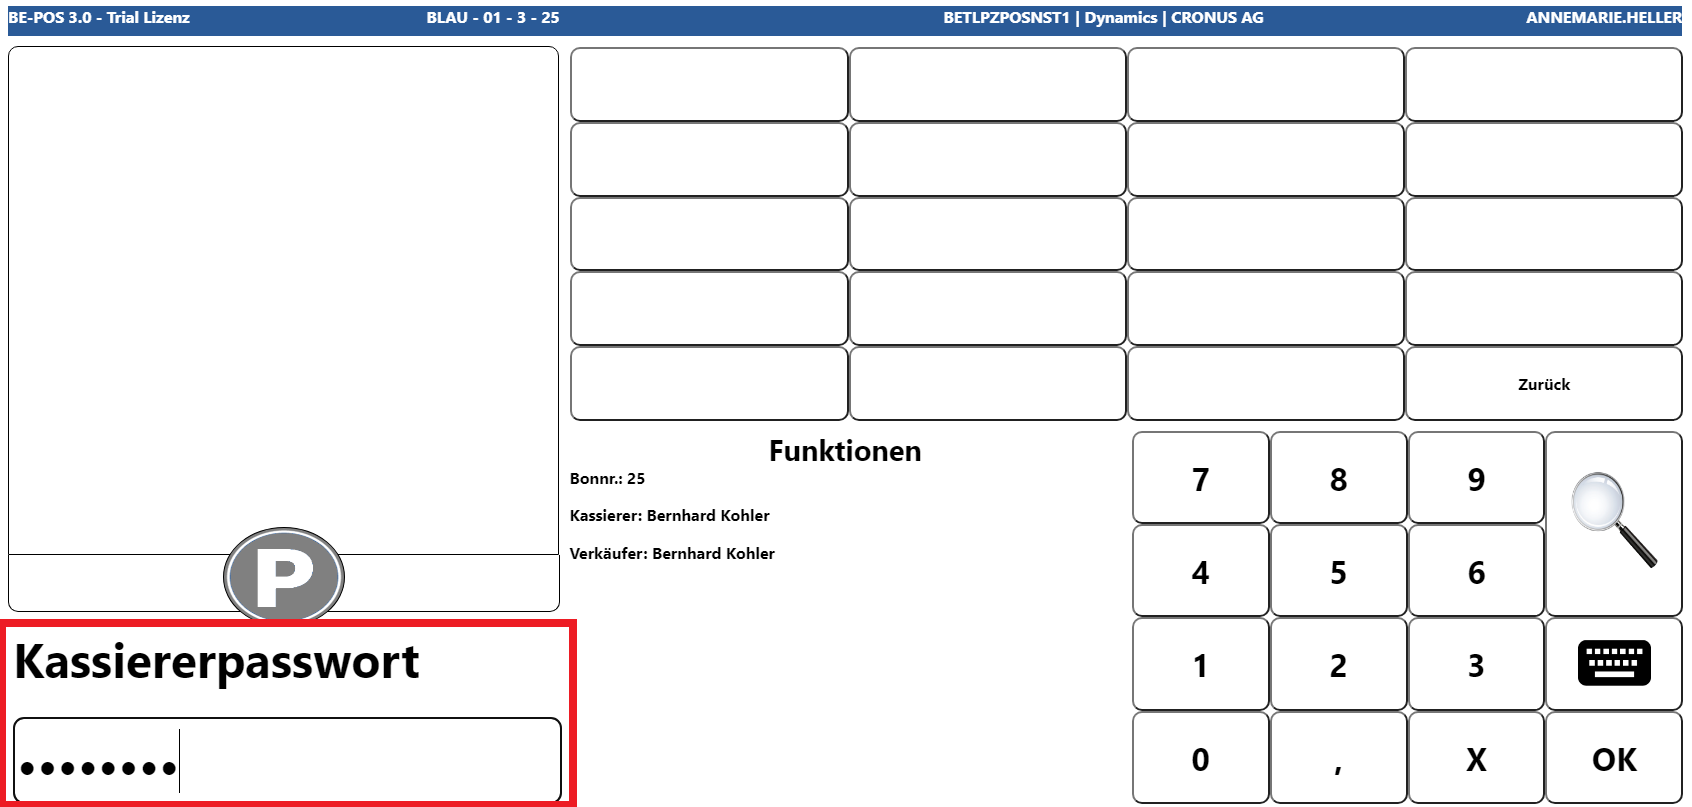
If a password is stored for the cashier, it must then also be entered.
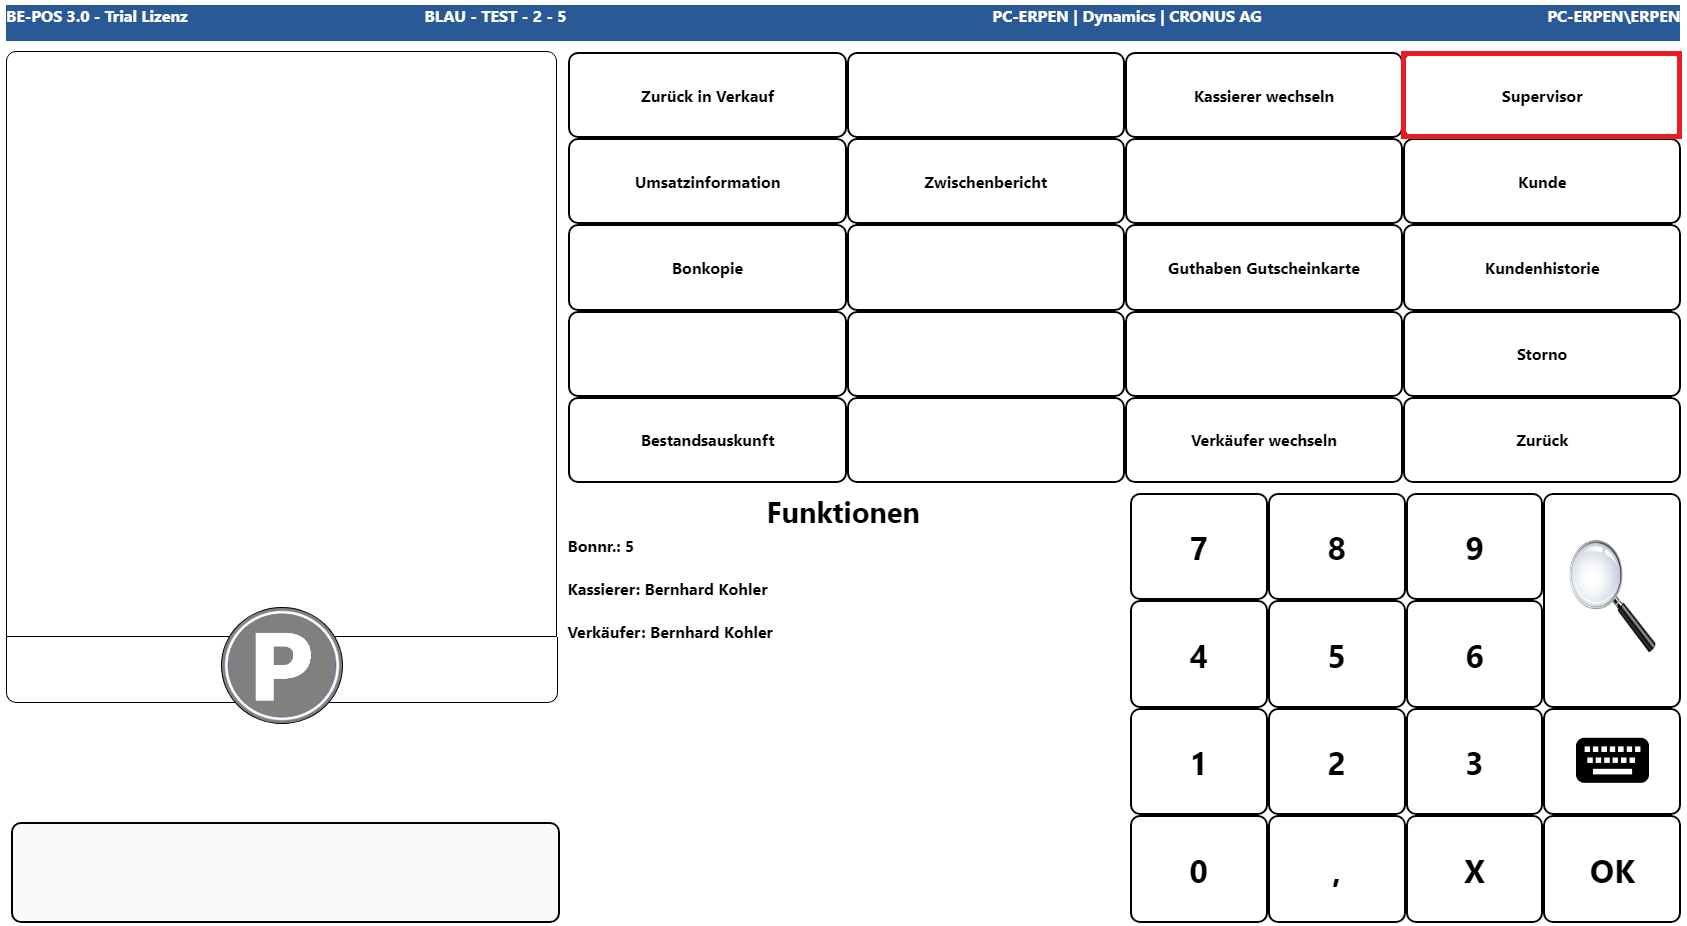
Supervisor
This function can be used to log a supervisor onto the receipt temporarily. Only salespersons who have all permissions are available for login. The login remains active until the next permission-based function, for example Cancel, but no longer than until the current receipt is completed.
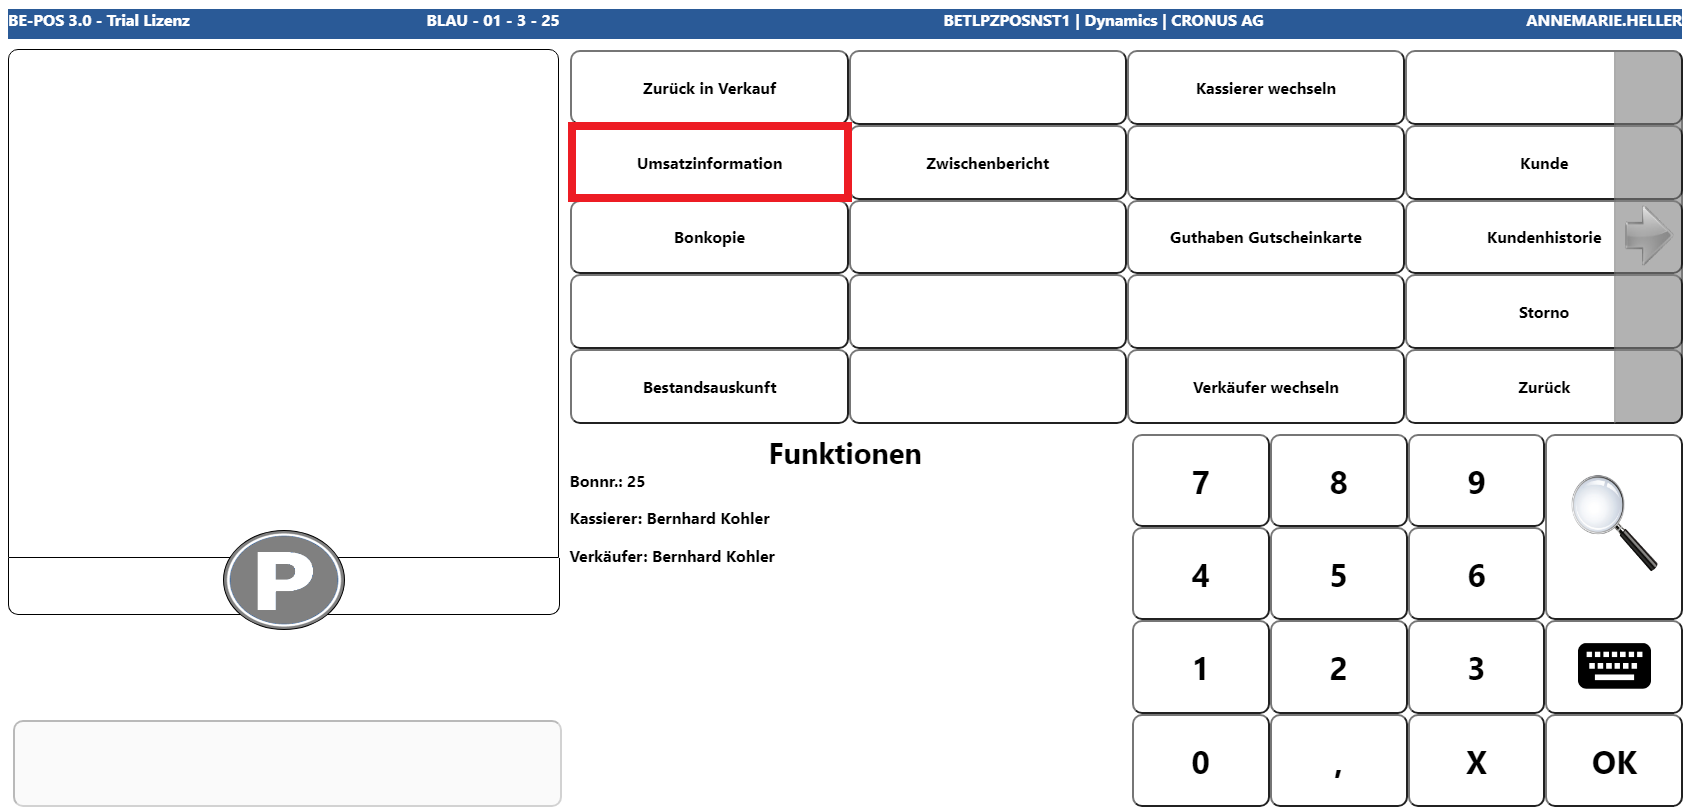
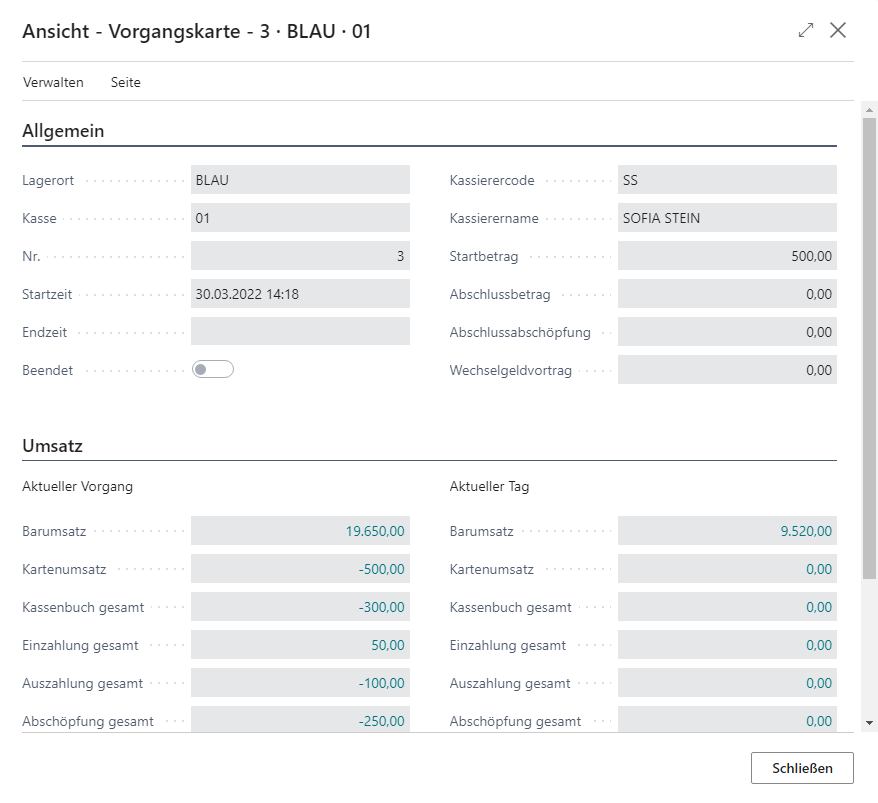
Turnover Information
This function displays turnover totals, split into daily turnover and transaction turnover.
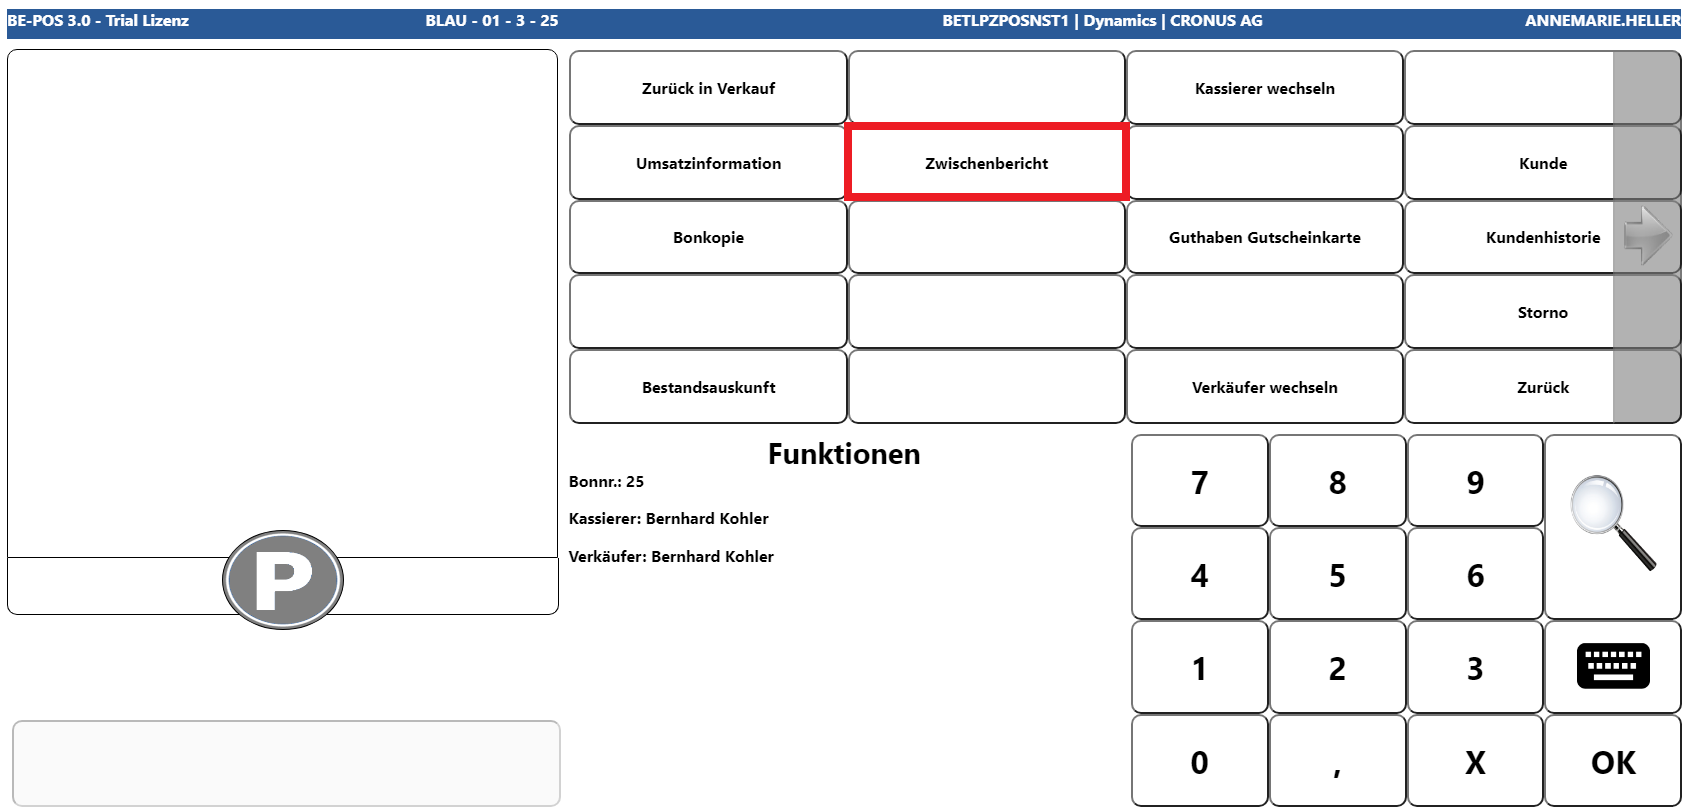
Intermediate Report
The intermediate report (X Report) is a purely informational report showing the turnover posted up to the time it is called and, when used, is provided in printed form.
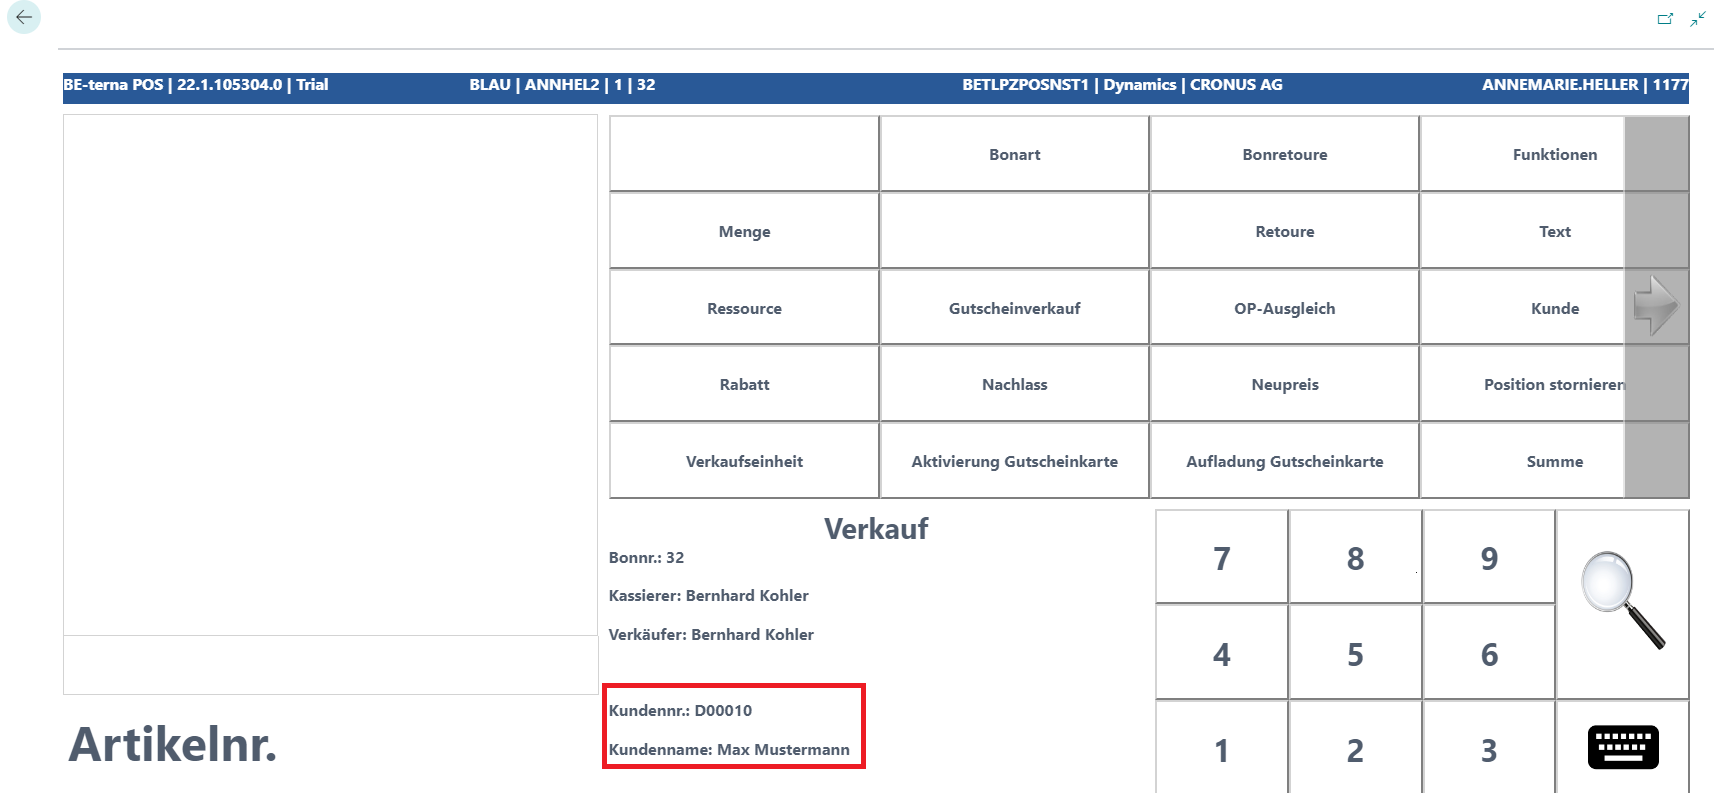
Customer
Note: The following functions are available each time the customer button is selected.
In addition to transferring the customer to the receipt, the customer overview provides further functions. If the Customer button is selected and then the magnifying glass button is chosen, the customer overview opens.
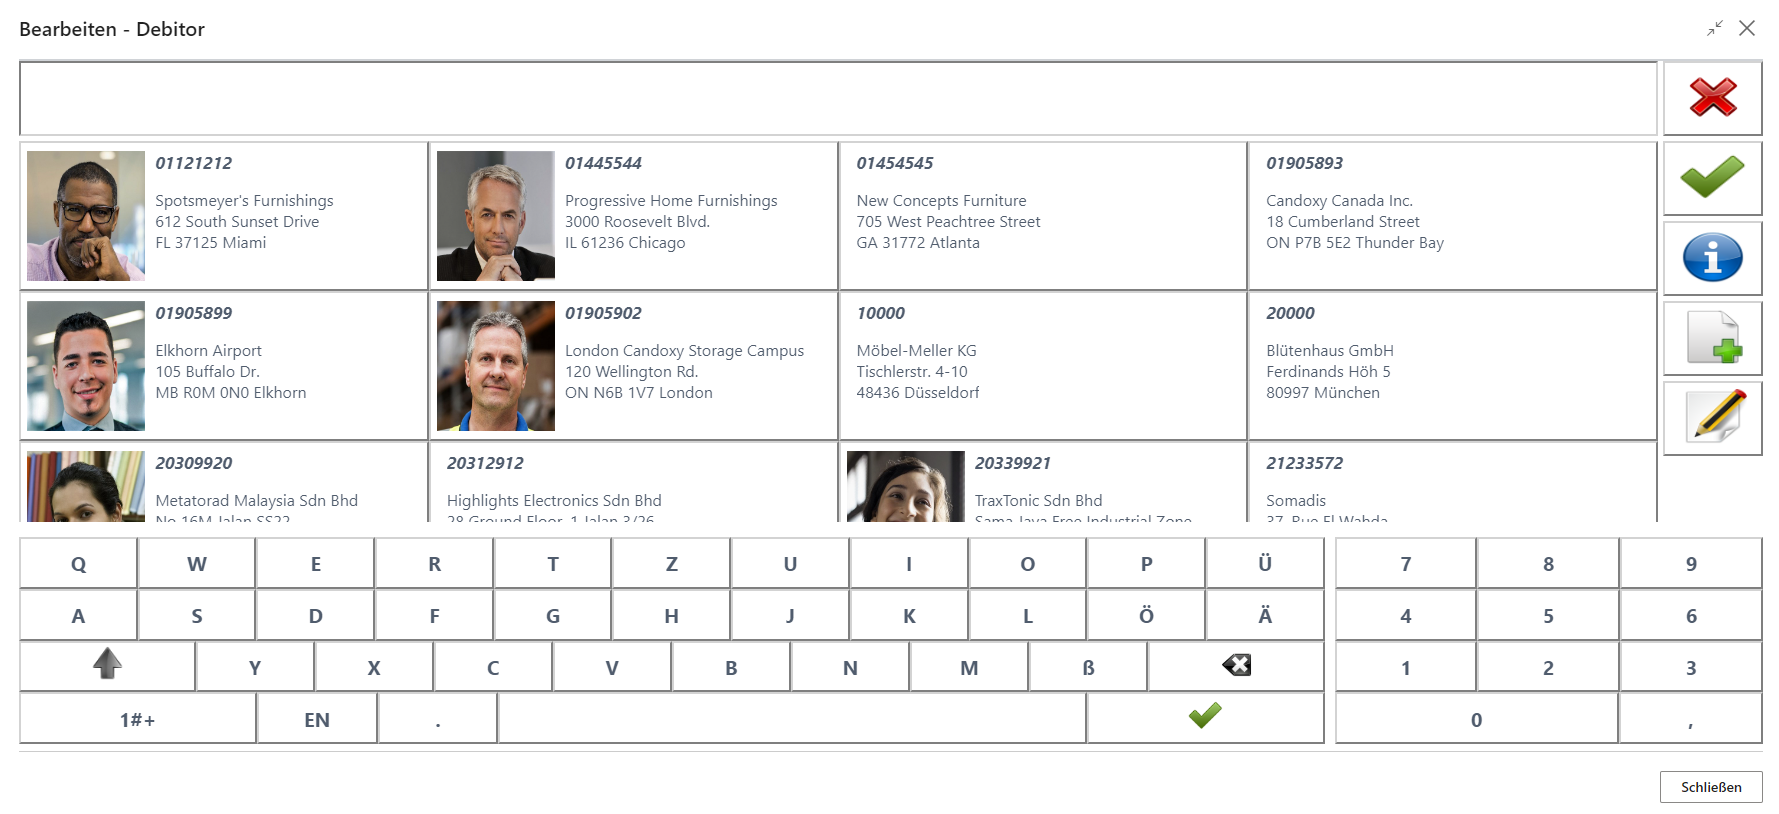
It is now possible to transfer the customer to the receipt, open customer history, create a new customer, or edit an existing customer.
Note: Depending on the setup in the cash register setup, either contacts or customers open at this point.
Customer History
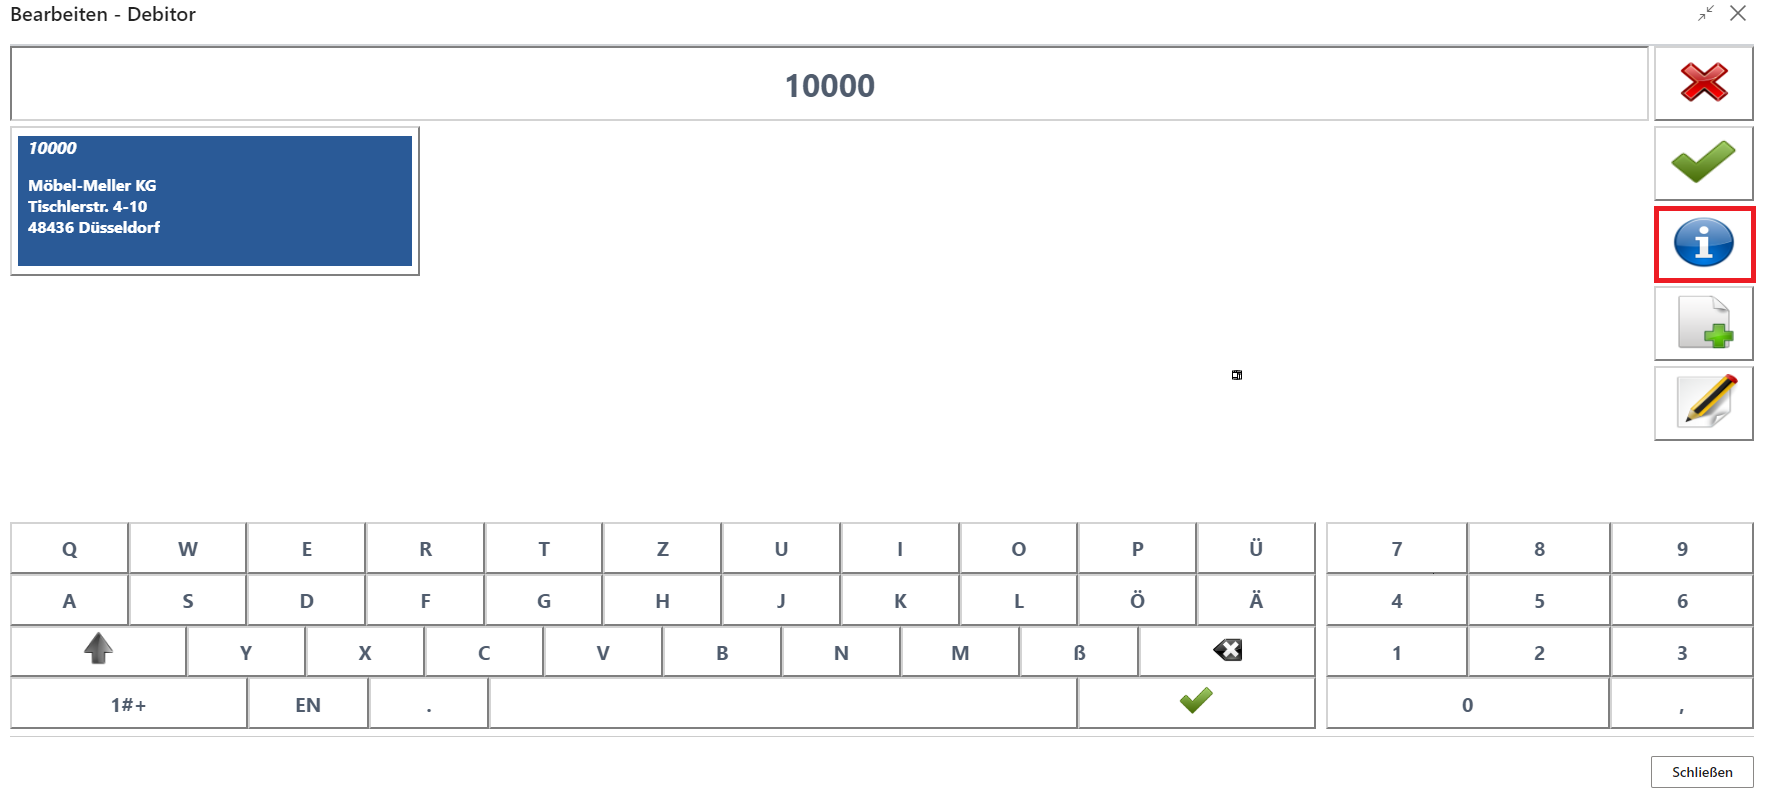
First, use the search function to filter for the relevant customer.

Confirm the customer in the overview with a click.

Then select customer history.
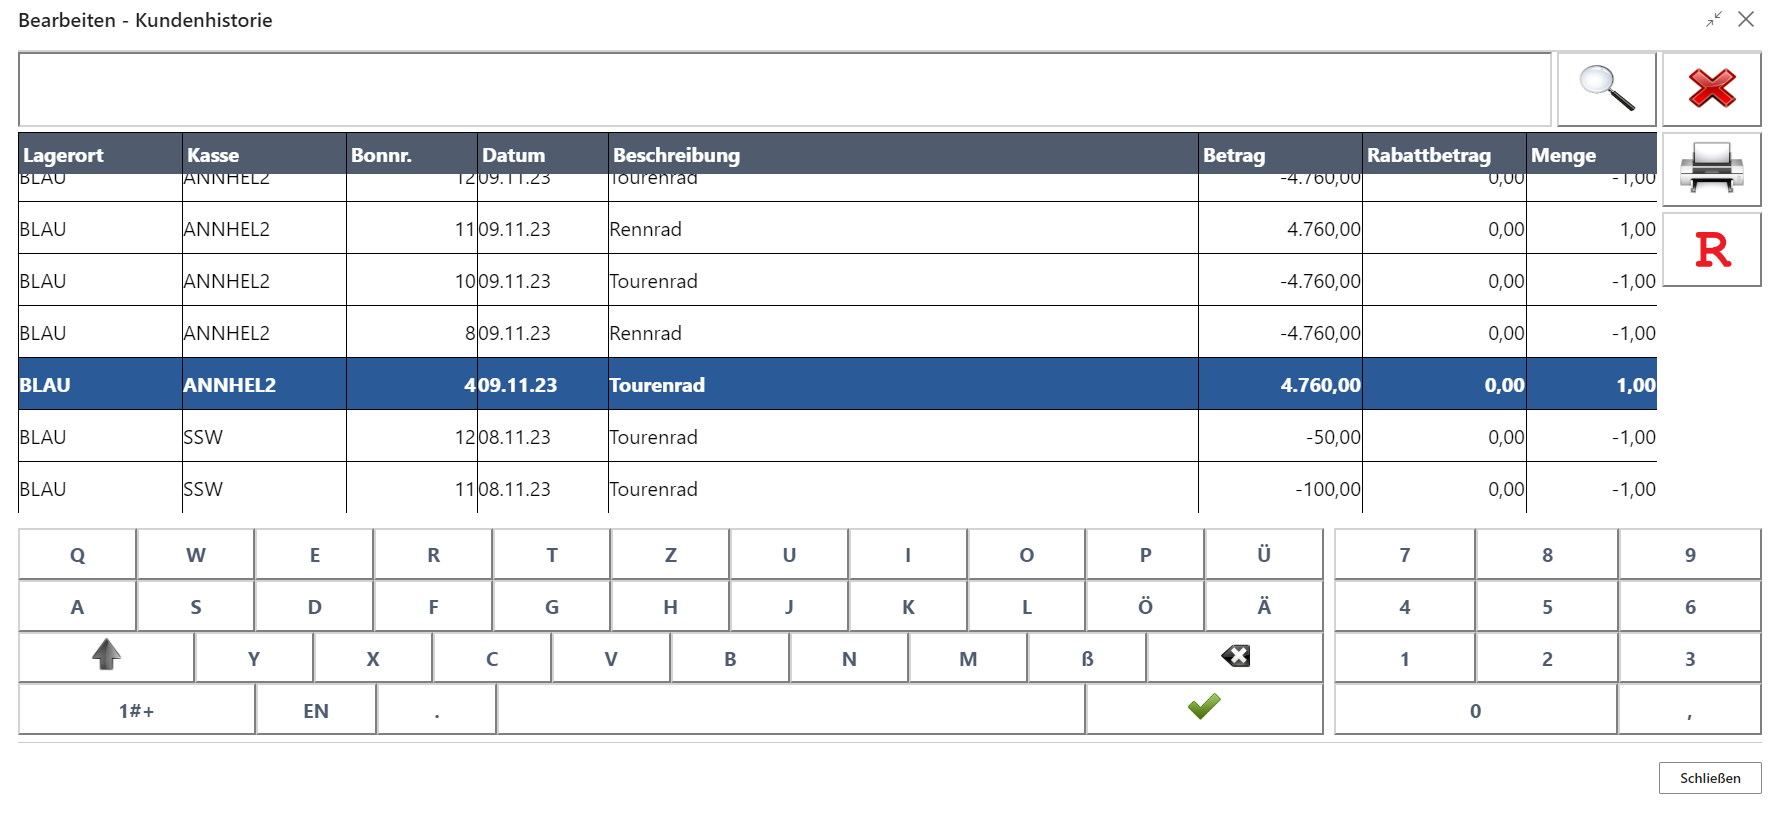
The overview of receipts assigned to the customer opens.
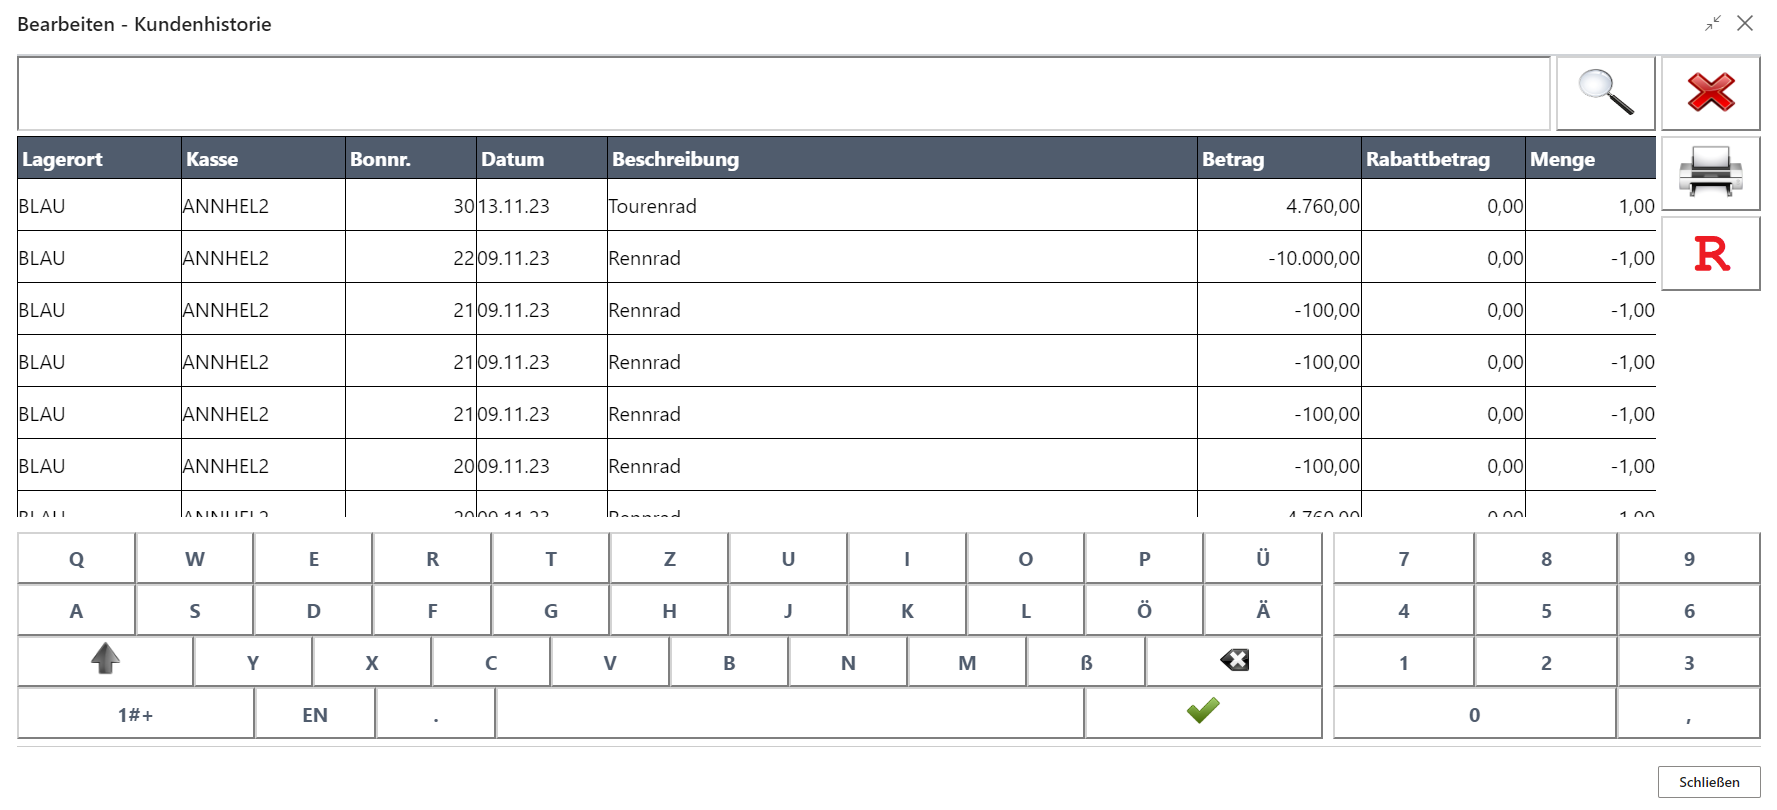
The required receipt can be selected.
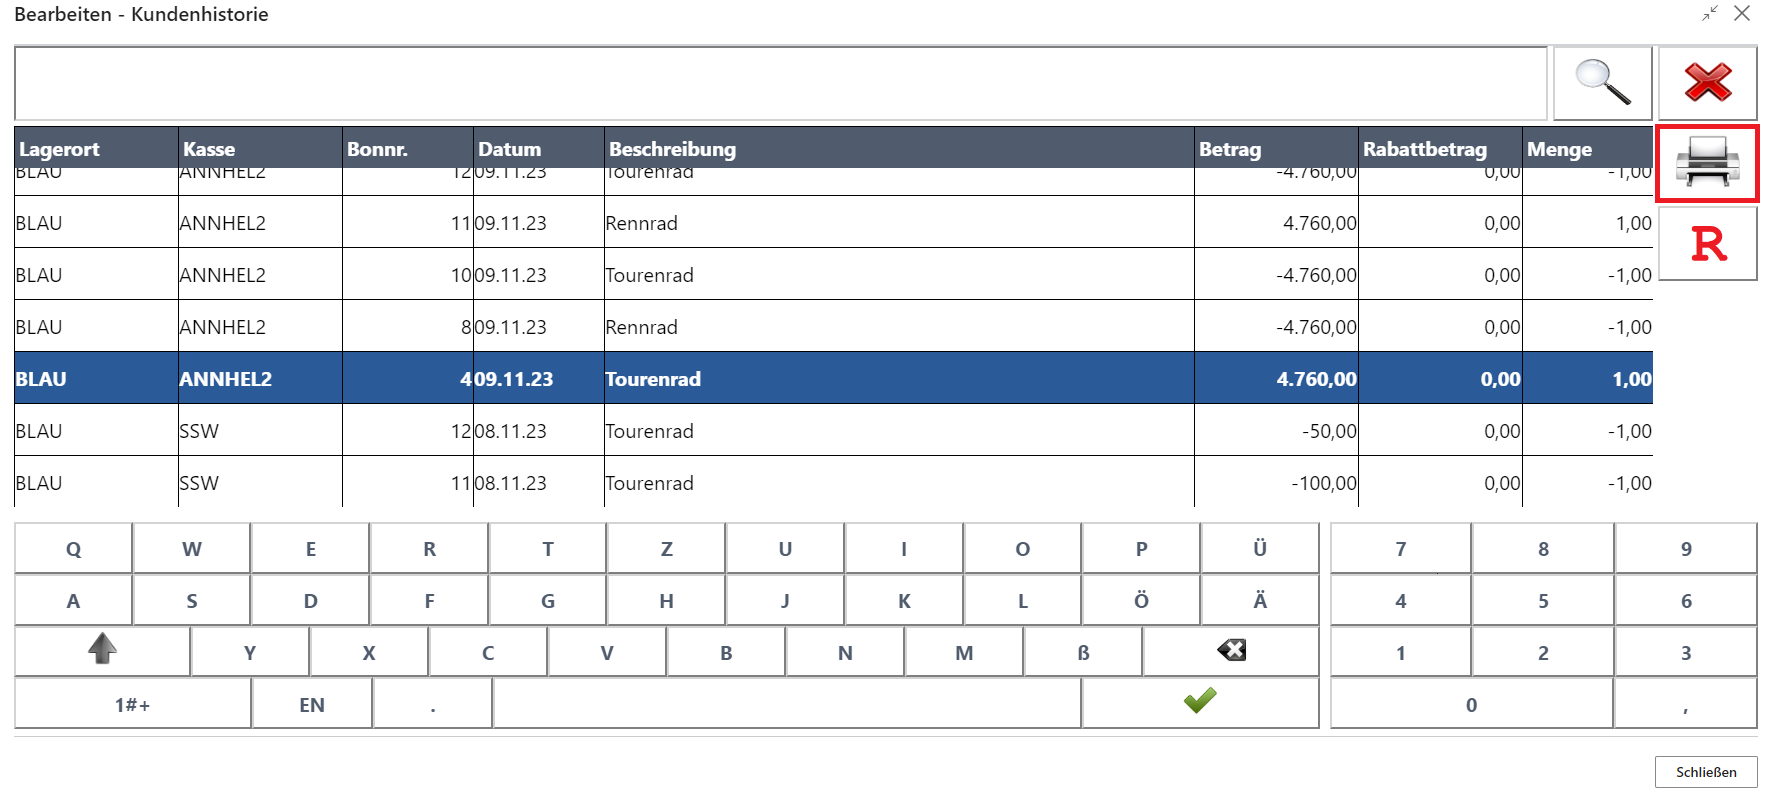
The Printer button reprints the selected receipt and closes the screen.
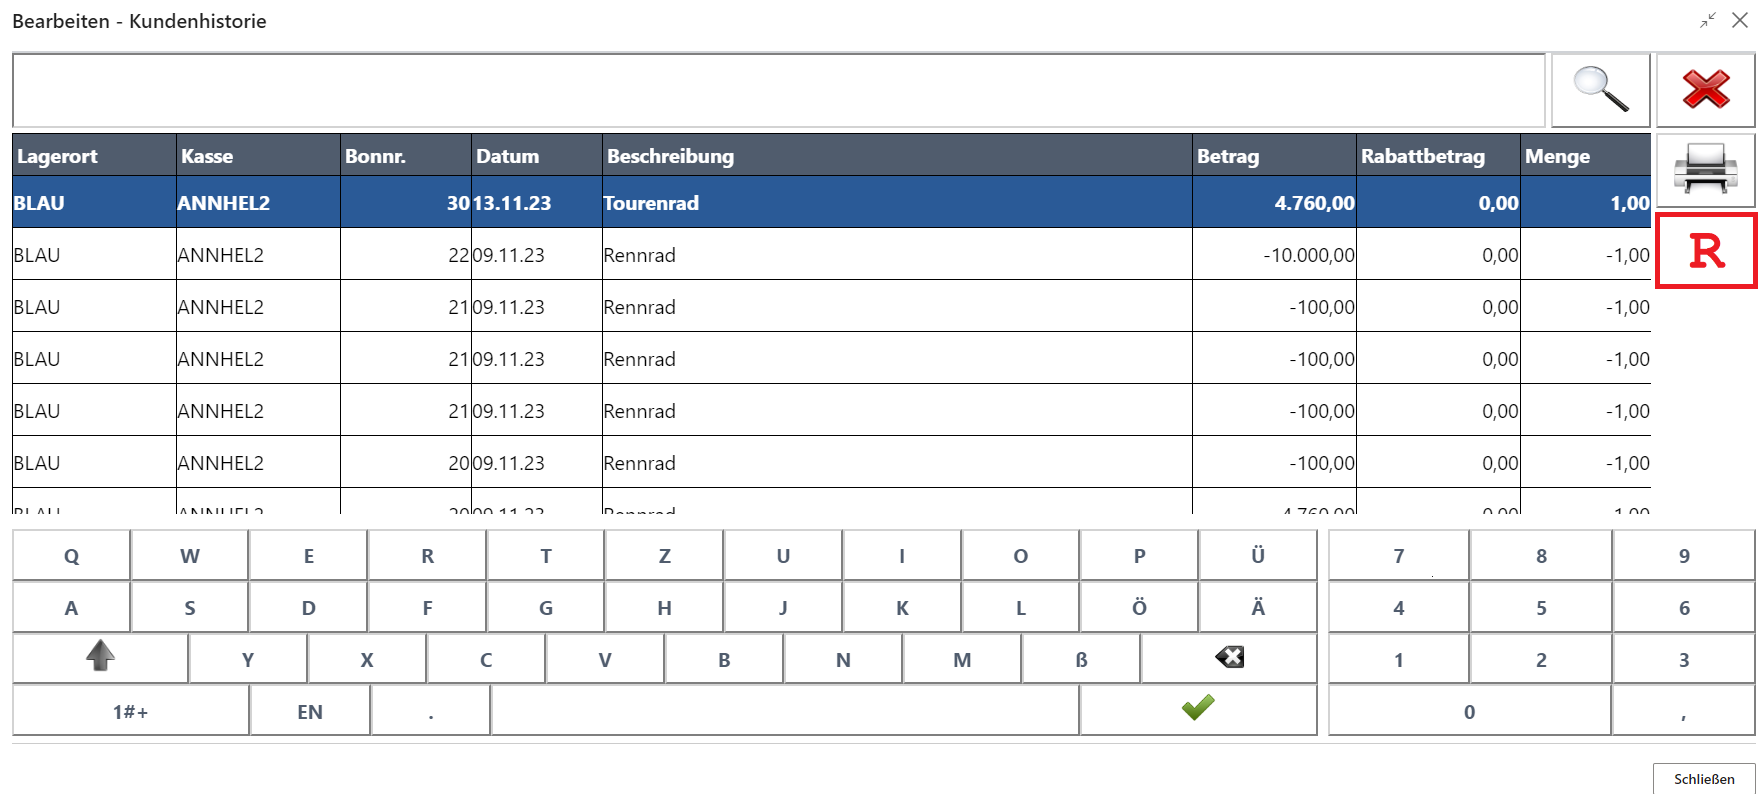
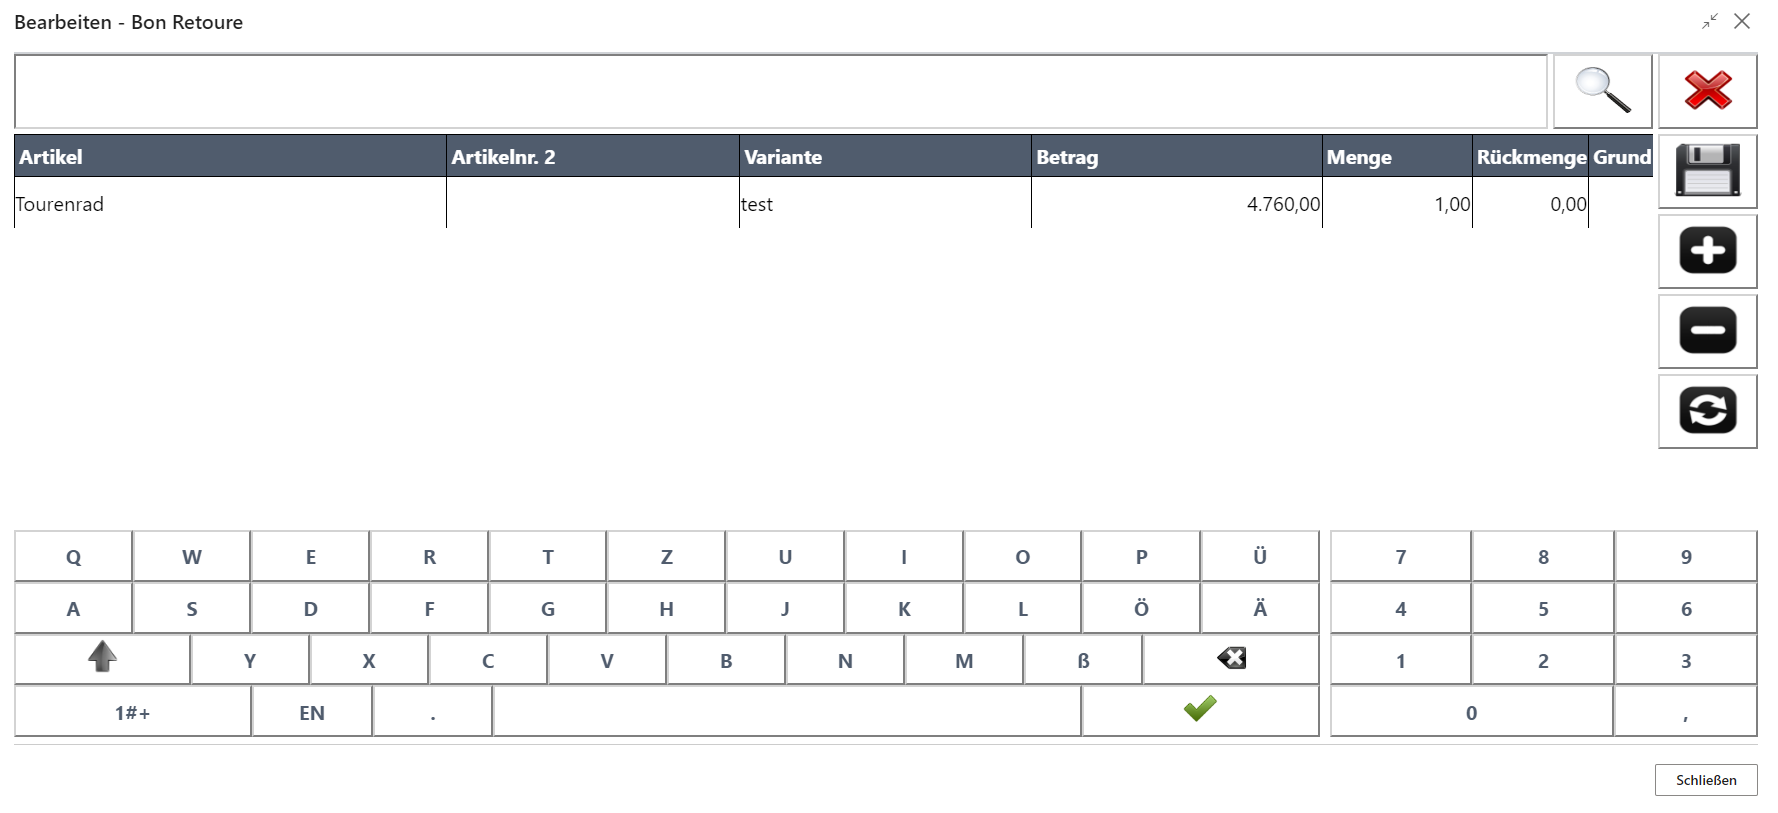
The R button transfers the selected receipt into the cash register’s receipt return mode and it can then be processed as described under Receipt Return.
Create Customer
The Create Customer function can be used to create a customer who does not yet exist in the system.
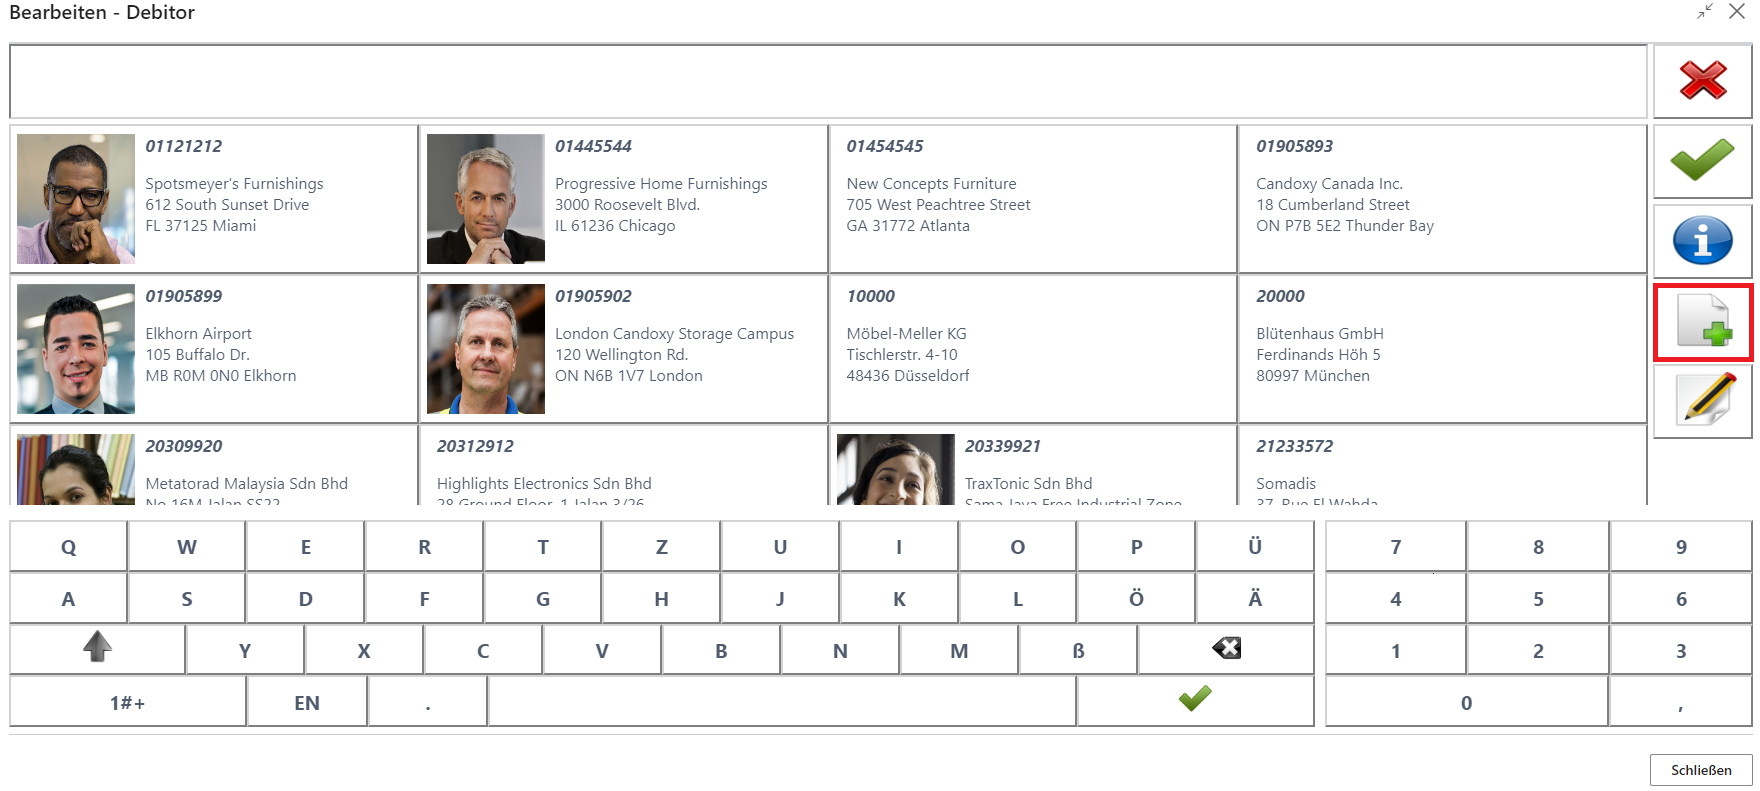
The corresponding screen for creating a contact or customer opens.
Note: The fields to be filled can be defined in the Designer Overview.
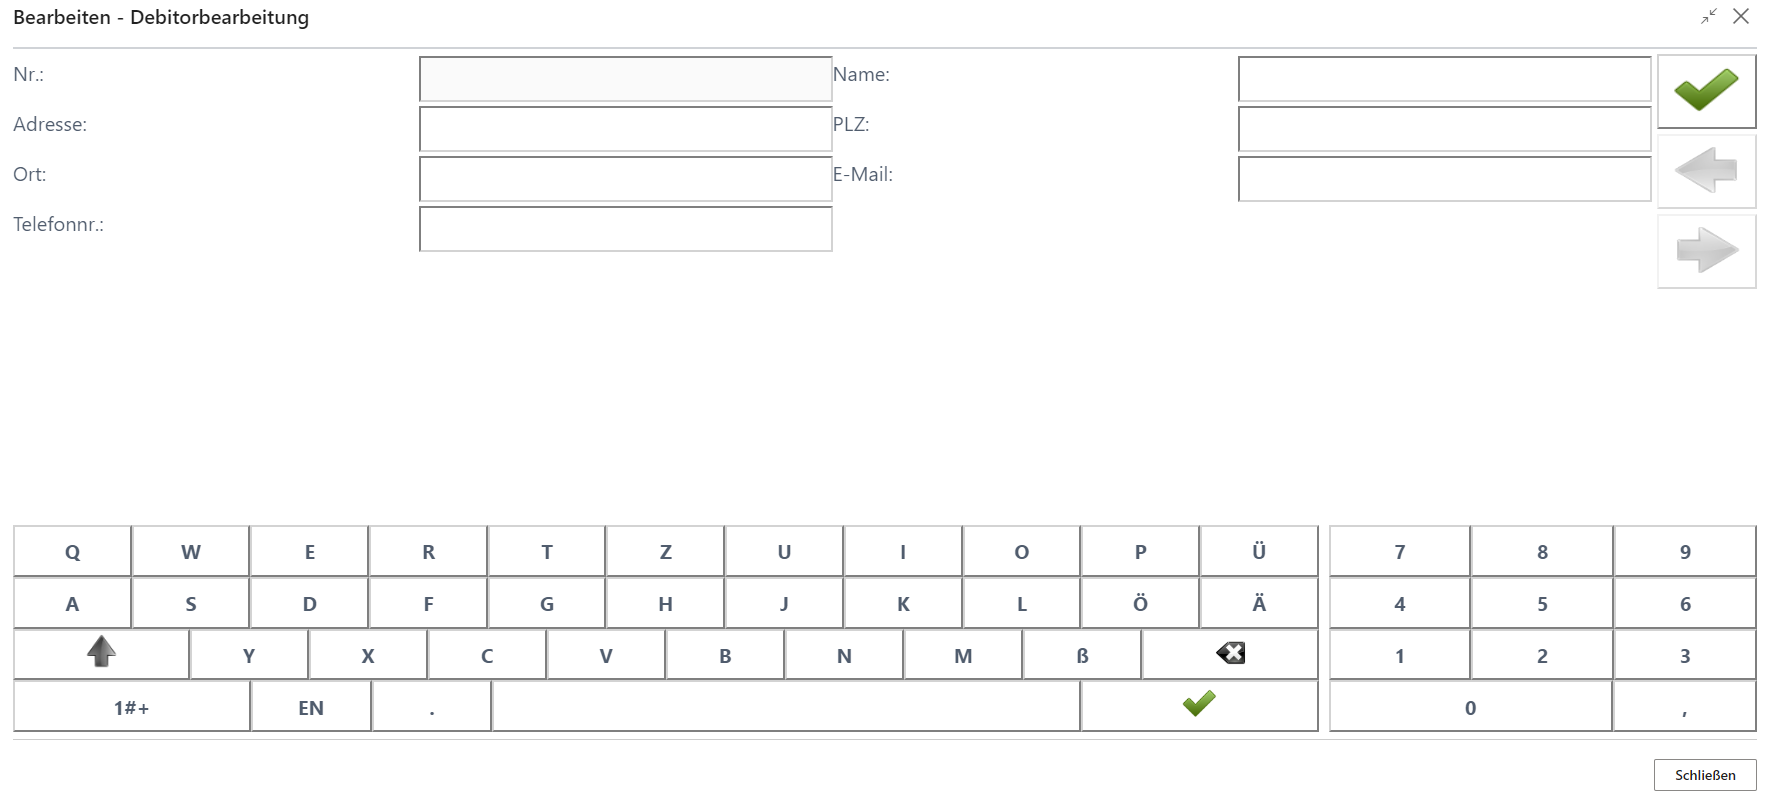
Once the mandatory fields have been completed, the customer can be saved.
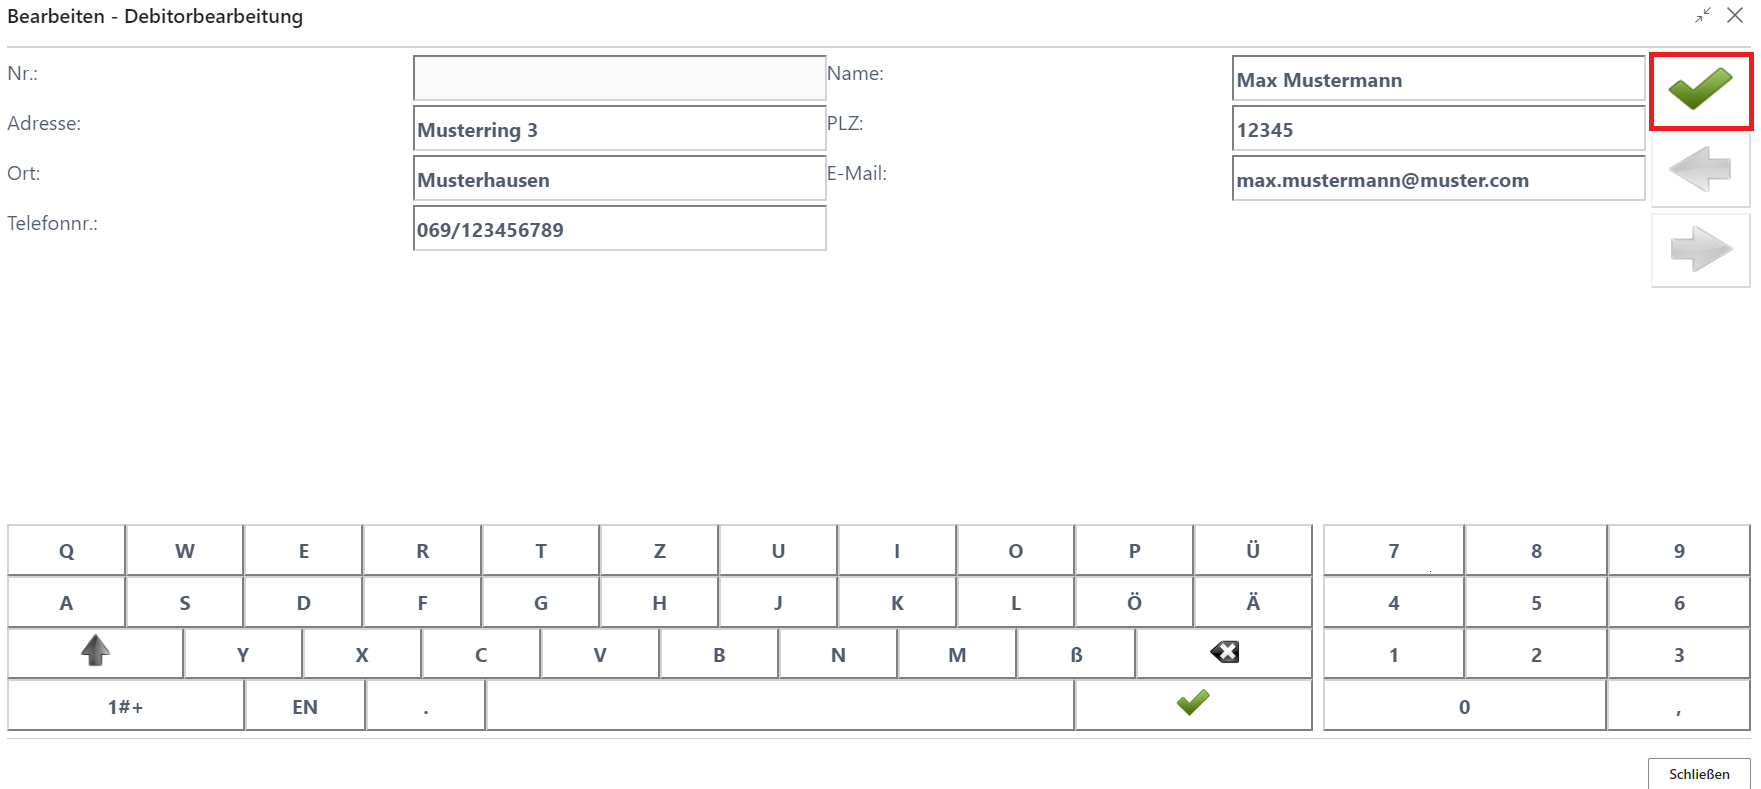
The newly created customer is automatically transferred to the receipt.
Edit Customer
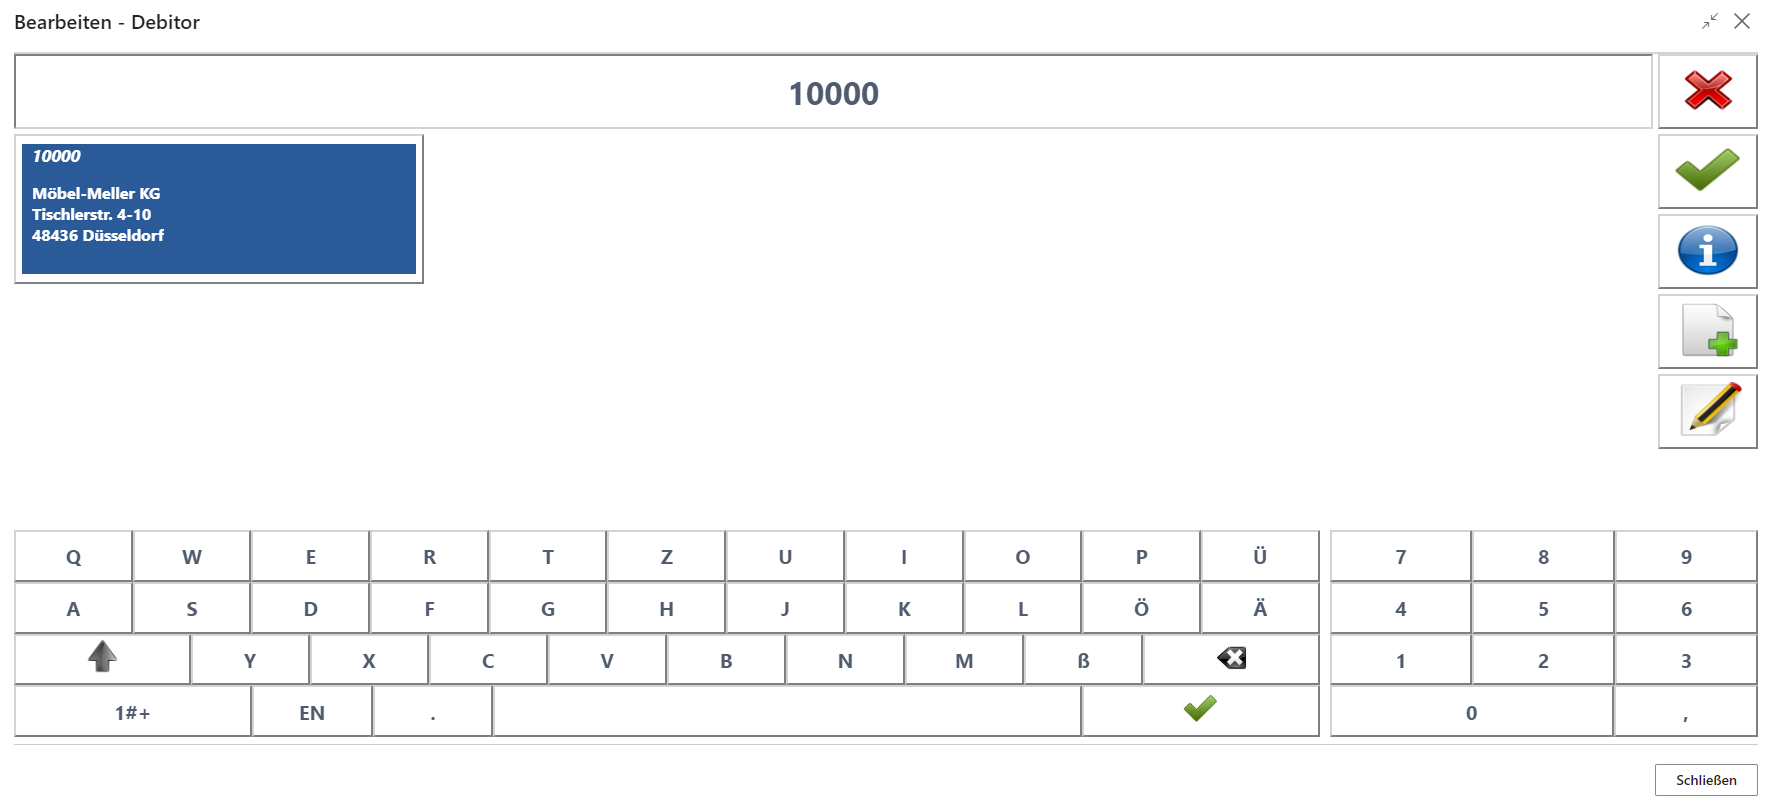
First, use the search function to filter for the relevant customer.
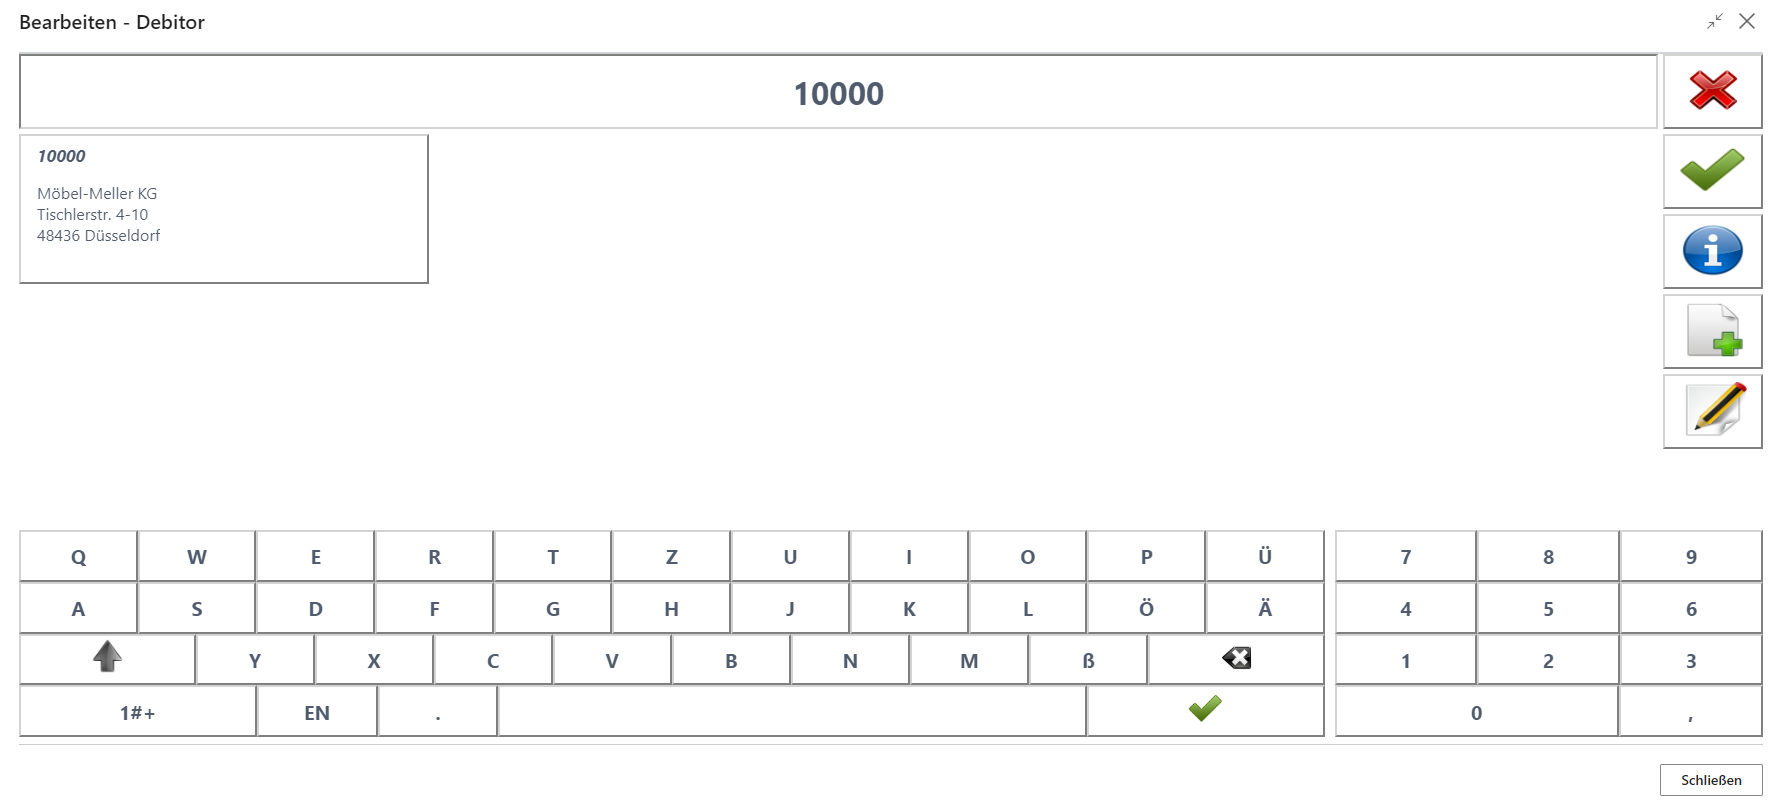
Confirm the customer in the overview with a click.
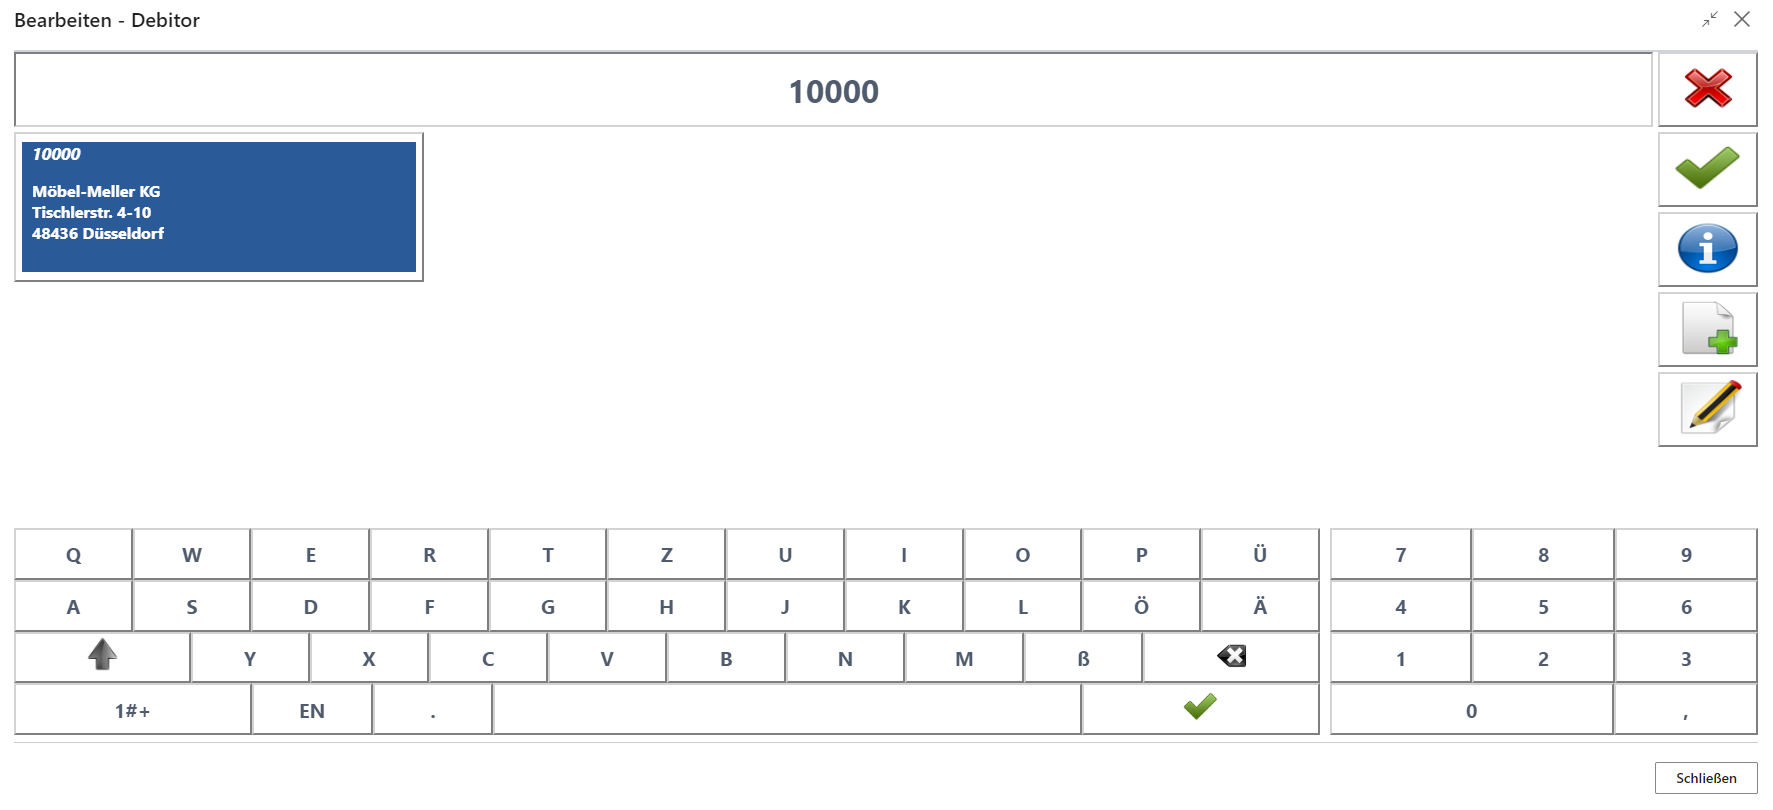
The pencil button is available for editing.
Editable customer fields can now be adjusted accordingly.
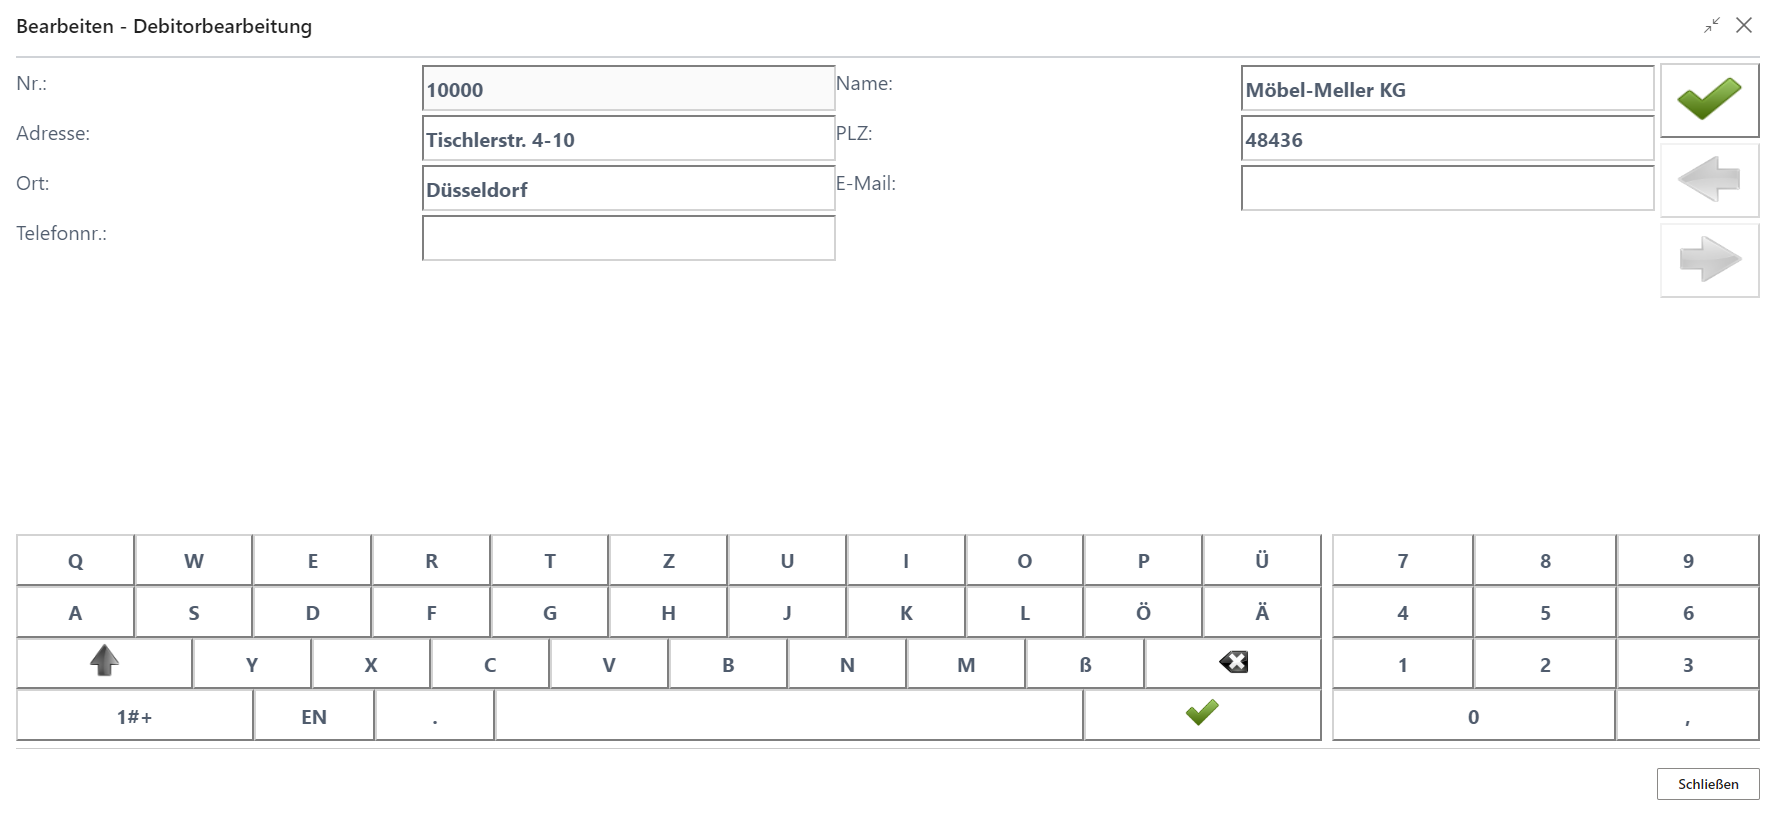
Once the required corrections have been made, the change can be saved.
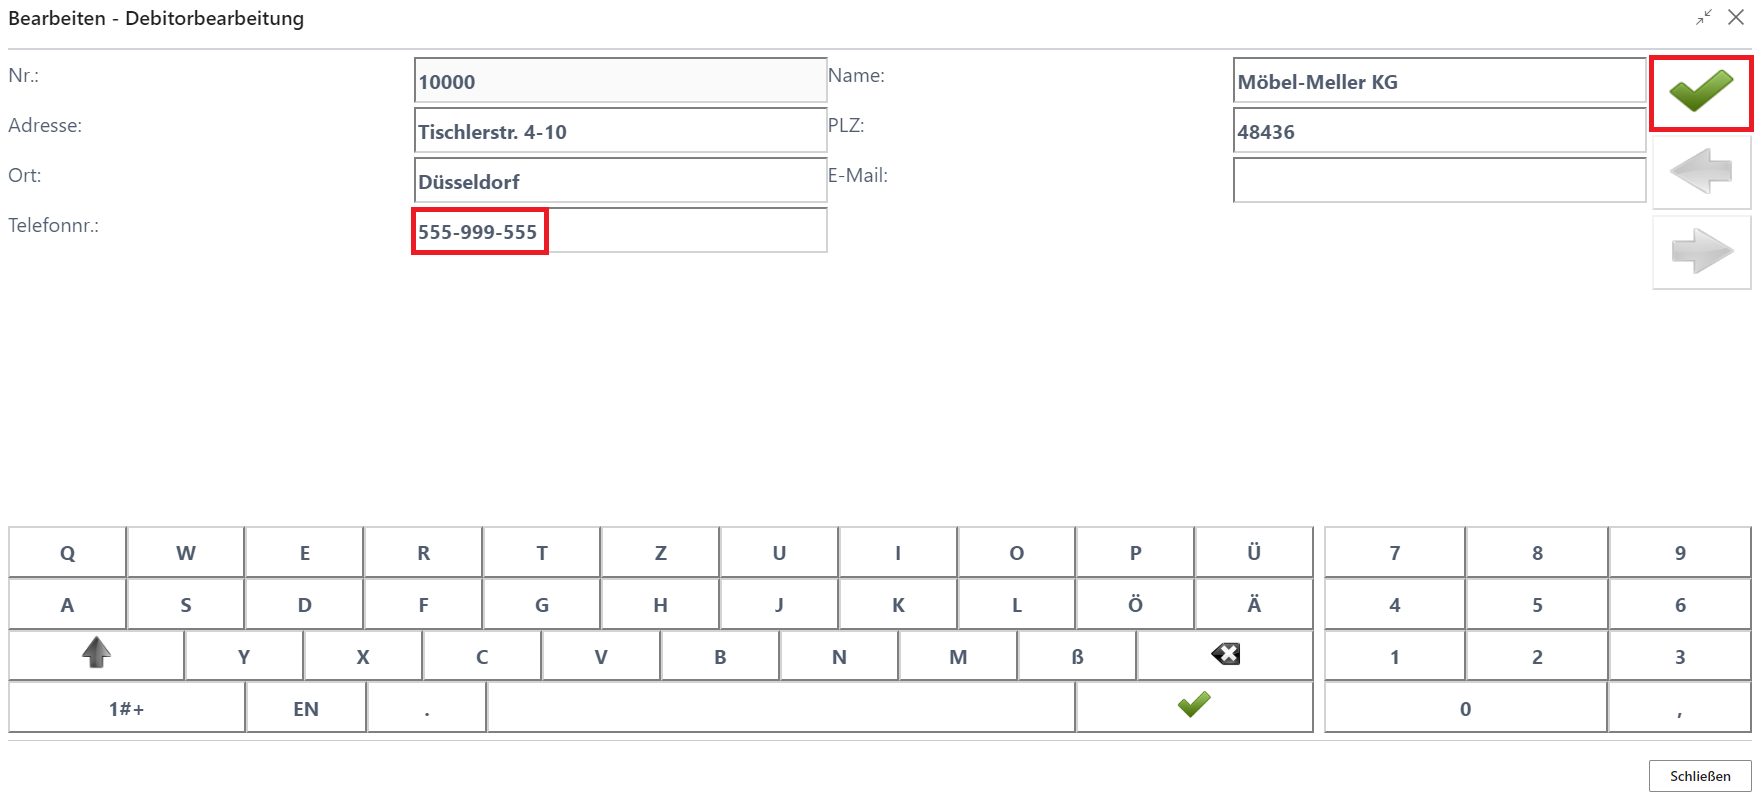
The customer overview opens again and the changed customer can be processed further or the process can be cancelled.
Receipt Copy
The Receipt Copy function is used to reprint a receipt that has already been completed or to send it later by email.
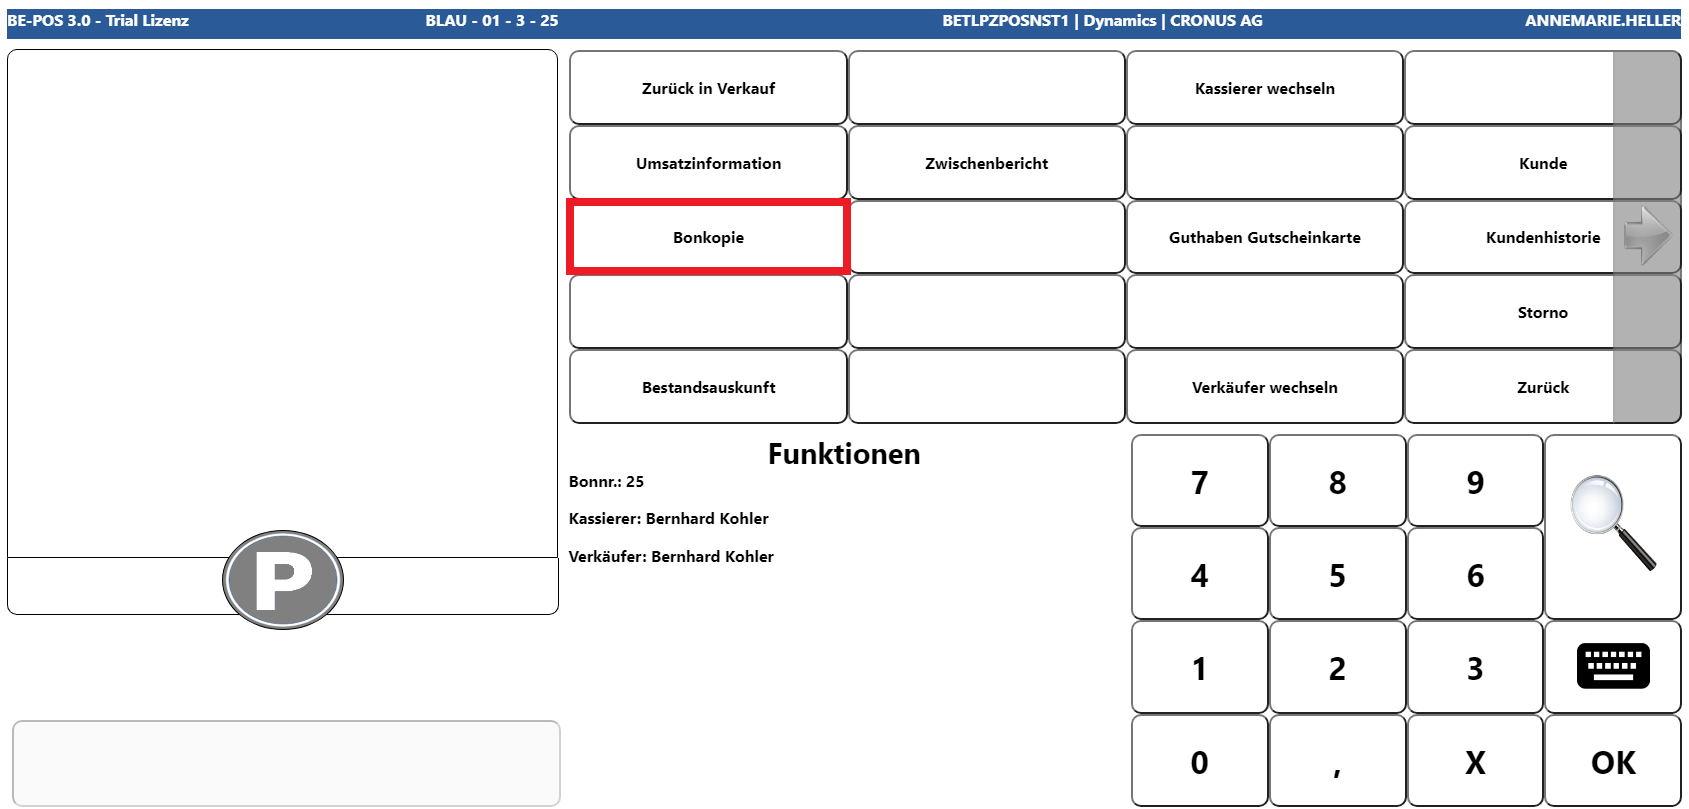
You can then either enter the relevant receipt number directly for immediate reprinting, or use the magnifying glass button to open the receipt overview, which offers both the reprint function via the Printer button and the email function via the Letter button.

Because the receipt number increases continuously for each cash register setup, this function can also be used to reprint or send receipts from earlier POS processes.
Voucher Card Balance
This button exists only when voucher card setup is available and provides the option to display the current balance amount for any card number.
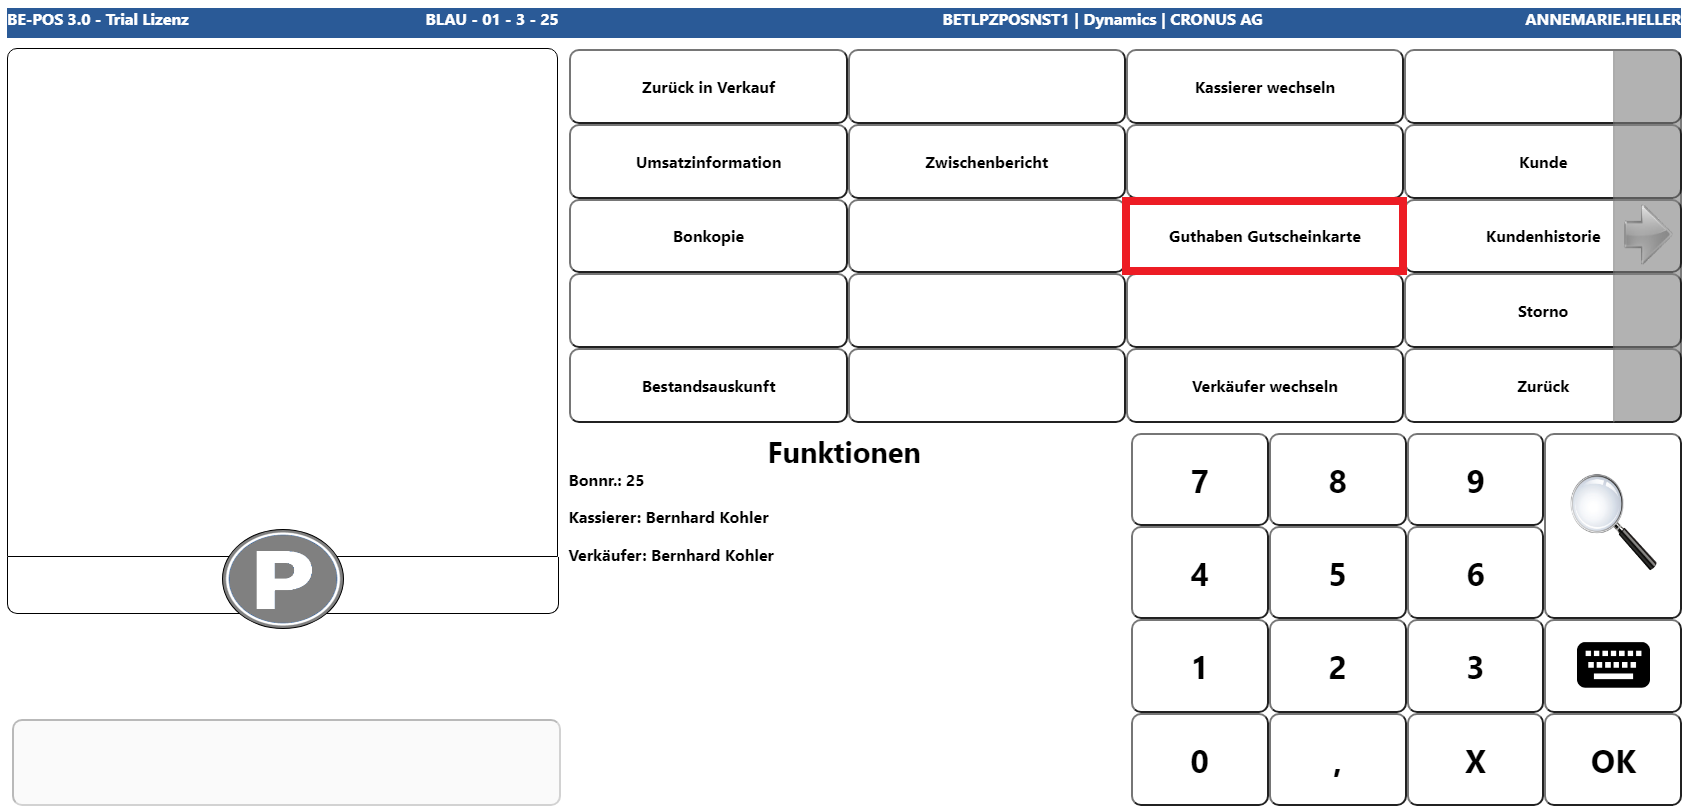
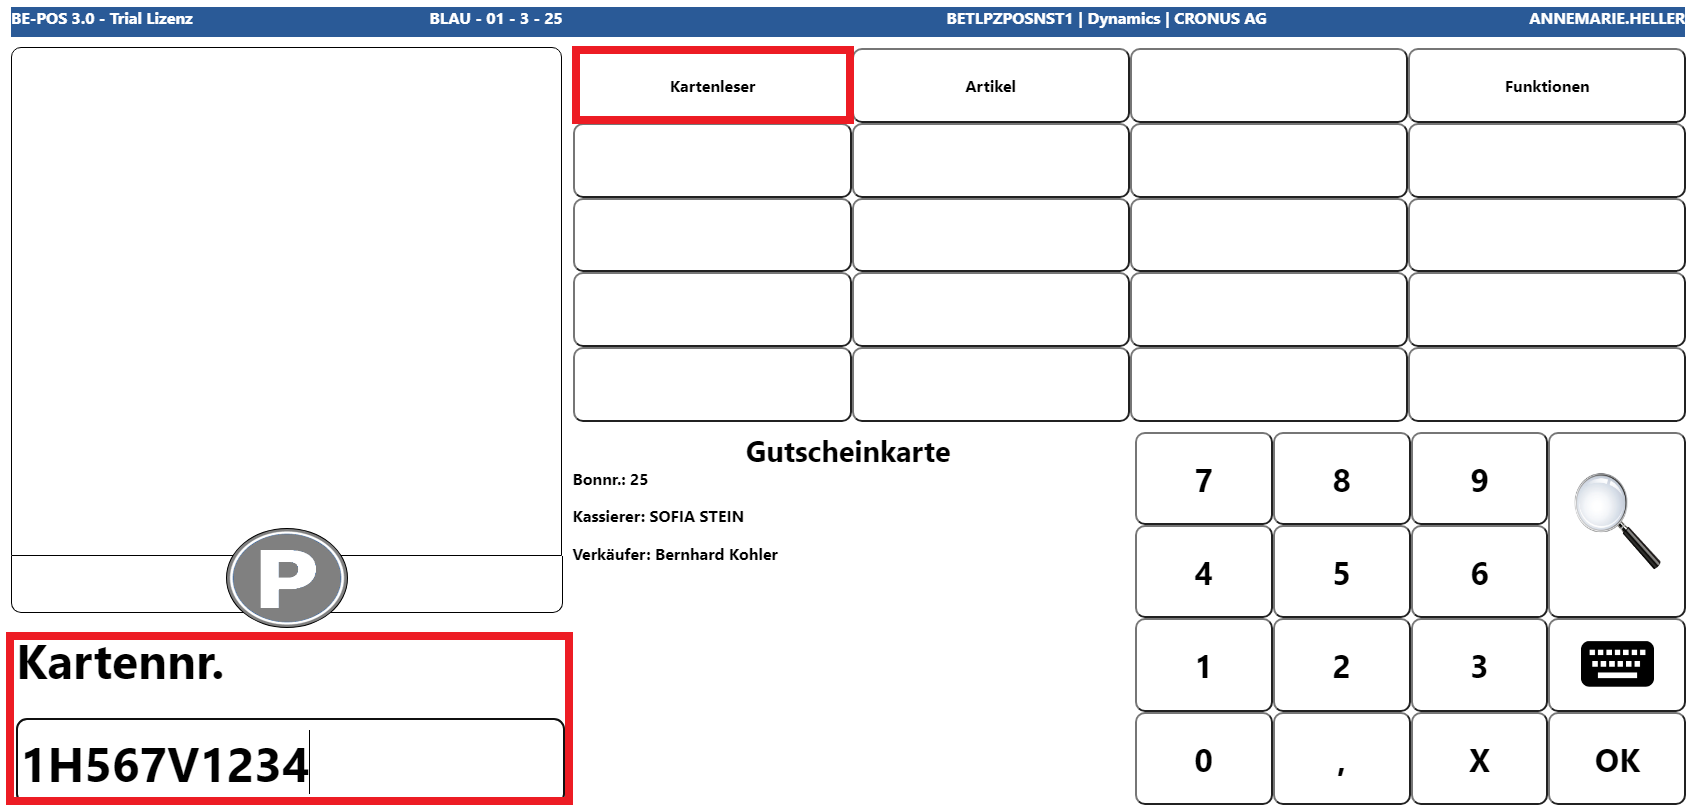
The required card number must then be entered. If a card reader is set up for this purpose, it can be activated via the corresponding button and the card number currently inserted can be read.
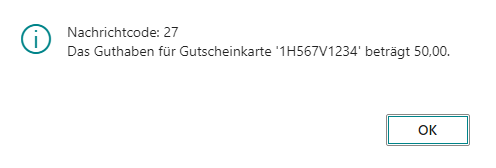
The current balance amount is then displayed.
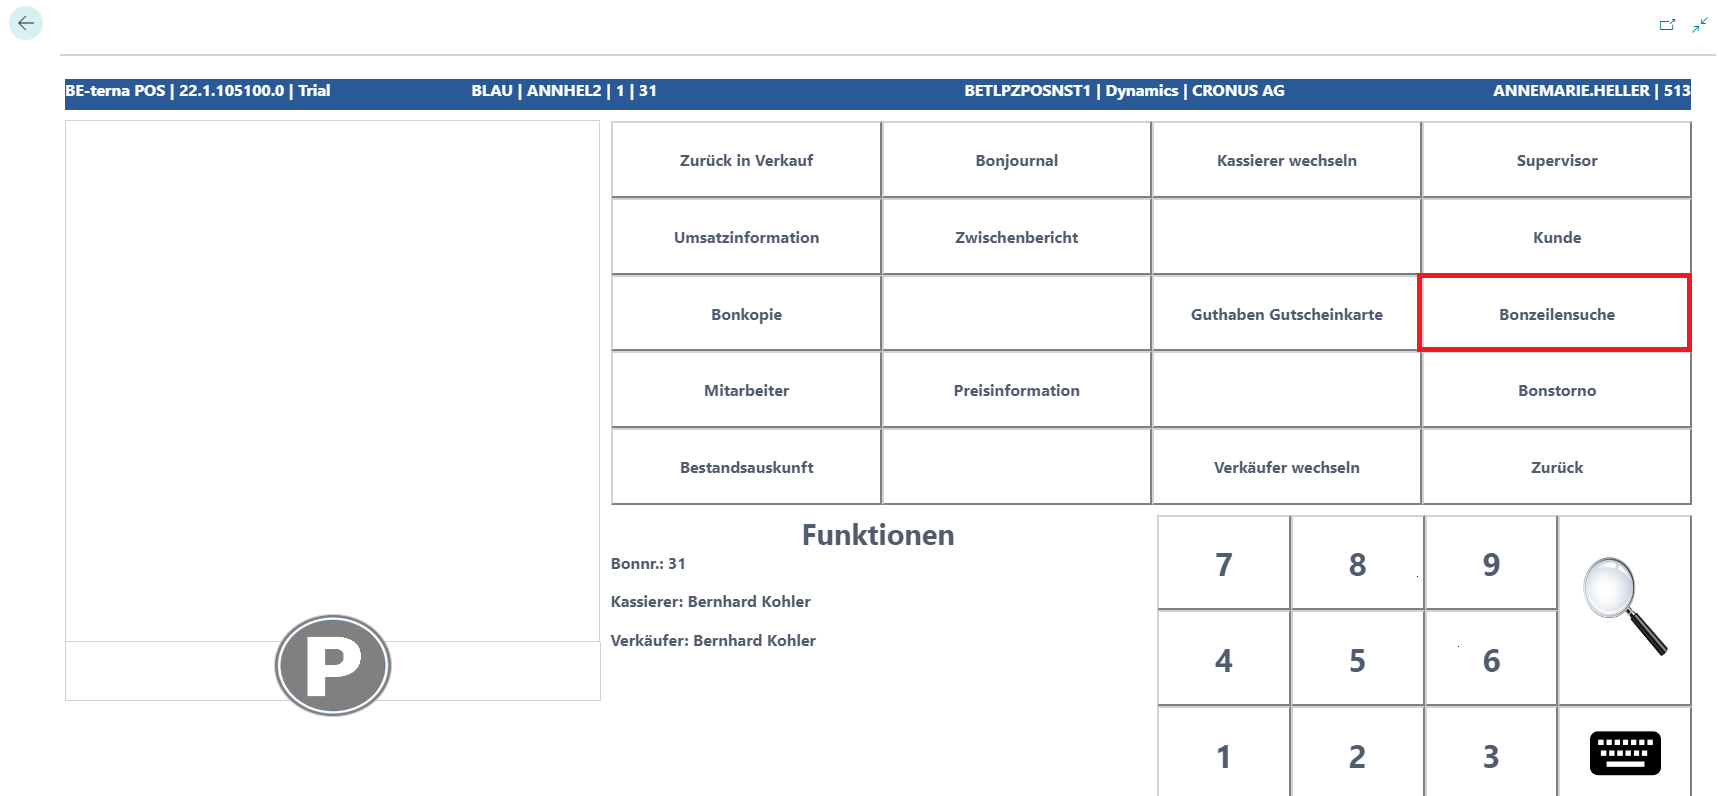
Receipt Line Search
The Receipt Line Search function makes it possible to filter sales, payment, and discount lines across all receipts.
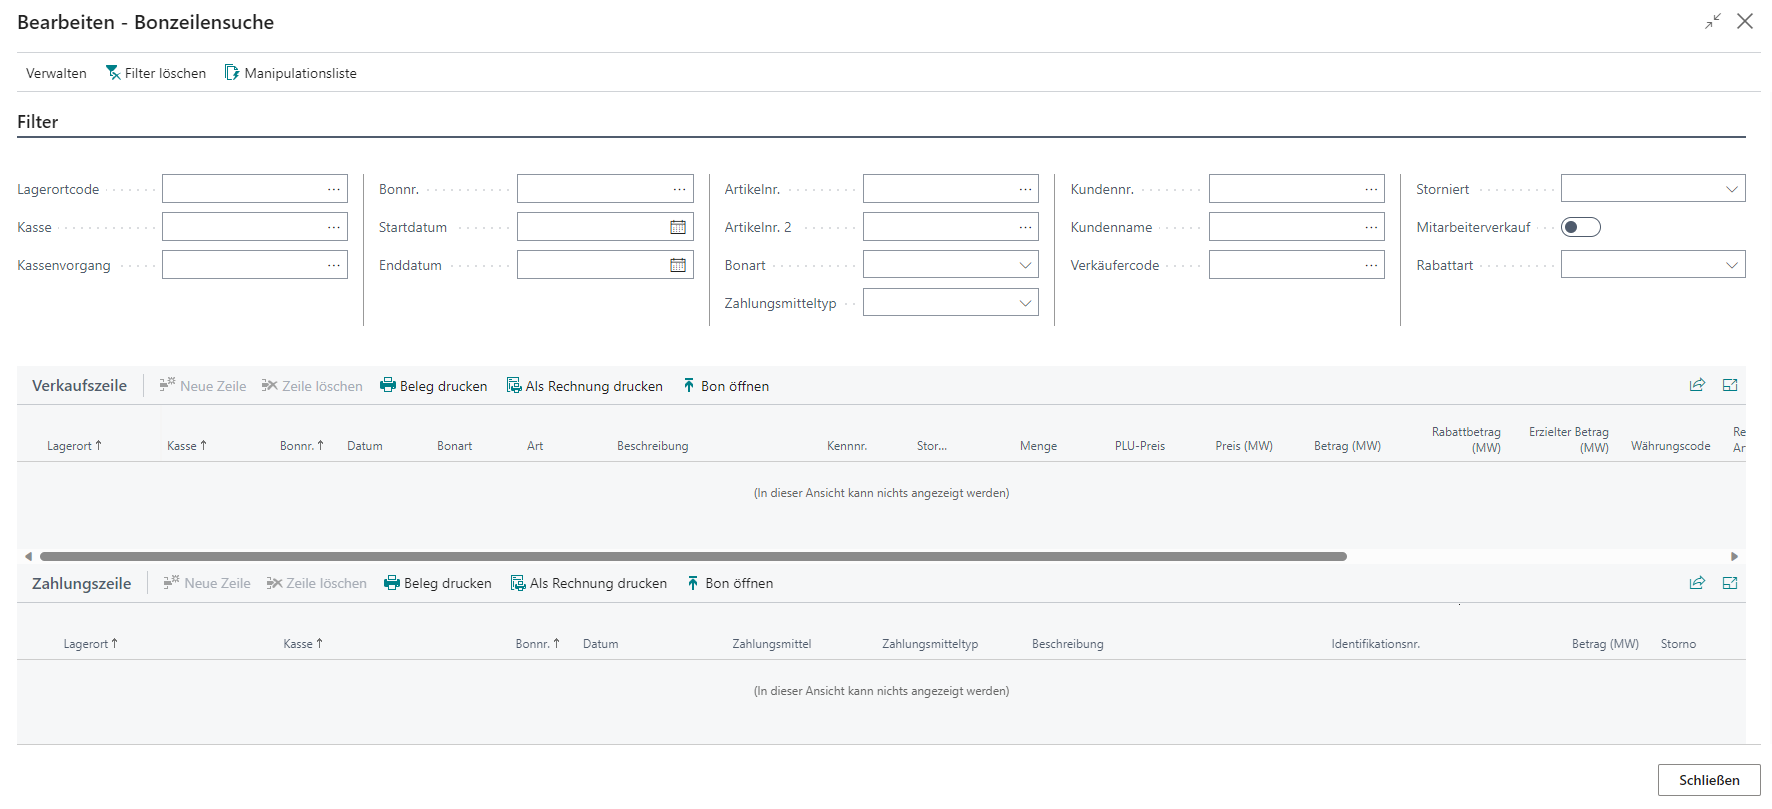
| Field | Description |
|---|---|
| Location Code | Specifies the location code to filter by. |
| Cash Register | Specifies the cash register name to filter by. |
| POS Process | Sets the filter to a POS process number. |
| Receipt No. | Sets the filter to a receipt number. |
| Start Date | Defines the start date for the search period. |
| End Date | Defines the end date for the search period. |
| Item No. | Specifies the item number to filter by. |
| Receipt Type | Filters receipt lines by a specific receipt type. |
| Tender Type | Filters payment lines by the defined tender type. |
| Customer No. | Sets the filter to a customer number. |
| Customer Name | Sets the filter to a specific customer name. |
| Salesperson Code | Specifies the salesperson code to filter by. |
| Canceled | Defines whether only canceled receipts are to be displayed. |
| Employee Sale | Filters lines to receipts with an employee sale. |
| Discount Type | Filters receipt lines by a specific discount type. |
If receipt lines exist for the filters that have been set, they are displayed in the corresponding overviews below the filters.
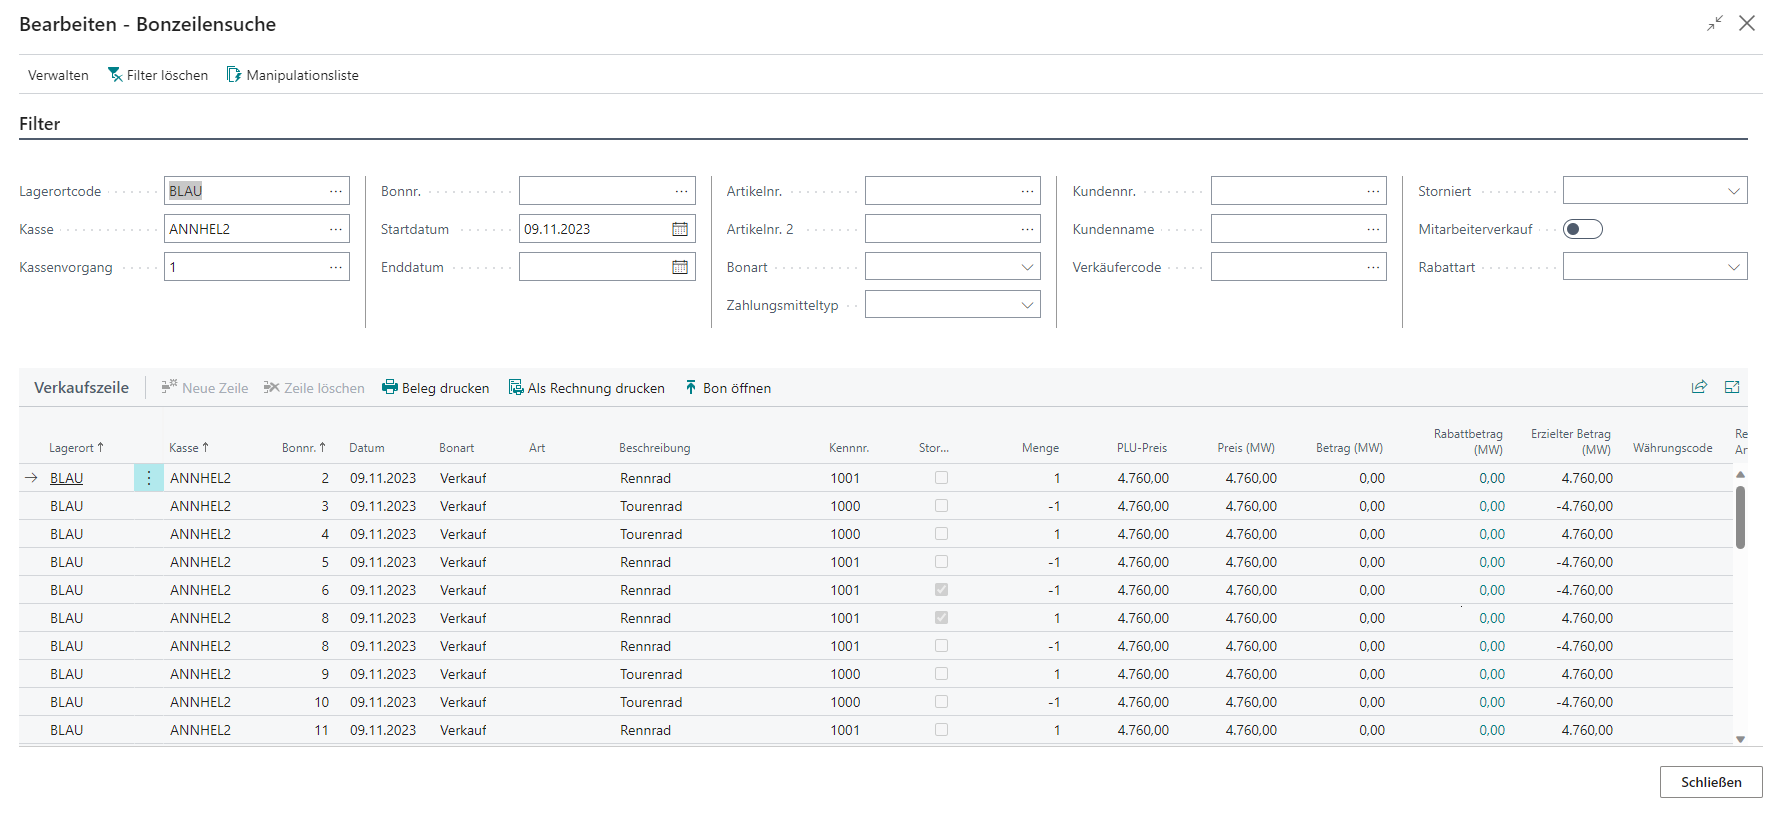
After selecting the required line, or when an exact filter for a receipt has been applied, the following functions are available.
| Field | Description |
|---|---|
| Print Receipt | Prints the selected receipt |
| Reprint as Invoice | Prints the receipt as an invoice document |
| Open Receipt | Opens the selected receipt in the receipt card |
Price Information
The Price Information function can be used to display the current price of the relevant item.
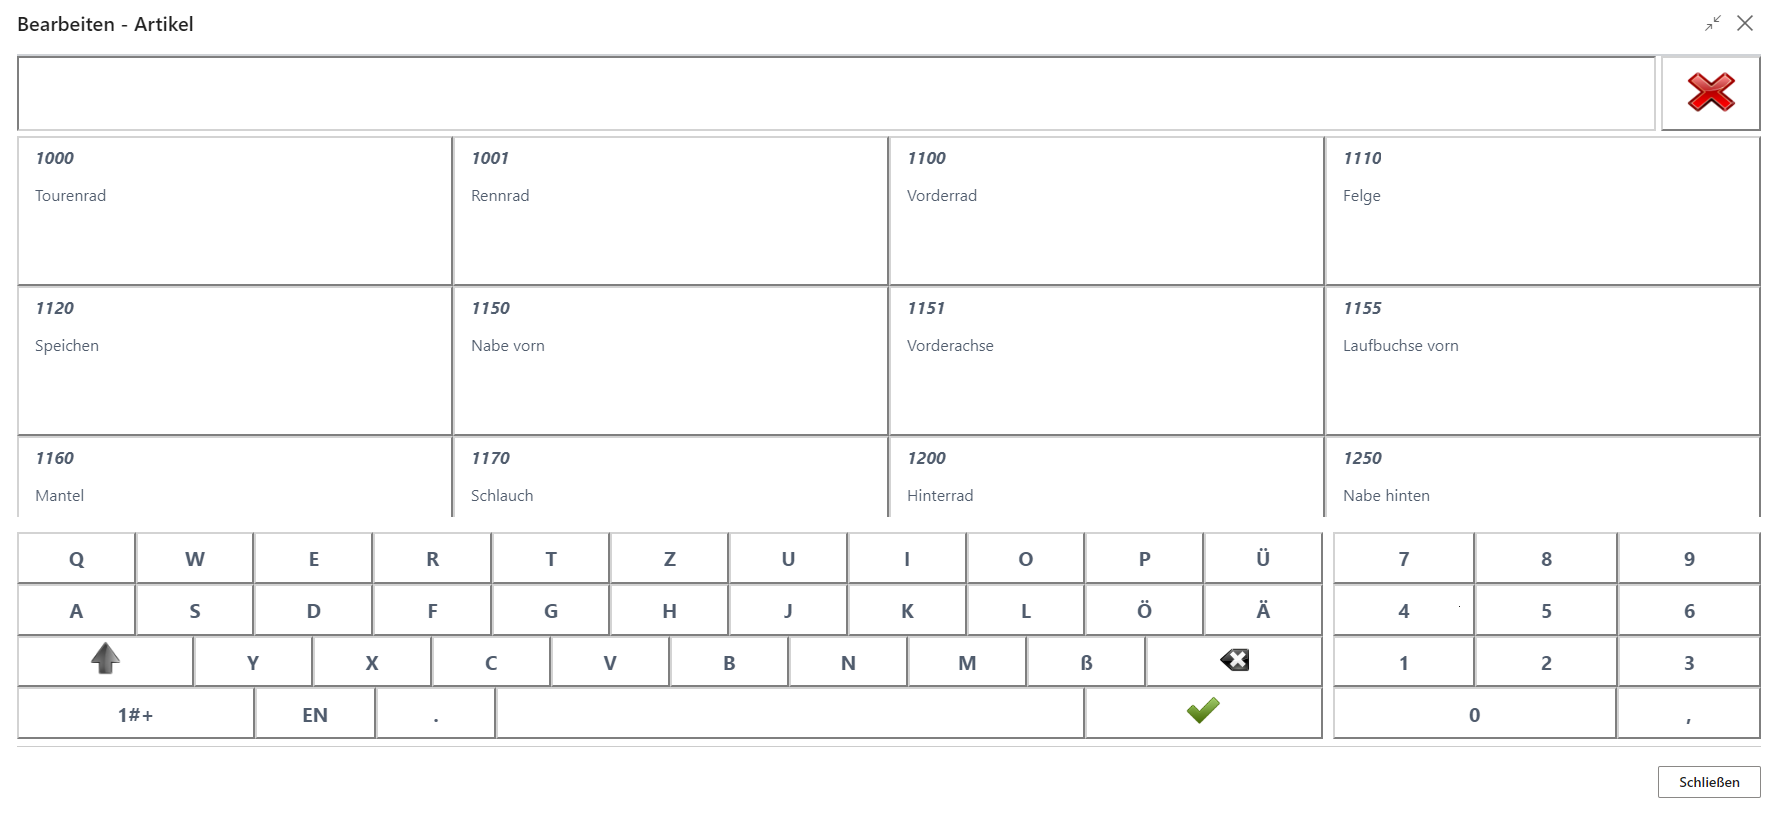
The price inquiry opens. The search field can be prefiltered by EAN or item number.

If the item is found, the current price lines are displayed.
 Click to enlarge
If the EAN or item number is not known, the item overview opens and the relevant item can be searched for.
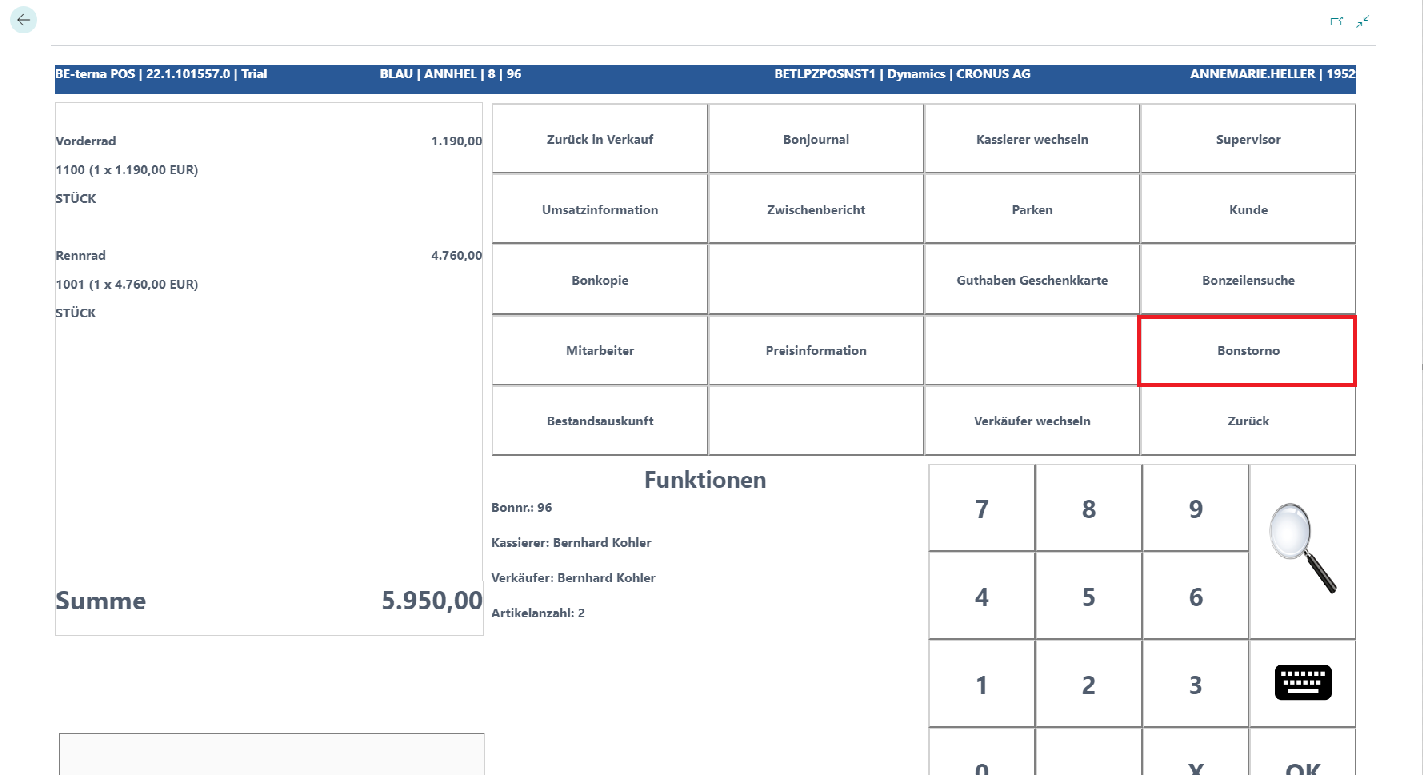
Cancel Receipt
The Cancel Receipt function can be used to cancel the current receipt completely.
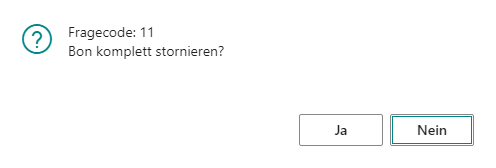
If the prompt that appears is confirmed with Yes, the entire receipt is marked as canceled and a new receipt is started. If the receipt to be canceled still contains uncanceled voucher card or EC payment lines, the system also tries to cancel these.
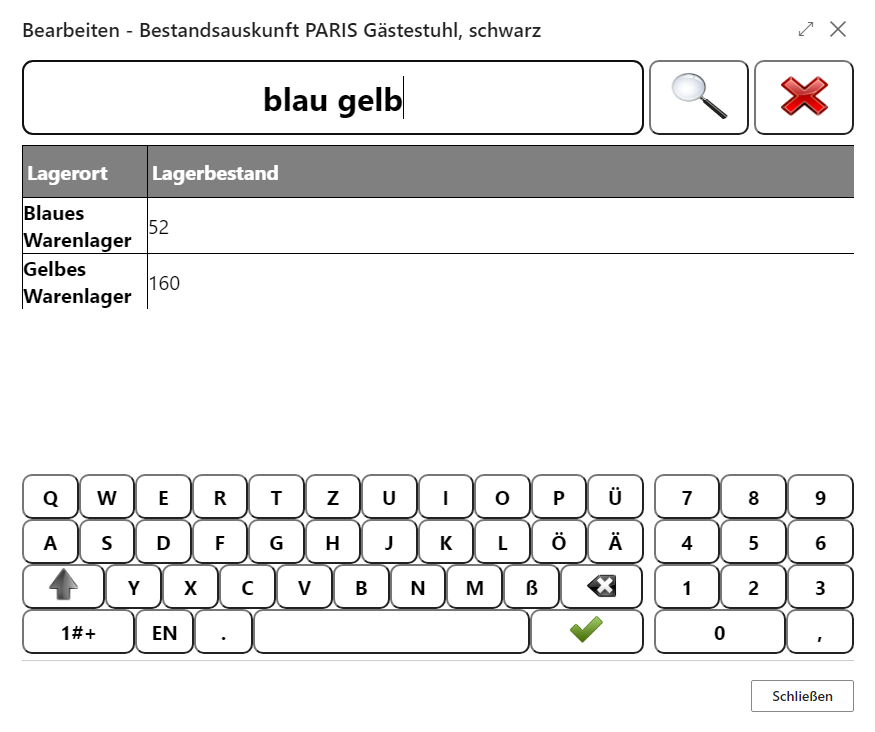
Item Inventory
The Item Inventory function provides the option to view the location-specific inventory of a particular item.
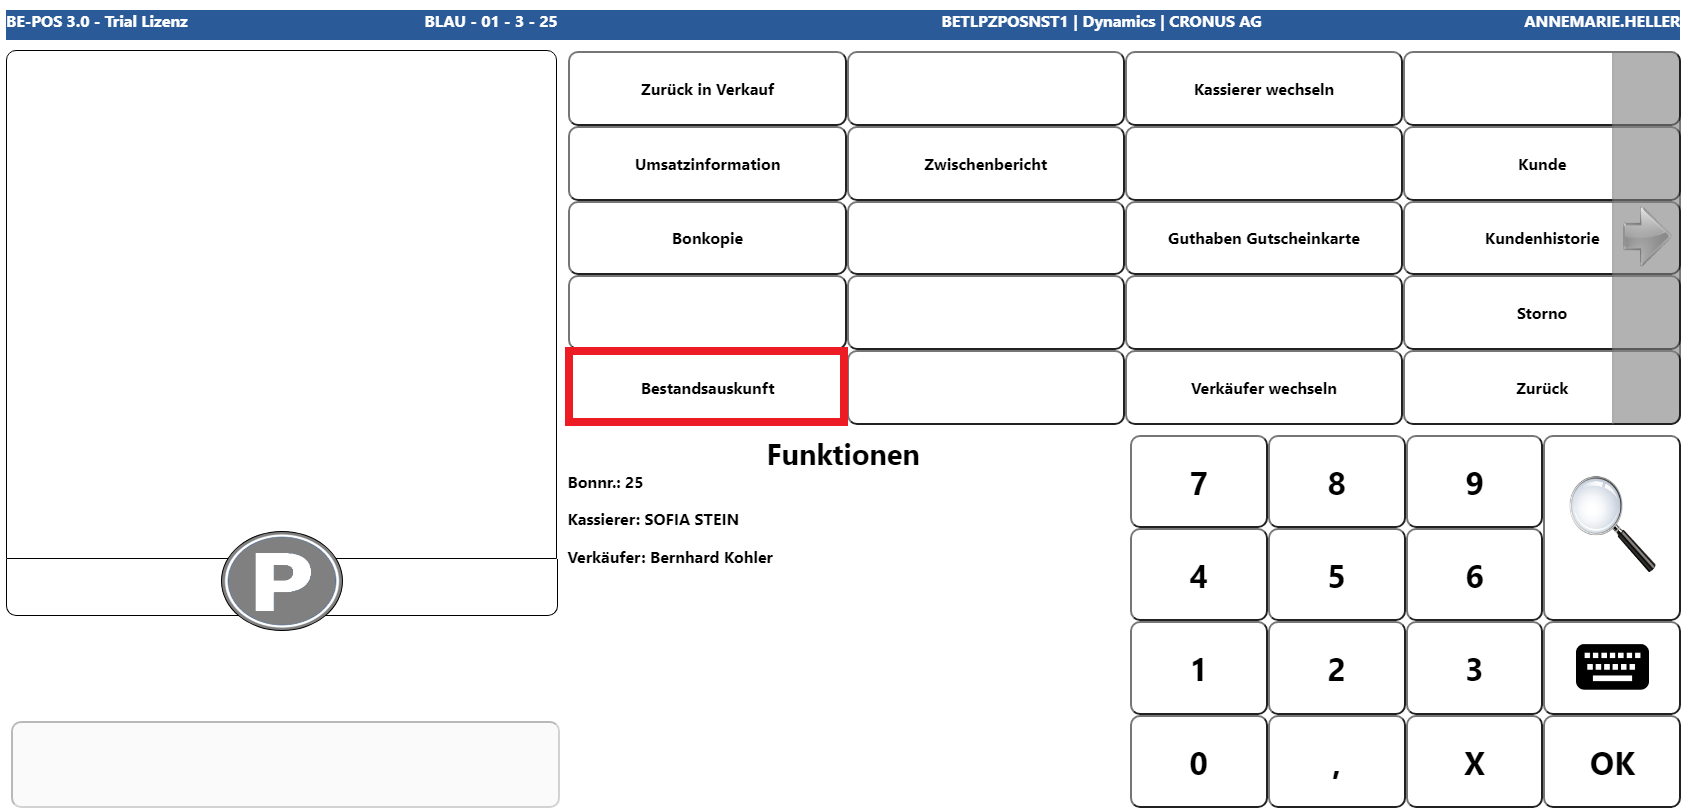
For this purpose, the item overview first opens, where the required item must be selected.
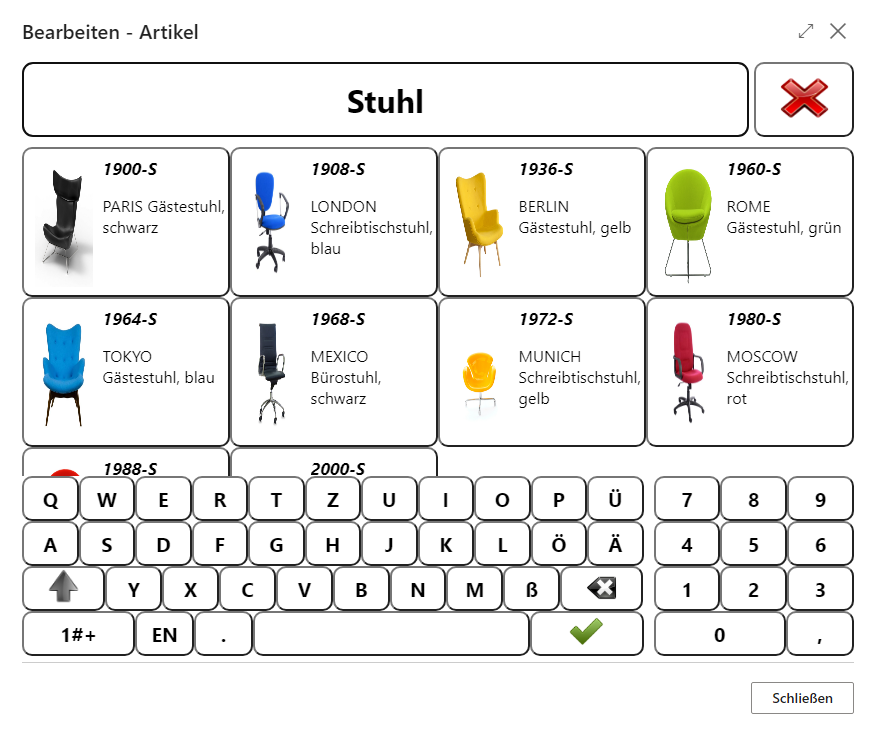
The available inventory is then displayed, sorted by location.
Salesperson Change
This function can be used to change the salesperson assigned to the current receipt. From that point onward, the newly assigned salesperson is responsible for the receipt and provides their individually assigned permissions, see Salesperson Setup.
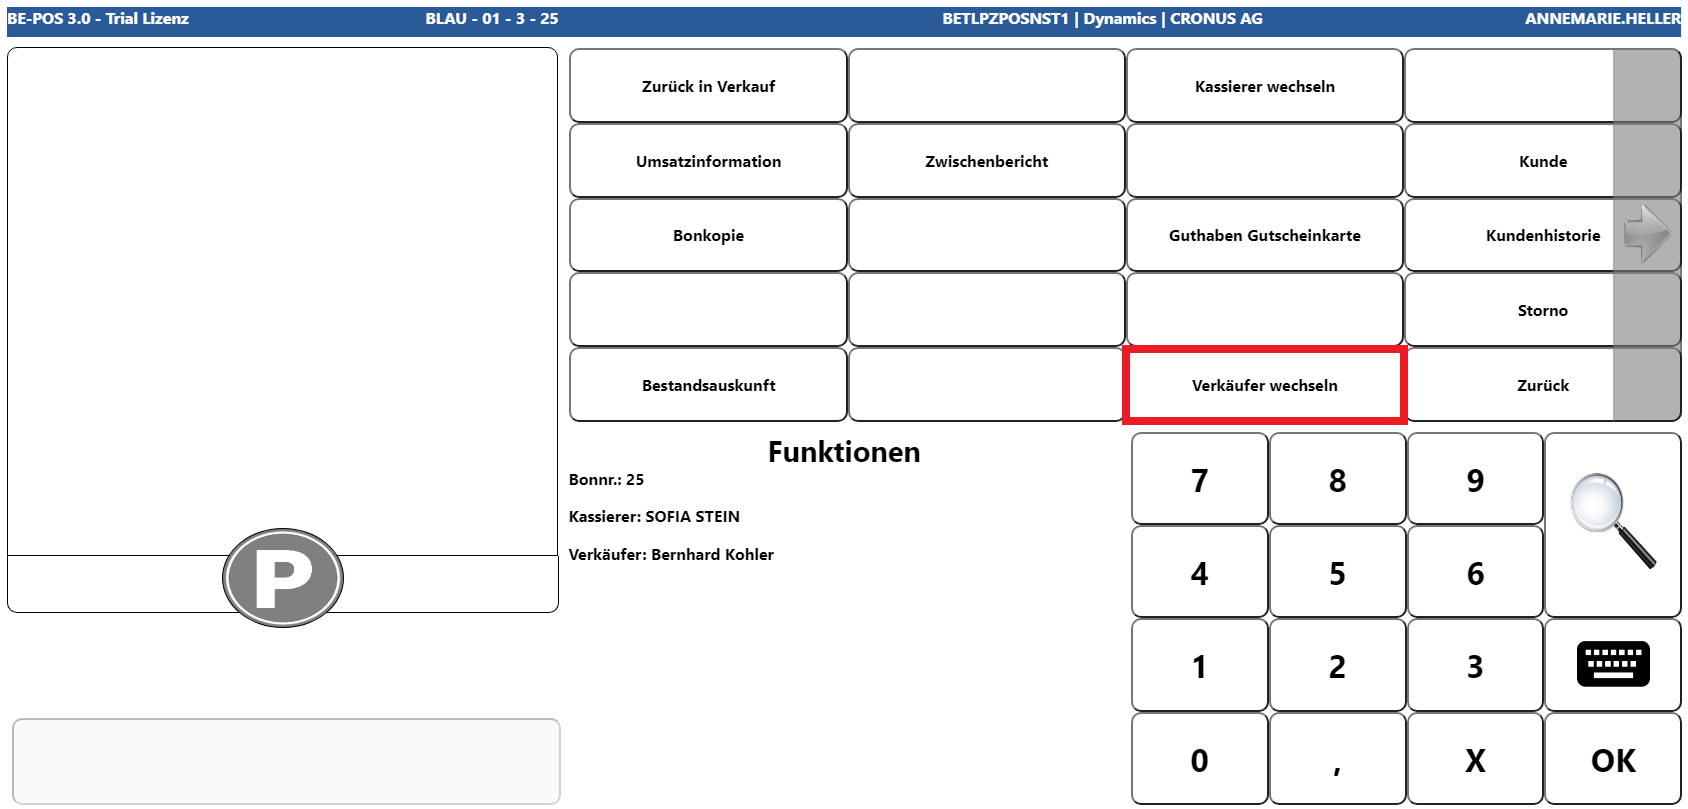
The new salesperson can be selected either by entering the value directly or via the magnifying glass button.
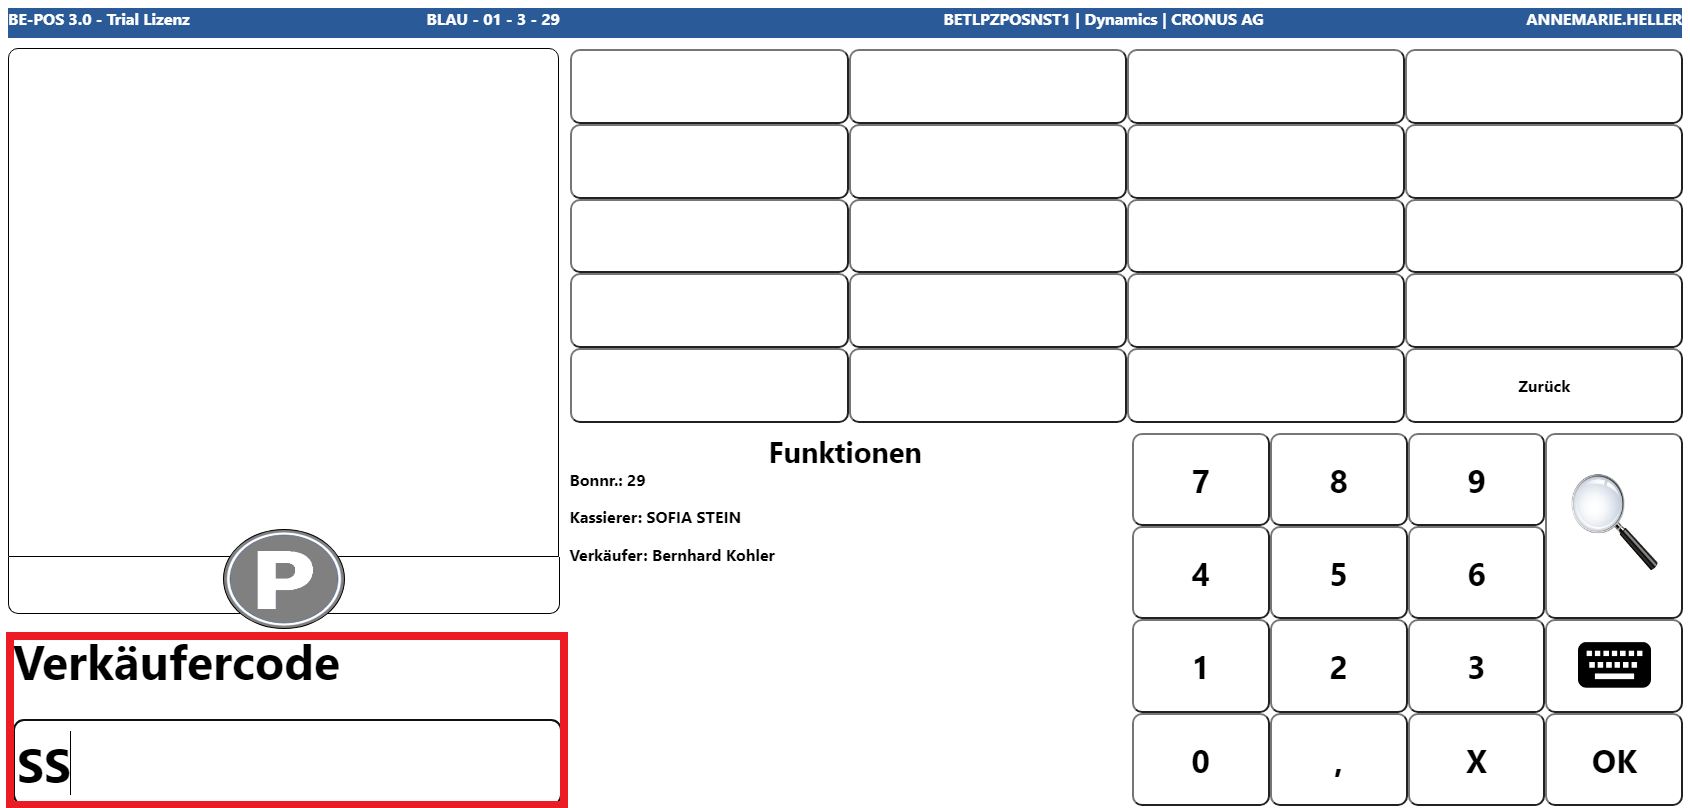
If a password is stored for the salesperson, entering it at this point is ignored so that the sales process is not unnecessarily delayed.
Fattura PA
This function opens the entry screen for data required for electronic invoice exchange in Italy.
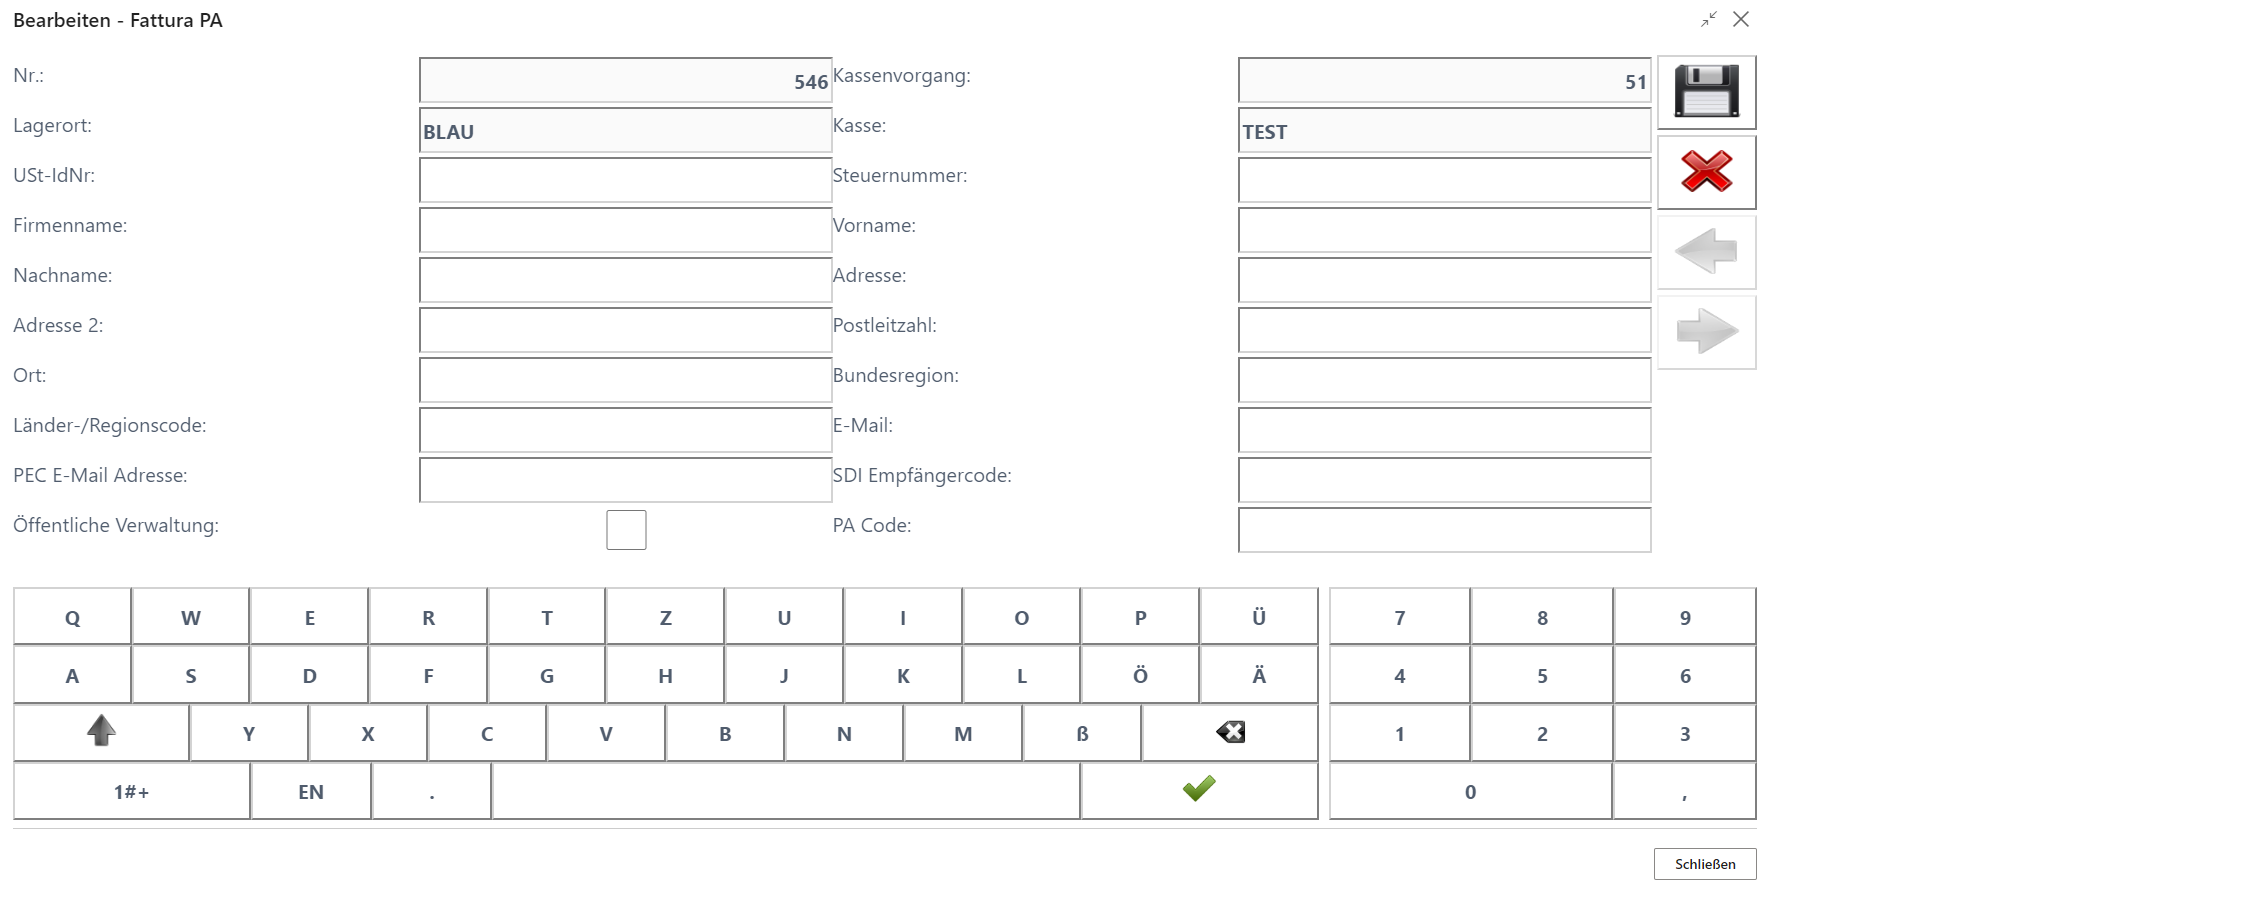
Either a VAT registration number or an Italian tax number, Codice Fiscale, must be entered. A company name or first and last name, as well as the address, postal code, and city, must be provided. If no country is entered, Italy is assumed. An email address, PEC email address, and an SDI recipient code for customers registered in the SDI portal can also be entered. If the customer is a public administration, the checkbox must be selected and the PA code must be entered.
Additional Function Button Levels
The right arrow opens the next level of the function buttons:
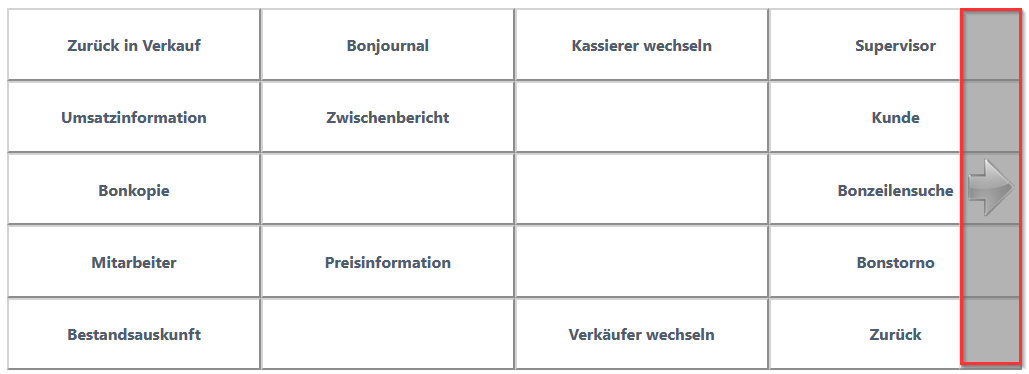

The left arrow returns you to the previous level of the function buttons.
Reservation
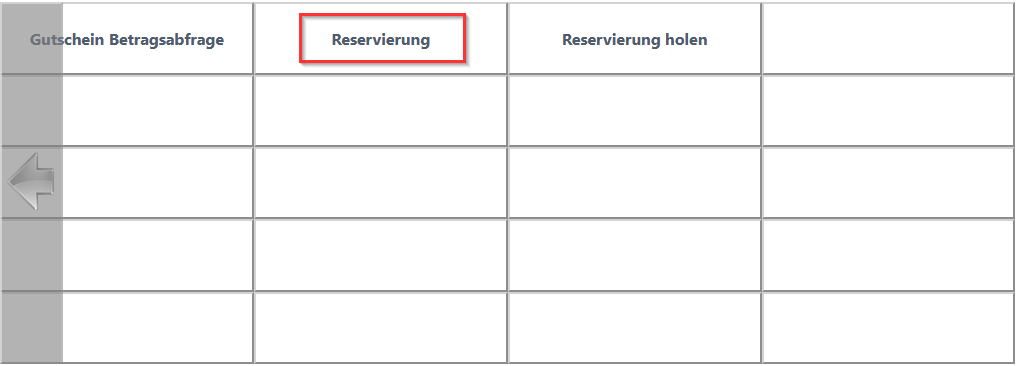
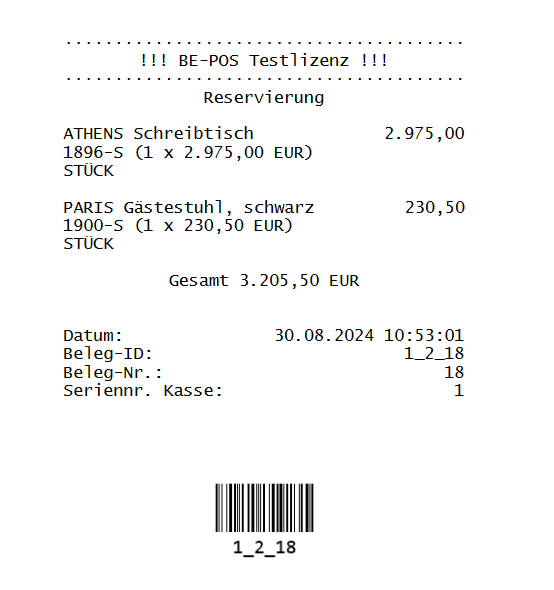
The Reservation function key can be used to reserve the items entered on the receipt. The reservation can be made with or without a customer number. The receipt is completed and a reservation receipt is printed:
If Reservations Setup specifies that reservations are transferred, the goods are transferred in the background to the configured reservation location. The transfer journal batch must be set up in the cash register setup.
Retrieve Reservation
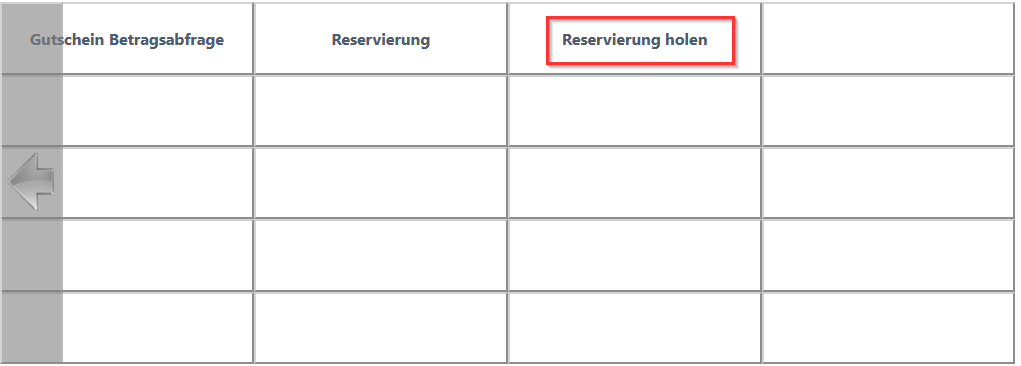
This function opens reservations filtered according to the setting in POS setup.
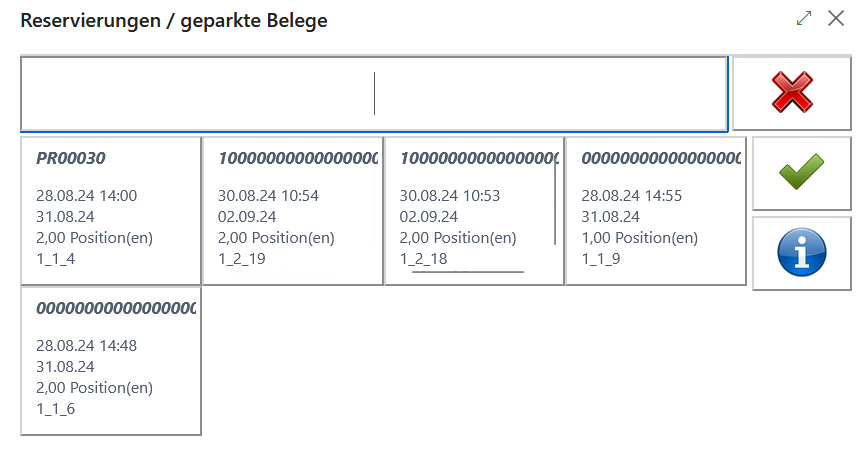
Selecting a reservation transfers the items to the receipt and, if applicable, moves the items back to the store.
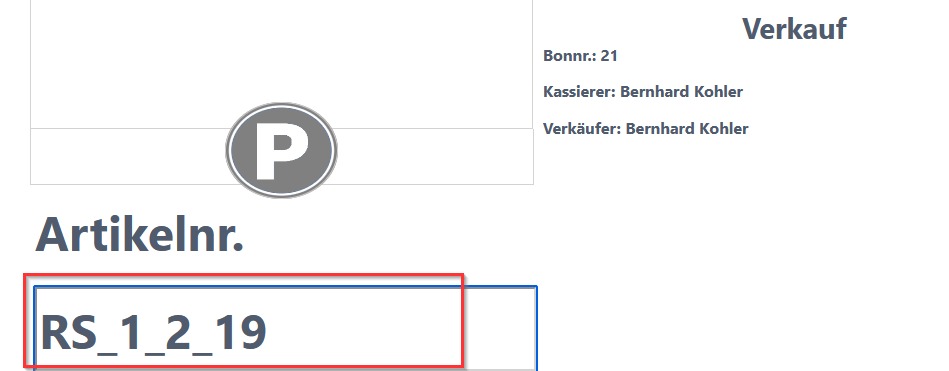
If a reservation prefix has been set up in Barcode Setup, a scannable barcode is printed on the reservation receipt:

By scanning this barcode in the item sales input field, the reservation can be transferred directly to the receipt without pressing the “Retrieve Reservation” function key:
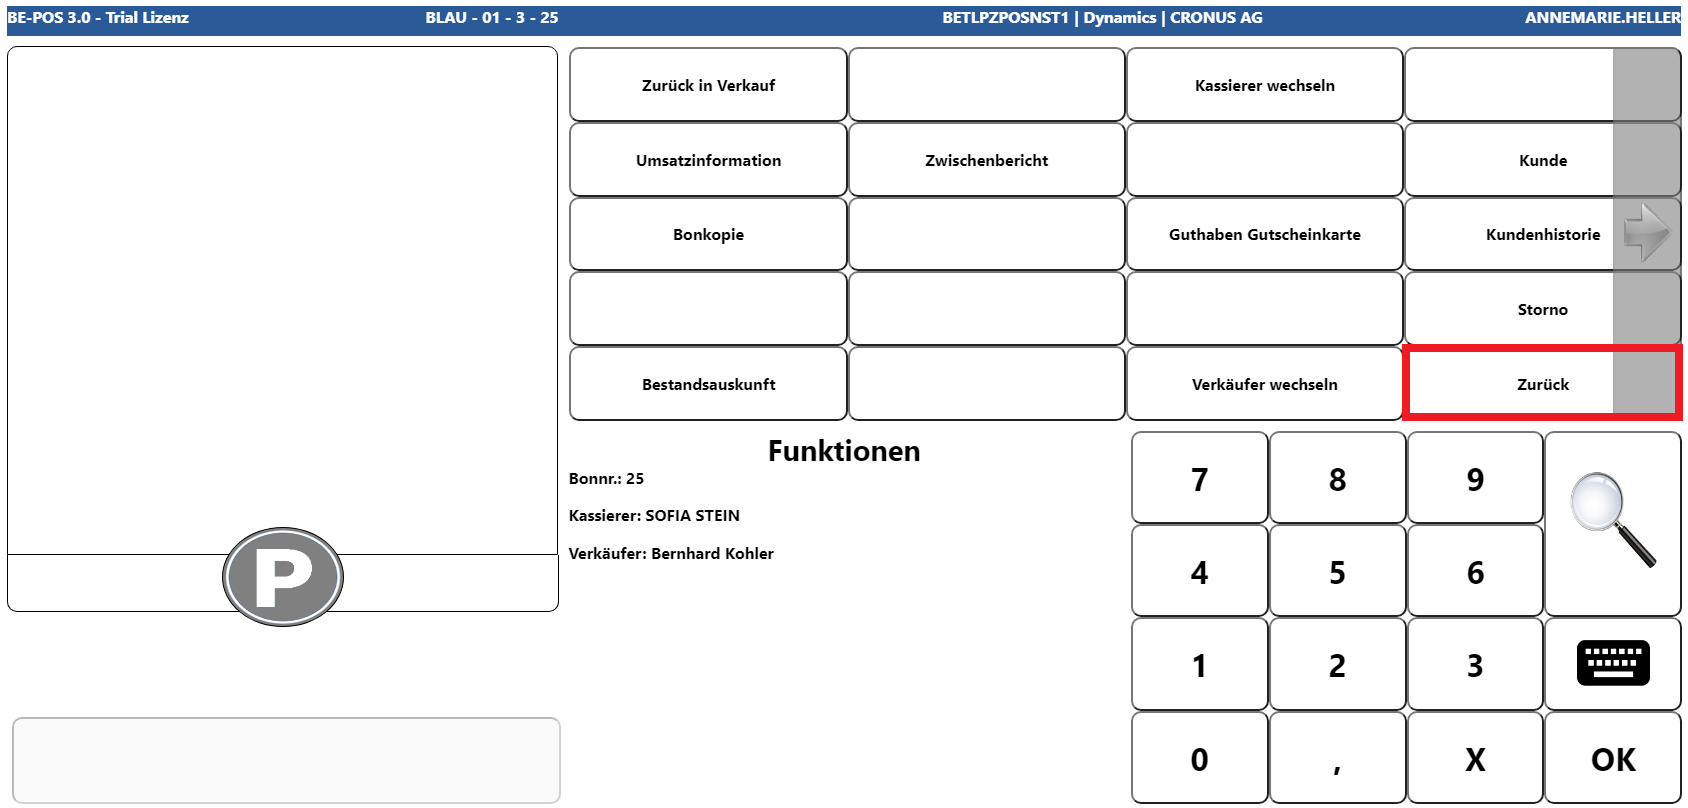
Back
This function returns you to the state from which the Functions menu was originally opened.
Tax-Free
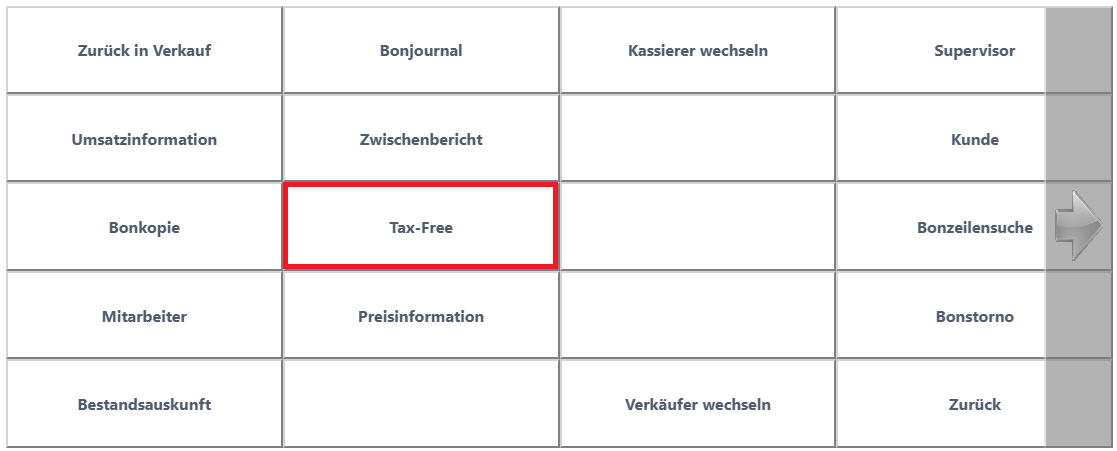
This function key is visible only if Tax-Free is enabled for the active cash register. Depending on the current sales receipt, if it does not yet contain any sales lines, Management opens; otherwise, Document Issuance is activated or deactivated for the current receipt.
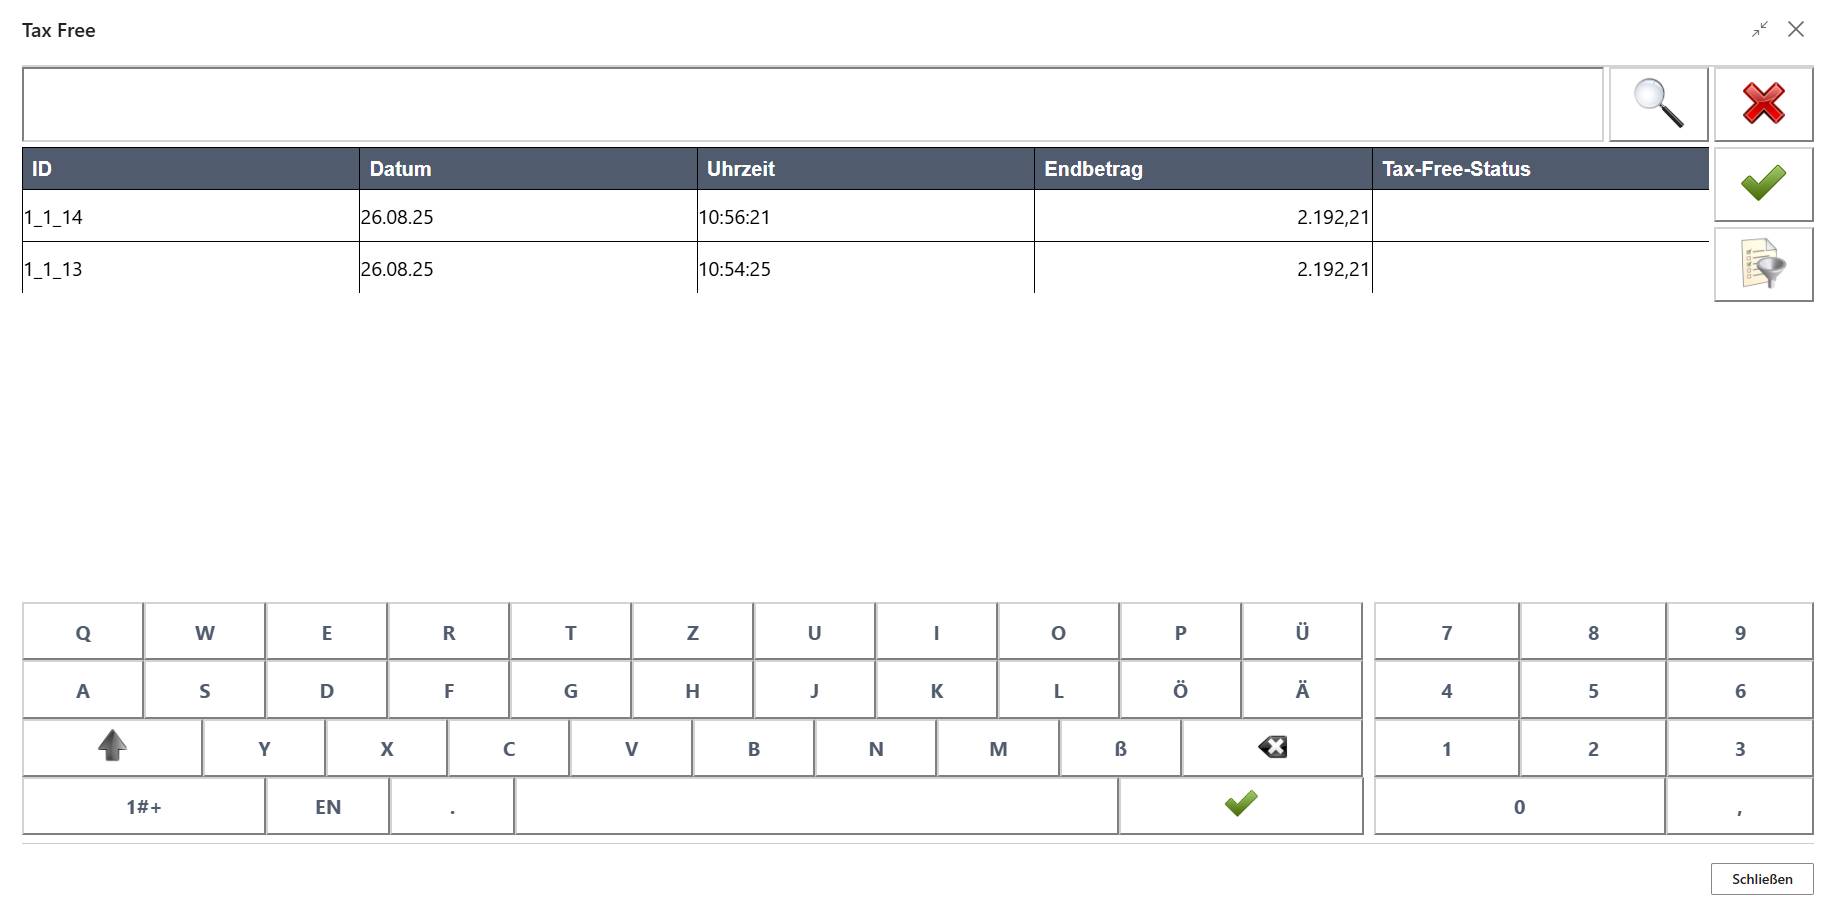
Management
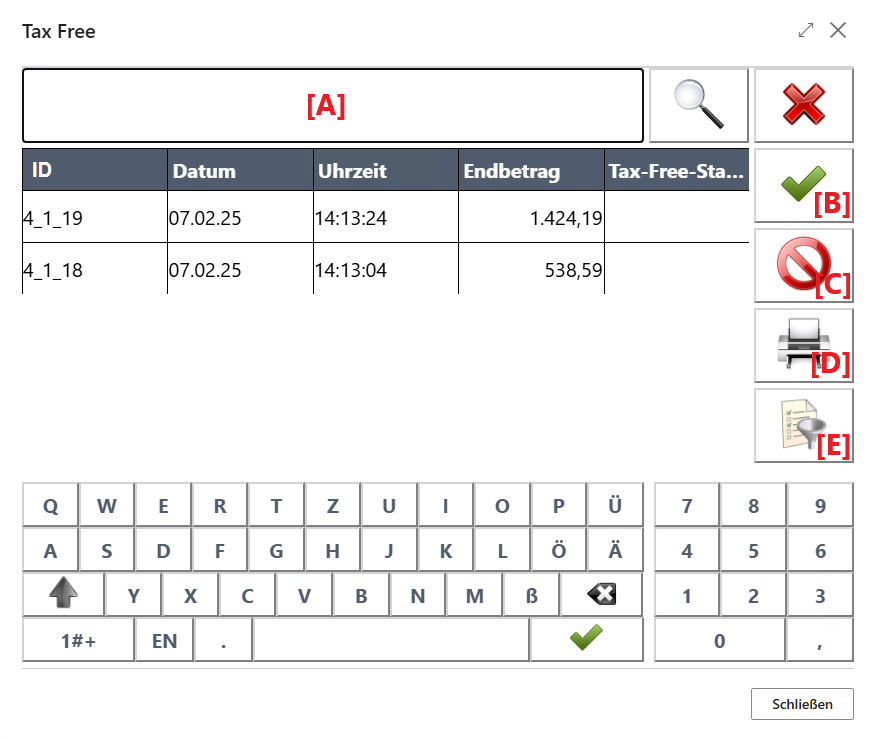
This management screen can be used to initiate Tax-Free document issuance afterward for one or more sales receipts, or to cancel or reprint an already issued Tax-Free document for one sales receipt. The relevant receipts can be entered either directly via the receipt ID in search field [A] or via receipt selection [E].
Subsequent Document Issuance
To do this, first select or scan the required receipt or receipts and then activate Action [B]. Further details can be found in the Issuance chapter.
Cancel
To do this, first select or scan the required receipt and then activate Action [C]. The following prompt appears first:
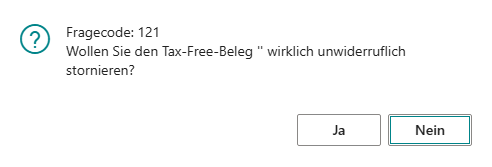
If this is confirmed with “Yes”, the underlying Tax-Free document is then canceled.
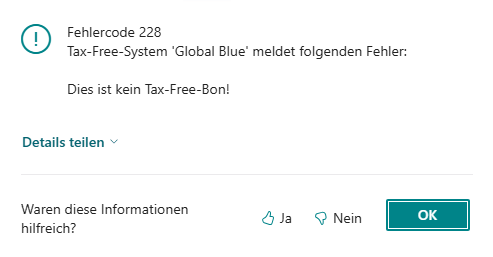
If no Tax-Free document issuance exists for the selected receipt, the following error message appears:

Reprint
To do this, first select or scan the required receipt and then activate Action [D]. If Tax-Free document issuance exists for the selected receipt, the system then attempts to request and print the Tax-Free document again; otherwise, the following error message appears:
Issuance
When Tax-Free setup is active, document issuance takes place in the following cases:
- A) If the user has manually activated this functionality via Functions -> Tax-Free
- B) If the user has initiated subsequent document issuance via Management
- C) If the customer on the current receipt is eligible for tax-free handling, depending on the country code of the customer or contact
- D) If the customer on the current receipt paid with a card eligible for tax-free handling
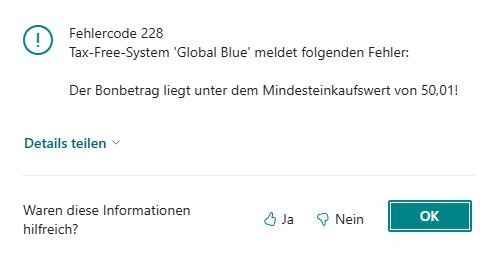
In cases A, C, and D, document issuance takes place at End Receipt, after first checking whether the minimum purchase amount, which depends on the country, has been reached. If this is not the case, the following error message appears in case A:
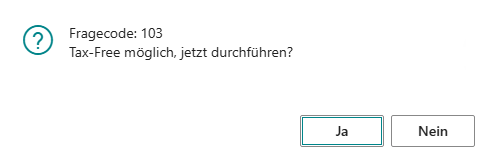
Otherwise, in cases C and D, the following prompt first appears:
If both the minimum purchase amount check and data validation are successful, document issuance then takes place.
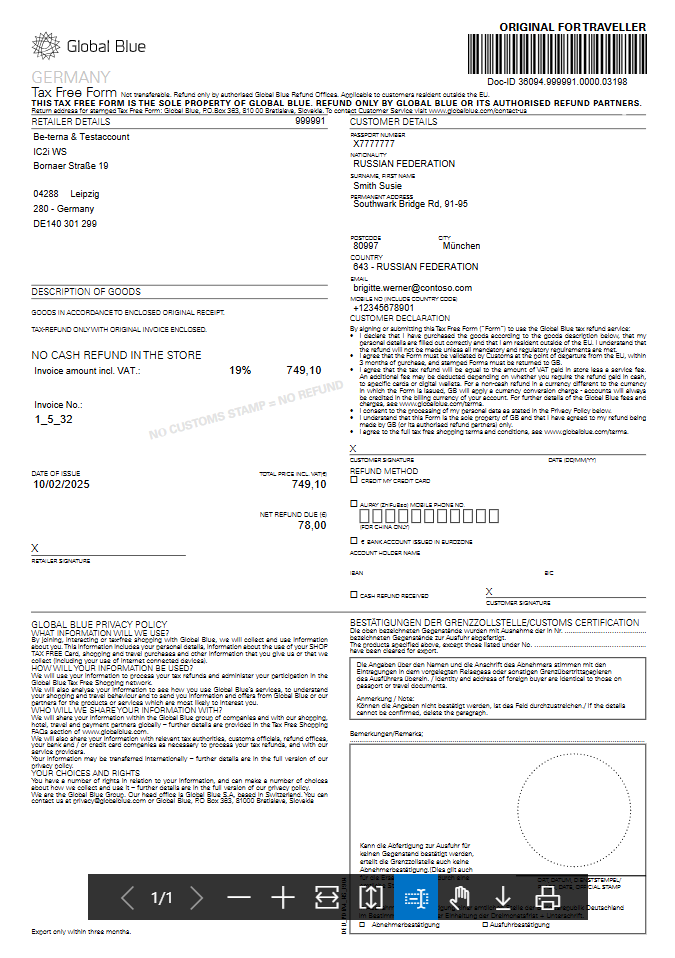
Global Blue
For the provider “Global Blue”, a new window opens for entering the necessary customer data:
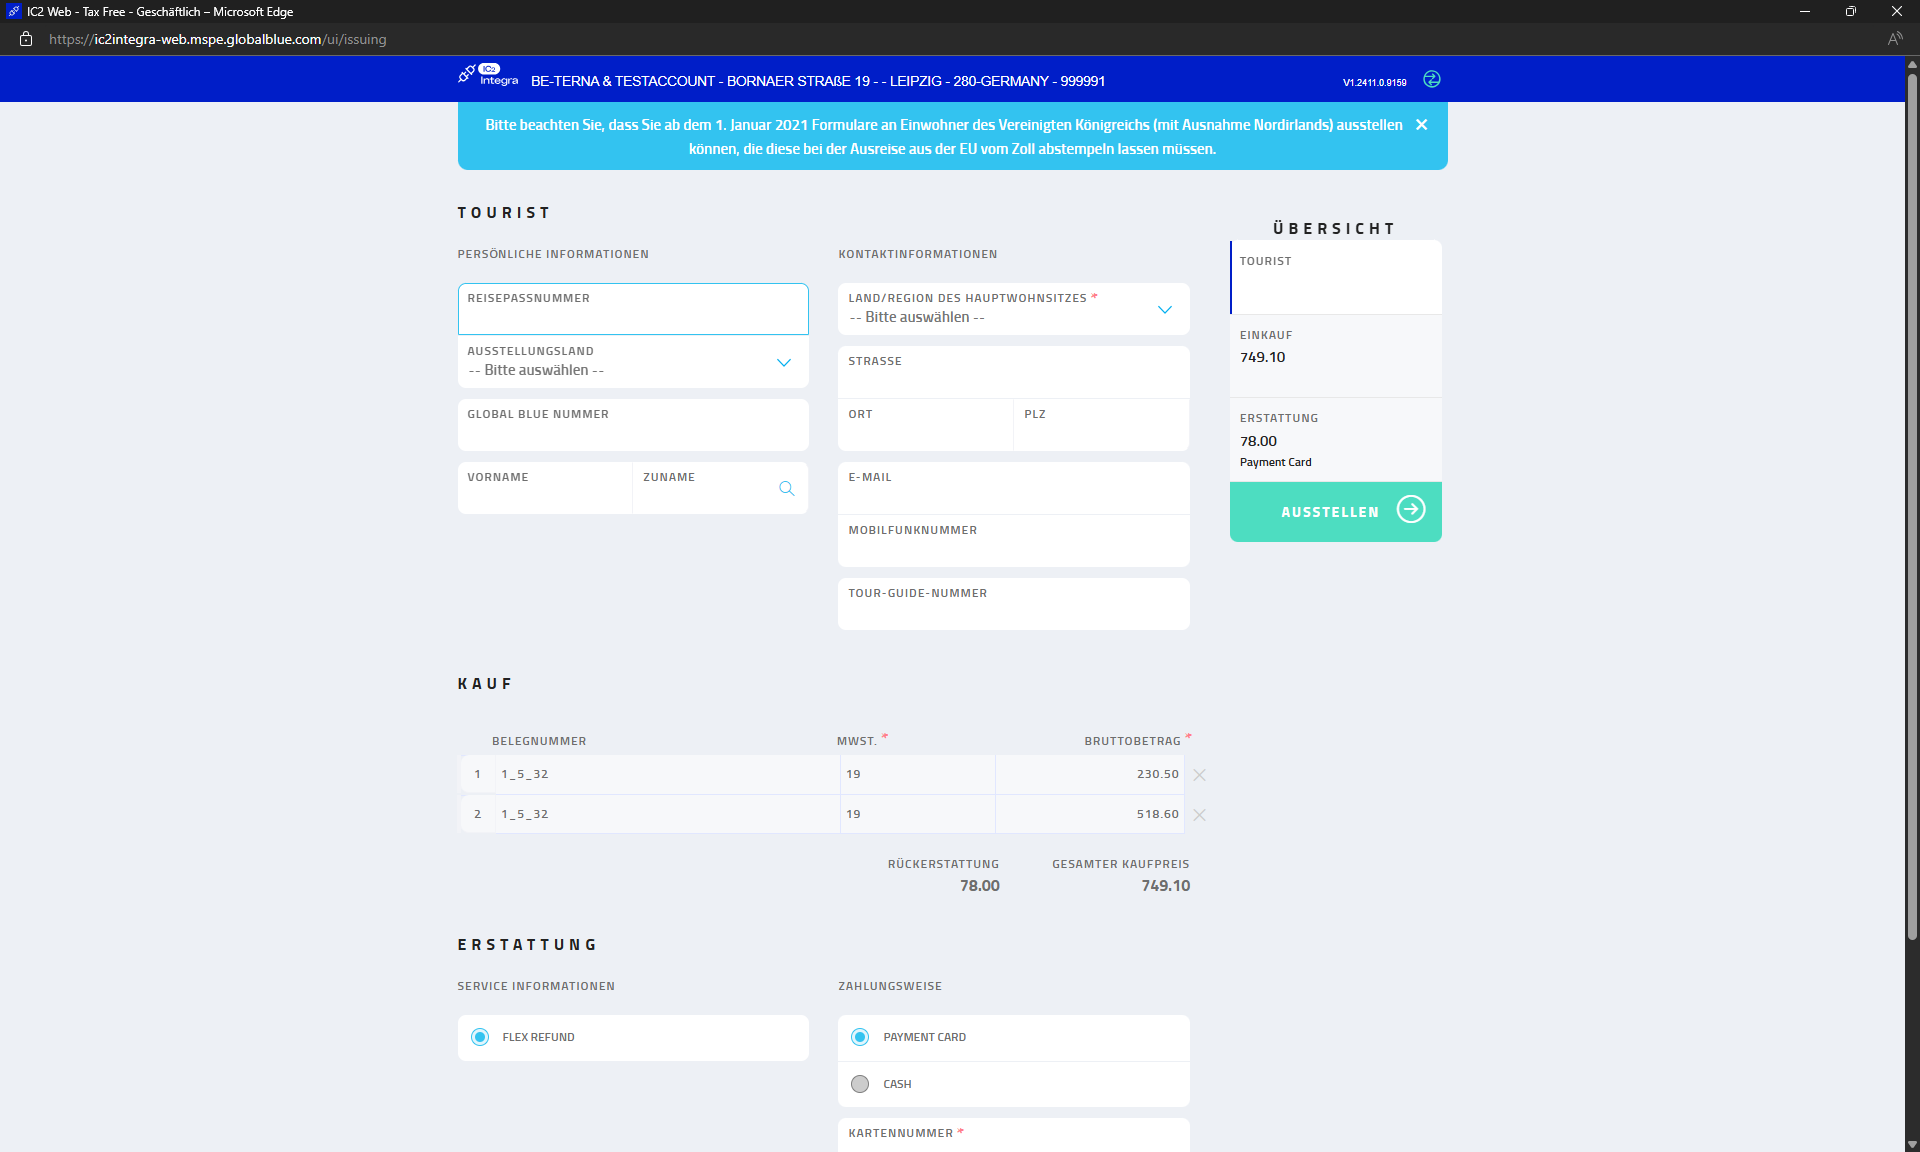
Once all required data has been entered, the document can be issued using Issue:
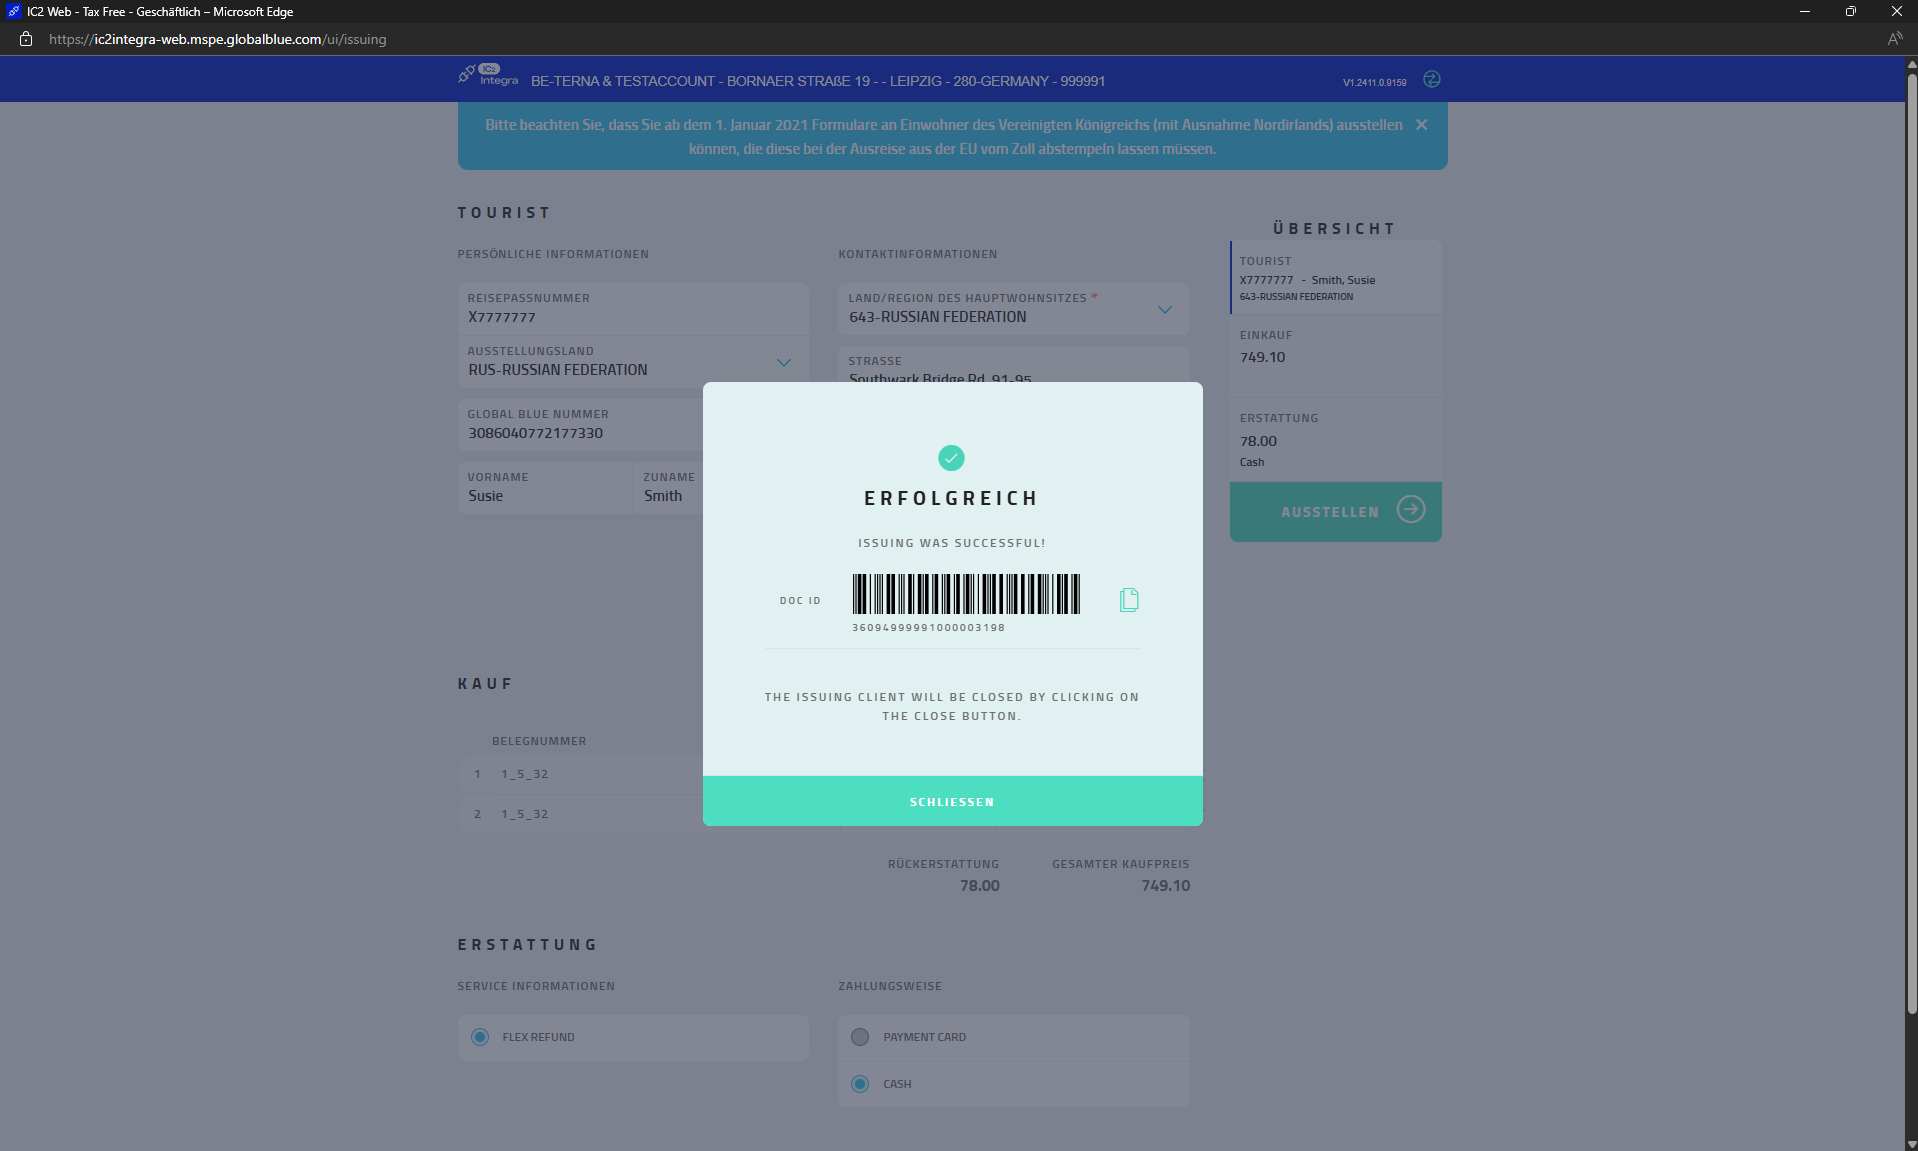
Depending on the configuration, the document is then either printed via the receipt printer or displayed as a PDF:

Standard
For the provider “Standard”, the management screen is used only for subsequent VAT refund payout, which is why only Actions B and E are available here.
A VAT refund receipt is then created based on the VAT totals of all selected receipts.