Devices
Under Setup → Devices you can find the device setup, where the control of various hardware components can be configured.

Actions
Several actions are available on the device setup card and are briefly explained below:
| Field | Description |
|---|---|
| Receipt Test | Tests control of the receipt printer |
| Cash Drawer Test | Tests control of the cash drawer |
| Display Test | Tests the display. The display pop-up must be allowed in the browser so that the display is visible. |
| Store Management | Enables management of multiple stores |
Store Management
Store management makes it possible to transfer settings from one device setup to all or selected device setups.
| Field | Description |
|---|---|
| Filter | Lets you define a device setup filter for which the settings should be transferred |
| Single Mode | Leaves store management mode |
| Apply Changes | Applies all changes made for all or the selected device setups |
Setup
The configuration options on the device setup card are grouped by topics, which are presented below:
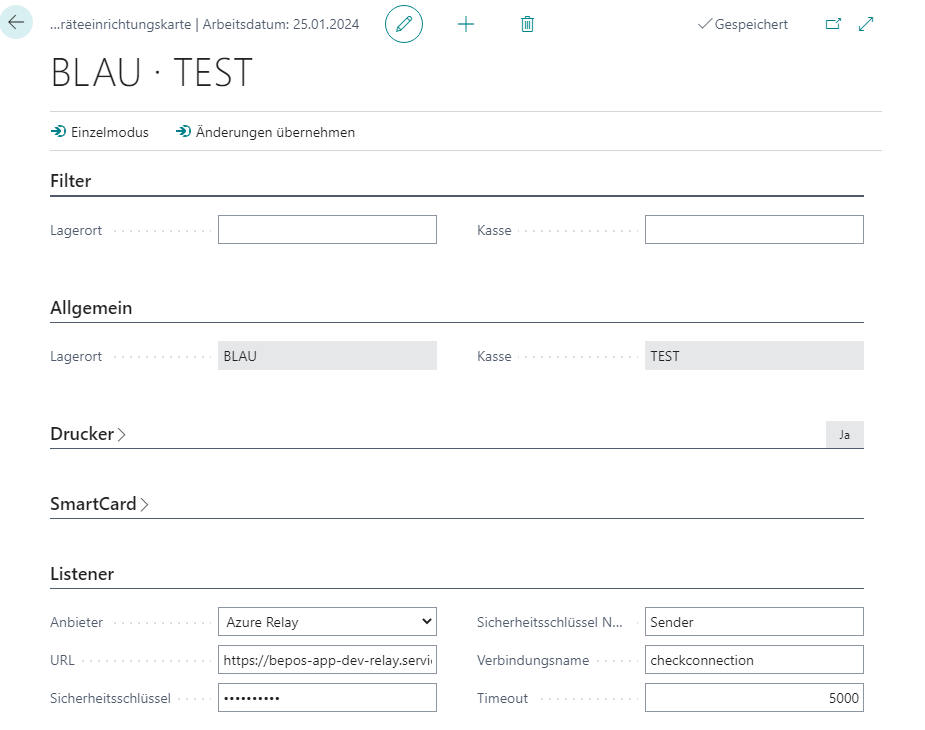
General
This tab defines which cash register setup the current device setup is intended for.

| Field | Description |
|---|---|
| Location | The location code of the cash register setup to be used |
| Cash Register | The cash register code of the cash register setup to be used |
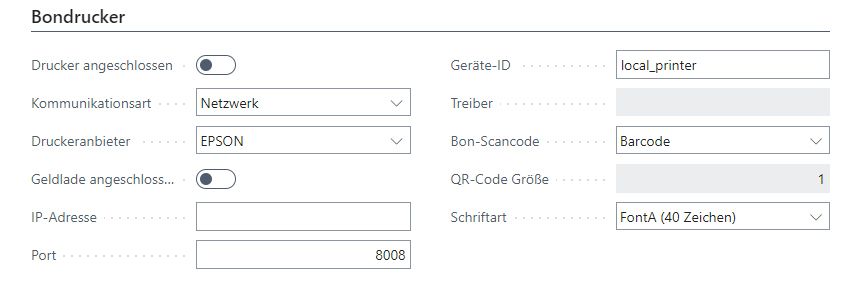
Receipt Printer
This tab is used to configure the receipt printer.
| Field | Description |
|---|---|
| Printer Connected | Activates control of the receipt printer. If it is deactivated, the receipt is provided as a PDF file at the end of the receipt. |
| Communication Type | Defines the communication type with the printer Network: Controls the printer via the EPSON ePOS network interface and requires a network-capable printer and an ePOS configuration. Driver: Controls the printer via an installed printer driver and requires installation of a suitable driver and installation or configuration of the BE-POS Listener. |
| Printer Provider | Defines the printer provider EPSON: Print data is prepared in an EPSON-compatible way for EPSON hardware. EPSON Emulation: Print data is prepared in a way that is compatible with EPSON emulators for EPSON-compatible hardware. |
| Cash Drawer Connected | Activates control of the cash drawer connected via the receipt printer |
| IP Address | IP address of the receipt printer, ePOS |
| Port | TCP/IP port of the receipt printer, ePOS |
| Device ID | ID of the receipt printer, ePOS |
| Driver | Name of the printer driver |
| Receipt Scan Code | Defines the scan code type on the receipt Barcode: Prints the receipt barcode as a standard bar code, CODE128. QR Code: Prints the receipt barcode as a QR code, depending on the printer. |
| QR Code Size | Defines the size of the QR code |
| Font | Defines the font to be used. Either FontA, standard, 40 characters per line, or FontB, smaller font, 56 characters per line. |
Document Printer
This setup makes it possible to control a document printer for A4 printouts.

| Field | Description |
|---|---|
| Document Printer Connected | Activates control of the document printer |
| Driver | Name of the document printer driver |
| Timeout | Request timeout in milliseconds |
Note: To control the document printer, a PDF application must be associated on the cash register PC with the PDF file type and support the Windows print verb, for example SumatraPDF. This file type must be stored as the default or always print with this PDF application. In addition, the printer must be addressable by name.
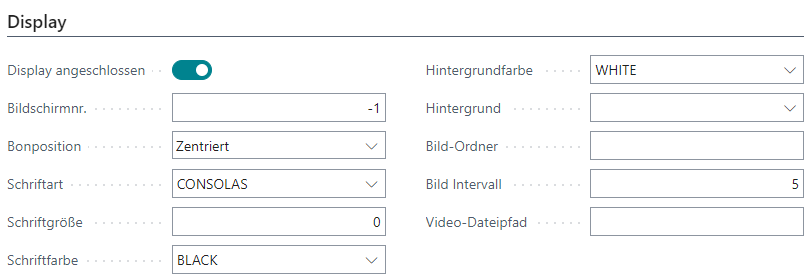
Display
On this tab you can set up the display of the customer display in the form of a second monitor.
| Field | Description |
|---|---|
| Display Connected | Indicates whether a display is connected |
| Screen No. | Sets the screen number of the screen on which the customer display should appear. A negative number shows the customer display on the first non-primary screen. |
| Receipt Position | Sets the position of the receipt preview. None: Shows no receipt preview. Left: Shows the receipt preview at the left edge of the screen. Centered: Shows the receipt preview centered. Right: Shows the receipt preview at the right edge of the screen. Full Screen: Shows the receipt preview in full screen. Split Left: Shows the receipt preview on the left and the slideshow or a video next to it. Split Right: Shows the receipt preview on the right next to the slideshow or a video. |
| Font | Sets the font |
| Font Size | Sets the font size |
| Font Color | Sets the font color |
| Background Color | Sets the background color of the receipt preview |
| Background | Sets the background color |
| Image Folder | Sets the path to an image folder |
| Image Interval | Sets the number of seconds after which the displayed image should change, slideshow |
| Video File Path | Sets the file path to a video |
SmartCard
This tab can be used to configure control of a card reader, WinSCard.

| Field | Description |
|---|---|
| Connected | Activates control of the card reader. This displays a new Card Reader button in the Sign In Customer and Voucher Card checkout processes. |
| Name | The driver name of the card reader |
| Number of Characters | Number of characters from the read card number to interpret |
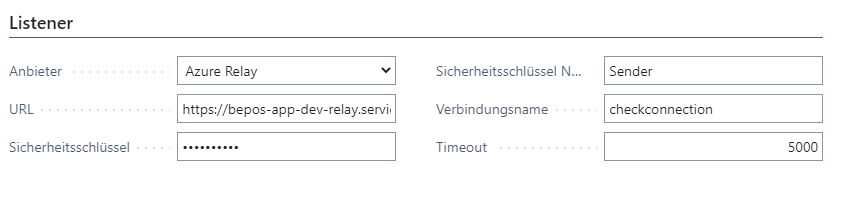
Listener
This tab is used to configure the BE-POS Listener, an externally installed program that enables hardware control from the web browser. Please refer to the BE-POS Listener documentation for download, installation, and configuration details.
| Field | Description |
|---|---|
| Provider | Defines the type of control Browser: Control is performed directly from the web browser, insecure. Azure Relay: Control is performed via a Microsoft Azure Relay Service Bus, subject to charges. |
| URL | Defines the connection URL |
| Security Key | Defines the security key for the connection |
| Security Key Name | Defines the name of the security key, Azure Relay |
| Connection Name | Defines the connection name, Azure Relay |
| Timeout | Defines the connection timeout |